This was a thrill ... in fact, the whole project has been a blast. Mike Adamson's Tales Of the Middle Stars anthology has just been published, and it was by tremendous pleasure for me to provide the interior illustrations, while Italian artist Luca Oleastri provided the cover. I also edited the whole collection, which was another kind of pleasure, and seeing the book go on release today -- hardcover, paperback, and ebook ... well, as I said, what a blast.
I can't recommend the book highly enough, and not merely because of my involvement. It's a luminous collection of stories that embody what I, personally, think of as "science fiction." This is SF as I prefer it ... as I fell in love with it as a child. In this work, there is an enduring sense of wonder even while this is fiction written from an adult perspective, about a tough, unforgiving universe seen through adult eyes. Please do check it out.
In the last week, I've also invested a lot of time working hand-in-glove with Mike to bring his website up to date (ah, the old days when I used to write code for a living...! Way back when, before there were website creation programs that did the job for you. I just dated myself, didn't I?), and again, I'd like to invite you to go over and take a look. It's ostensibly a writing website, but it's one of the most visually exciting sites I've ever seen, with so much art, colour, and old-fashioned verve.
Mike also invited me to place a gallery page of my own on-site there, so -- how could I resist. The result is "The Artist" page, tucked away on the The Worlds of Mike Adamson, and I have to say, it's beautiful. "Thrilled" is an understatement. It looks like this:

...and by far the hardest thing about it was choosing a tiny handful of images to "speak for me" across more than a decade of work. I might go back and swap them out every couple of years, to give more pictures an airing.
The book and magazine covers in the right-side column are the publications in which I've appeared as a writer ... and on that score, I have a little news to pass along at last.
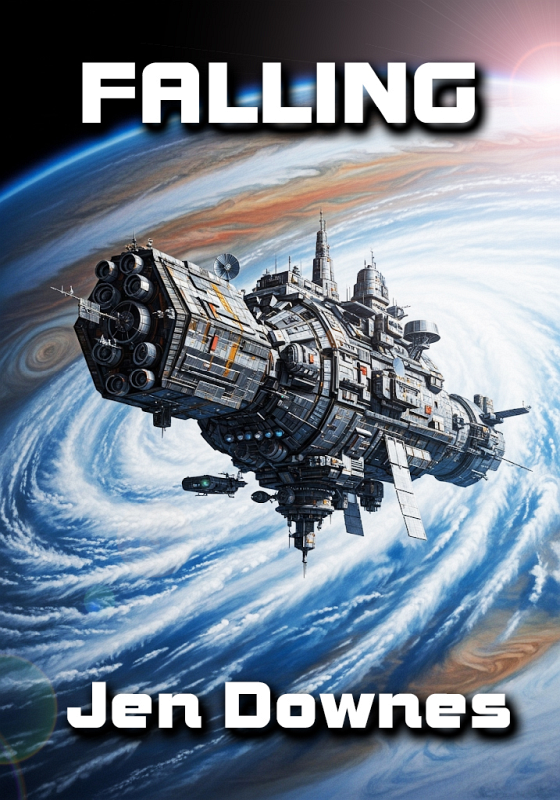
This one was a lot of fun to write, and for the first time I was able to "go play in the Jovian system," with FIFO worker on the assignment to end them all. Fly in, fly out work is one thing ... but when the flight to and from the job is a year old, it's a life-changer. In Falling, the central character is out there for the best and worst of all reasons: money. Without it, everything falls apart, yet the quest to earn it is not conducive to family life. And yes, our hero is left a partner and child back on Earth. What's a mother to do?
This story had been in my mind in one form or another for some time, but I'd usually pictured it as taking place on Mars. The thing is that I've written so many stories set on Mars that -- 1) I didn't want to identify myself as "that writer who only writes about Mars," not to mention -- 2) I felt as if I needed a challenge. Get out of the familiar environment (which is almost a witticism) of Mars and make a foray into the Badlands. And they don't come much "badder" than Jupiter. So...
Much research later, Falling found itself completely restructured. The central character changed from being a detective assigned by the department on Earth to investigate a murder in the industrial south of our neighbouring world to being an engineer working with the heaviest heavy industry imaginable. And the stage on which the story plays out shifted from the aforesaid Martian industrial wasteland to the upper atmosphere of a giant world that really, seriously, wants to kill you. Result: a story with which I was extremely happy.
And the cherry on the cream is that this one will be appearing in ANALOG Science Fiction in a year or so. It's always a thrill!
Next: back to the very serious job of editing, with two major projects ahead of me for Mike and after both books are delivered, he and I will be collaborating on a novel...
And on a personal note, visitors to this blog might be wondering where I disappeared to, about nine or ten months ago, vanished without trace. Was it my own health breaking down again? No, not this time. In fact, it was my husband. The "indestructible" Dave turns out to be far from indestructible. We've known for about the last eighteen months that something wasn't right, but in September 2024, it was time to go to the doctor, face a battery of tests, and find out what it is, and how bad.
Well, it's not good. In October last year, they gave him two years to live.
Let that sink in. Naturally, I had bigger things to think about than a hobby with art. There were things to do, challenges to be defeated, a new way of thinking to be embraced. Nine months later, here we are. Dave is still with us, but ... but ... but ... You know how it goes. The future is in flux; nothing can be guaranteed, we take nothing for granted, and I don't (can't) make promises about what I'll deliver next year. Will I get back to doing art? Possibly. Maybe. The truth is that my art lies very much under Dave's shadow, and anything remotely like CG work will bring back so many memories, it may be so exquisitely painful that I just can't do it. Short answer: I don't know. I'll continue to write; this I can promise, because that's something I've done since childhood. But few visitors to this blog come here to read.
Future art might be about embracing AI because I have no access to computers powerful enough to do CG work. Or it might be about sketchpads, pencils and paint. Who can say? For the moment, my time belongs to my dear husband of many years, and every day is precious. Wish us well, and cross your fingers. Science may come to the rescue with a cure, in the nick of time. I always did say that Dave had the luck of any ten people all added together. Okay -- let's see that luck work for him, for us, again.