Thursday, May 2, 2019
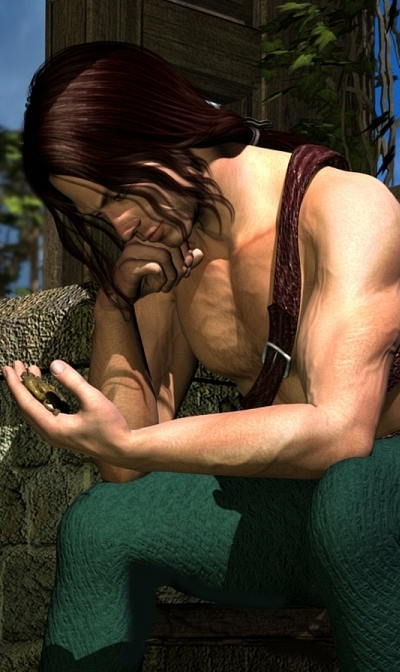
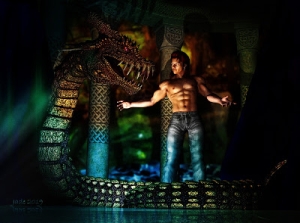
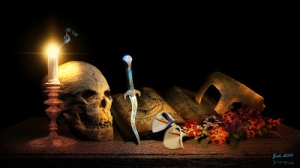
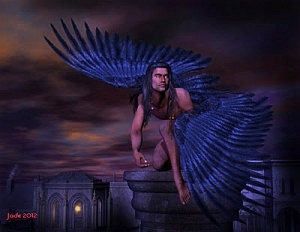
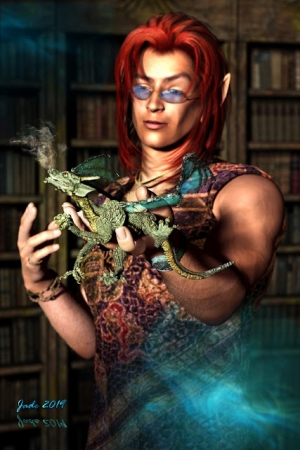
The Raven out of armor ... SF, fantasy, a landscape, the works.
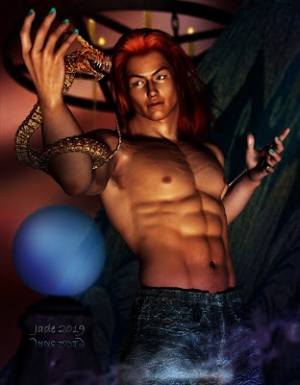
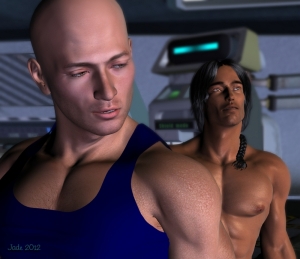
Rainy weather at last ... and I'm home alone, got the place to myself allll evening. 😶 Sooo... more art than usual, lately! Nothing to do but mess about in DAZ Studio, Bryce, Photoshop, and -- well, here you are: The Raven off duty, out of armor! Now, there's a sight for sore eyes. The set is MOg Ruith, from the DAZ store. I haven't worked with it much. It's a bear to light! Also...
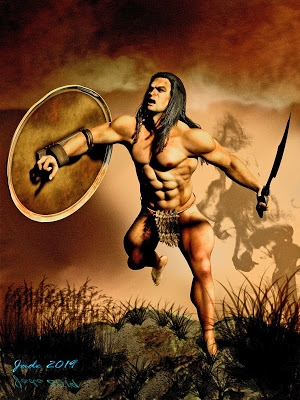
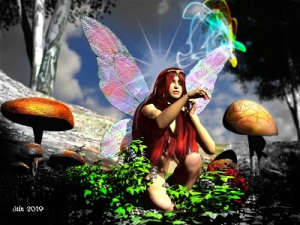
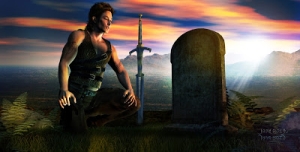
That's just about the best I'm going to squeeze out of the old software, as per realistic landscapes without getting into Terragen and adding "populations" of trees and plants ... that comes later, after the computer rebuild, okay? Okay. The hardware I have now won't do it, and the dentist had dibs on my money. All of it. Rats. 😒
The big tree in the background is also the most complex tree I've ever conjured --
For the artists among you, it's an amalgam of FOUR trees, and I used #2 from this pack, from Renderosity -- inexpensive, at US$10 for about six trees. If you have any 3D tree model where you can get hold of the trunk/branches and the foliage, separately, you can load four trees on the same coordinates; then make the trunks and branches of two of them transparent (!), and fiddle the x,y,z values of all four of them to create a dense, complex tree -- far more realistic than one tree alone. This is also a gajillion percent better than any Bryce tree I ever managed to create in the tree workshop in Bryce 7 Pro. This is just a raytrace ... it is, however, a two hour raytrace. You gotta be patient with this. I don't do it so often because ... I'm not that patient!
Also ... a change of pace now. Let's have some science fiction to offset the fantasy and landscape work:
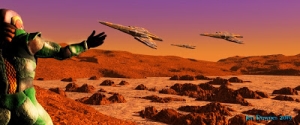
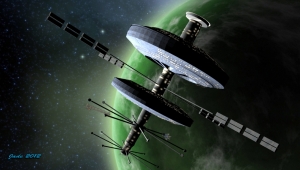
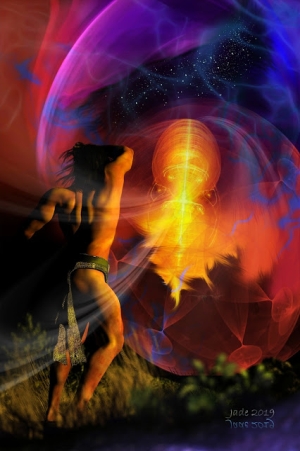
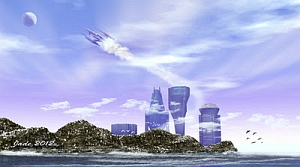
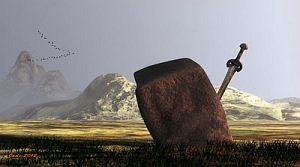
Although, for the life of me, I can't get Bryce 7 Pro to create a realistic earth-like image, it's terrific for alien planets! I did this in about 45 minutes, and gave the somewhat flat render a tweak in good old (free) Irfanview for good measure. And --
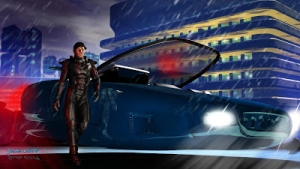
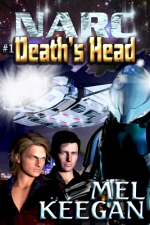
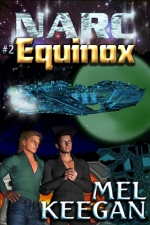
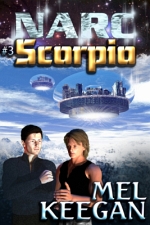
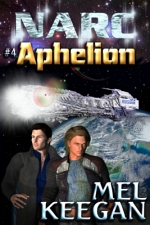
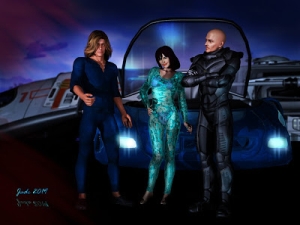
This, in DAZ Studio, finished off in Photoshop to add the snow, headlight glare and lens flare. The biggest problem with this one was getting the city to light up properly! That's one of the Dystopia city blocks ... it lights up automatically in Bryce, damnit, as soon as "the sun goes down," but this is just a DAZ raytrace ... didn't want to wrestle with Bryce anymore today. But in the end I did get the city to light up, and it's not bad at all. Looks like Jarrat and Stone are on their way out somewhere ... possibly on Aurora, the city of Thule -- the city from Aphelion, if you remember. The old ground city, not the domes ones in the sky --
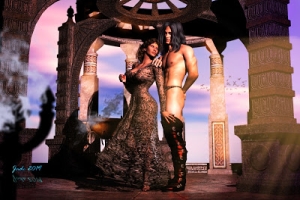
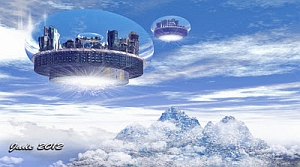
-- you remember those! What's rather cool is that I actually built those cities from scratch, in Bryce, for the Aphelion cover art project! That whole thing was done in the one shot, sky, mountains and all, with just a bit of "zap" added in, in Photoshop. (All due credit to Mel Keegan for the inspiration!)
Okay ... time for din-dins, and a movie. And since I have the place to myself, I get to choose!
Monday, September 10, 2012
Playing happily in Photoshop (and this is Post #699, so...)
Tuesday, April 24, 2012
Let there be light! LightDome, Lux, and a whole lot more
Sunday, April 22, 2012
Playing with a swag of great new toys
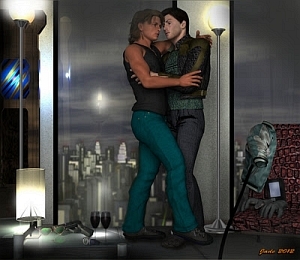
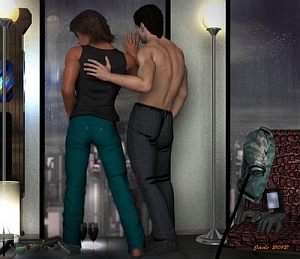
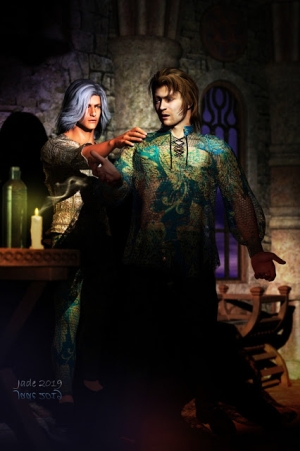
In this one, which I call Absent Friends, the fist thing I did was paint the textures for the fabric and leather, before slapping them on the models, and then rendering it all up. Then, the skin tones are overpainted to get a couple of effects, and a lot of the shadows are hand-painted. Good thing I enjoy painting in Photoshop!
A little while ago someone was asking what brushes I use. The truth is, I have scores of brush sets, and some of them can have scores of individual brushes zipped into the .abr file. In the renders you see here, today, I've used mostly Photoshop's own brushes (default and caligraphy) to paint the shadows and a lot of the lighting effects; then I used the FS Wild Weather brushes for the rain, and Ron's Bokeh Lights for the lens flare effects, and something called Channing Body Hair for the edge work on the Francisco character, and the Gypsy Brows brushes for his eyebrows:
Friday, January 27, 2012
A bit of this, a bit of that...
Saturday, January 16, 2010
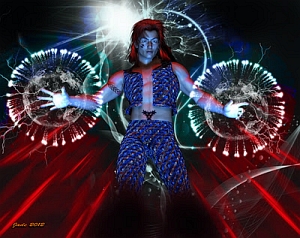
Yaoi fantasy: the gypsy shaman
All the 3D work was done in DAZ. This project game me a great opportunity to work with the Midnight Price hair again -- the same style I used yesterday on one of the Renaissance vampires, but that was set to white-blond, and this is set to ebony.
Also, this hairstyle is great because it gives you the ability to swing the loose front strands way forward -- which means the character can duck his head and the hair appears to obey the laws of gravity. This is such a cool hairstyle -- it looks just as good on Victoria, believe it or not. I popped it on the female model to see how it would look. It fits perfectly, first-time out, and looks great.
2024 Edit: Micrographx was bought out by Adobe (ie., Photoshop) and shelved. Abandoned. It was that good. In the 1990s, it was doing what Photoshop would later do; it was so powerful, Adobe didn't want to handle the competition. Soooo ... bought and abandoned. Unfortunately, many of the tools in Micrographx Picture Publisher were so great, in 1998, that by 2020, Photoshop still hasn't replicated them. Sure, you can do lens flare in PS. I do it all the time. But MPP's lens flare was soooo much better, sooo long ago. Since MPP was bought, Adobe cannily never issued a 64-bit version, and when the old 32-bit systems went over the horizon into dodo country, Picture Publisher was gone forever. Rats. Sigh.
Then the images were opened in Serif X3 to have the borders and signature added, and I was happy to call it good at that point.
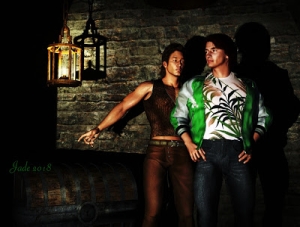
The other interesting thing about this series of renders is that I showed the light source -- the torch, on the left side of the shot. This is a nice prop from the Dungeon Lighting kit ... but you have to be careful what you do with such props, and every time you show the light source in the picture, because the light on the model has to match! People won't be fooled if you get this wrong. So, notice how there's a yellow-gold light set up to shine on Janos's right arm, or elbow, and there's a blue light set up on the other side, to suggest dim, cold ambient light, which looks right, when you see from the background, they're in the catacombs under the Citadel.
The Swordsman is one of my all-time favorite books. I'd love to design the other characters too ... Seb and Jack and Luc. (If you're interested, it's a Mel Keegan novel, which means it has glbt content, but it's not hot --
Yes, you could give this one to a coming-out mid-teen ... it's a great fantasy story where the love interest just isn't hetero, that's all. I painted the cover for the paperback a few years ago. The story was captivating then, and it's still a blast.)
Jade, 17 January
***Posted by MK: my connection is intermittent, too slow for this. Seriously, guys, I've got dialup speeds. How are you expected to do anything these days, at 1990 dialup speeds?!!!
Saturday, December 5, 2009
Christmas came early again: new toys again!
 DAZ 3D was having a sale, and I couldn't resist saving about thirty bucks, even if you had to spent thirty bucks to save the same amount. It's a hell of a good deal, and you wind up with some fantastic stuff. I got a couple of spacecraft (!) and a bunch of props. (You should see my Wish List at DAZ...! Then again, maybe not.)
So -- if you ever wondered what Michael 4 looks like, right out of the box, this is more or less the dude:
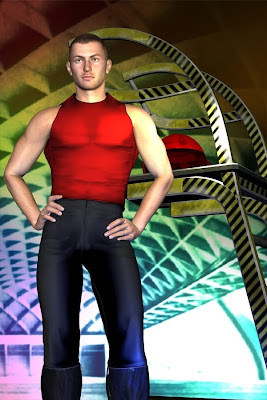 He arrives with the buzzcut hair and brown eyes, wearing a pair of spandex shorts and with an expression a little more intelligent and tractable than a zombie. What you do next is up to you. I've created more faces than a can remember. Some of my favorites are the Gypsy from yesterday, and the new Jarrat and Stone, and this one, which you'd never believe was the same face as you saw on the God of War.
Michael 4 arrives with a nice skin "map," but you can change this for an infinite variety of others. Albino pale to deep tan, hairy to smooth. Take your pick. You can slap any physique you can imaging onto him, from the most buff to the most emaciated, and anything in between...
Some folks will be wondering if Michael 4 comes fully equipped and functional, with dangly bits. Yes, but you have to install them and configure them separately. I guess this is so that parents can decide how much their kids get to see?? But, uh, yeah, Michael 4's got all the right equipment -- and here's something interesting. When you change from the default skin map to another one, the, uh, equipment changes too.
So, anyway ... there's your Mick, or Mike, fresh out of the box. I added some costume and then got to work with some props. There's a boarding ladder, and a helmet, and -- best of all -- a whole spacecraft. I haven't done much more than unpack this and drool over it, and I'm going to have fun like you can't imaging (maybe you can!) in the next few days.
I can see a whole monster digital novel ... like a massive 3D realistic online web comic ...
This could get exciting. (The image was set up with five or six colored lights, then shipped out into Micrographx to have the lens flare added, then into Serif X3 for the text overlays. The final render of all items together was done at 200dpi, in Serif.)
Jade, 6 December
Wednesday, November 18, 2009
Riding beneath the ringed planet
 And now for something completely different. Lately, I've been playing with fantasy (God of War, Quest for Gold and so on), and SF (Spaceport, Land of Fire and others), and I wanted to mix up the genres, see what happens.
Turns out, you're reminded of something like Firefly ... a space western. Or maybe it's something like John Carter of Mars. I dunno what to call it, but I like it! What I did here was to create an Arabian-Mustang crossbreed (shades of Hidalgo!) with a dappled gray coat, ice blue eyes, black mane and tail ... then add Michael 4, wearing a face designed by me. I added the Mon Chevalier hair -- but I made it white, not blond. And the costume is the belt and pants from the SF clothing set -- see the whole ensemble in the Spaceport render.
To get the background, I took a skyscape, cut out a 600x900 swatch of it ... opened it in Irfanview, turned up the green, turned down the red, to get a lovely exotic coloration. Even so, there ain't no ringed planets in the sky around this neck of the woods! So -- a quick Googler image search turned up a halfway right Hubble image of Saturn. Now ... import both images (sky and planet) into Micrographx Picture Publisher. Import the planet into the sky image ... resize it and skew it 30% counter-clockwise. It's still sitting their on a black mat, of course! What you do is change the "merge mode" till the black background vanishes, then add a feather to the "object" (the planet image) so you don't see the border.
Now ... the image should have been done, but I gotta confess, I still don't know how to set up the lights in DAZ, when you have two BIG models -- guy and horse combined. The default lights are just dark, and when you render the shot, even if the pose and all else are perfect, the shot you get is flat and dim. (I've put in the other renders, and the sky backdrop, so you can see what I mean. Sure, sure, if I knew how to set up the bloody lights, I could have called it done right there! But I don't yet, so ...
I rendered the image, and opened it in Micrographx Picture Publisher 10, and got to work on it in the Light Studio. I changed the lighting model to "omni" and then changed the area of intensity to highlight the rider; tweaked the contrast too; and then went into the Lens Flare Studio to add the, uh, lens flare. And the end result is sheer poetry!
 Next thing I have GOT to learn is how to set up the damned lights, so I can generate the whole scene in DAZ. Mind you, doing the post work in Micrographx gives you the chance to get really clever and artistic...
Jade, 19 November
UPDATE: two years later, let's do this project over and see what happens...

On August 3, 2011, I was going through some old posts, and came upon this one. I thought, "That was a great idea, but it needed more skill than I had at the time to make it really go -- and also, more resources.
The original version of the post was done with VERY basic resources. Now, I have a great deal more in terms of 3D models, textures and so on to put into this, and I also have dimensions more skill...
This was the whole point of this blog -- to chart my progress from "close to day one" of starting out in 3D and CG, right through into work that looks like this:

See the new version of the "ringed planet" render here , where you can view it at full-size...
Jade, 3 August 2011


