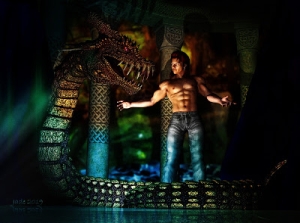
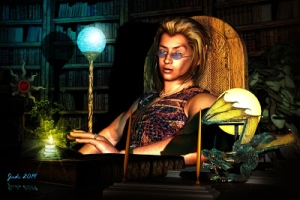
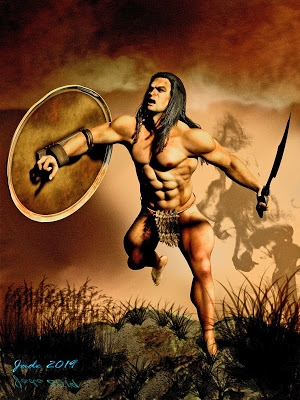
click to see all images at large size...
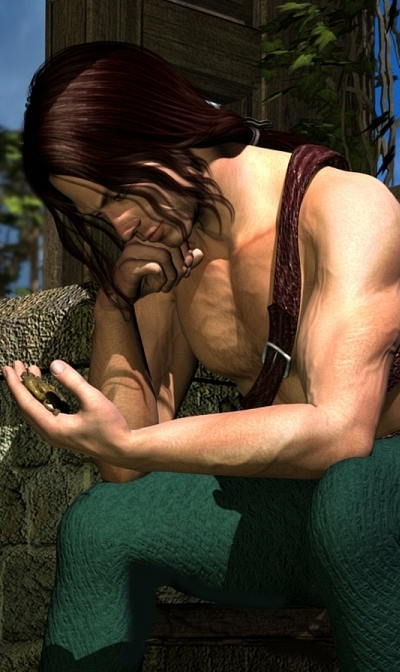
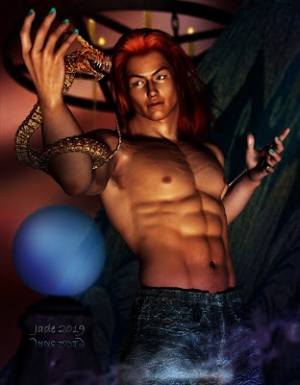
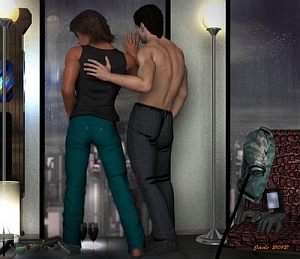
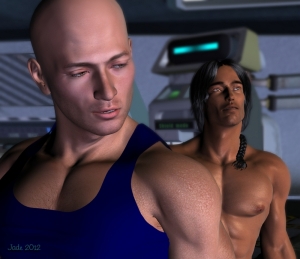
One of the things that puts a major crimp on your artistic license is that you tend to be limited by the skinmap you paste onto your model. Many of them look ... depilated. And it's true, a lot of guys do the hot wax thing. But not all of them -- not all the time. Sometimes, I think it would be soooo nice to be able to depict an actual guy rather than the product of the waxing salon! Uh huh ... so check out the first of today's pics. Call him Francisco. Why? Because he's something like an Italian, or maybe a Spaniard, and I like the name. I designed the face morph, and then slapped on an almost featureless skinmap actually, it's probably the most boring skinmap I've ever seen. And then -- what?
There's a "second skin" bodysuit type of "model" you can get from DAZ. It's been there for years, and I've always known it was there, just never got around to it. (Plenty of square and trianular tuits; just no round ones, you understand.) But last month DAZ was having a sale, and I picked up several new toys, including the Skydeck (parking bay for air cars), and a set of fantasy earrings for Michael 4, which you'll be seeing shortly, and ... Jepes M4 Body Hair.
And it works -- but it's tricky. Verrrrry tricky. Basically, all that body hair is sitting on a skinmap with an alpha channel -- which means the skin itself is transparent. So, when you slap it on the model, Michael 4 vanishes into the ether, leaving his hair behind ... along with his eyeballs and teeth, which looks hilarious, in the way that Chuck Jones cartoons are hilarious. Get over your fits of giggles, boys and girls, and figure out how to do this!
In fact, if you know anything much about DAZ at all (also Poser, admittedly), you'll know that you can have several models occupying the exact same spacial coordinates. Penny drops with a clanging sound. You load TWO Michael 4 models ... put your boring old skinmap on one of them, and put the hair bodysuit with the transparent skin on the second. Aha! So far so good.
I was concerned that the render time would be a week long ... hair slows it way down ... but it turns out, DAZ treats the hair layer as an ordinary texture map. In fact, the first render did look very flat, almost as if the hair were painted on. So I found my way into the hair layer in the Surfaces tab and played around with the bump and displacement settings --
In fact, I overdrove it a good bit, and had to wind it back again. The result is pretty realistic, up to a very considerable point. The only place where the illusion breaks down is right on the "edge" where you're seeing through the hair to the backgound, or something behind the hairy limb. That's the place where it doesn't look 100% realistic, so --
Hmmm. Didn't I just get a set of skin-painting brushes from Renderosity? And wasn't one of them a body hair brush? Yep. So, the model was rendered with the hair layer, and then painted in Photoshop to add in the final bits of the illusion .. and you really will have to look at this full sized, to see it! I've uploaded it at 1200 pixels high, so you can see the detail. Nice effect!
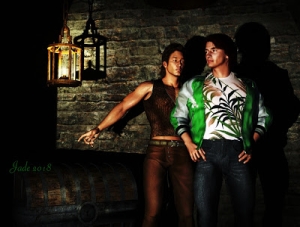
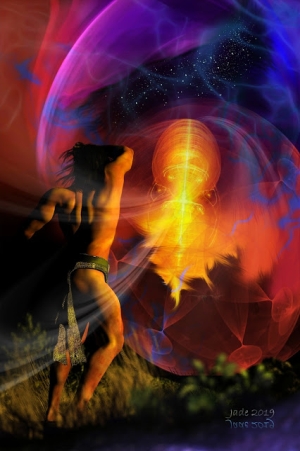
The second render is another in my Quest For Realistic Daylight adventures. This one just about has it nailed, what with depth of field and shadows and all. I rendered it big, so I could get into the fine details and paint them invisibly ... in fact, there's a lot of overpainting on this. It was done in about 20 layers in Photoshop, based on the original idea/theme:
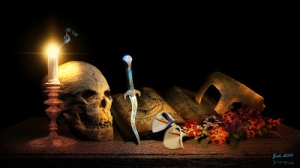
In this one, above, I ran an experiment with the Depth of Field tools inside DAZ Studio itself. The camera controls are just about the last area of DS that I don't have a death-grip on, and I've promised myself I'll get my head around them. Usually, when you see the DOF-blurred backgrounds in my work, I've pulled the trick in Photoshop. Not so with this one, above. First, I overdrove all the bump mapping in order to make the stone and wood look nicely realistic, then gritted my teeth and dove into the camera controls.
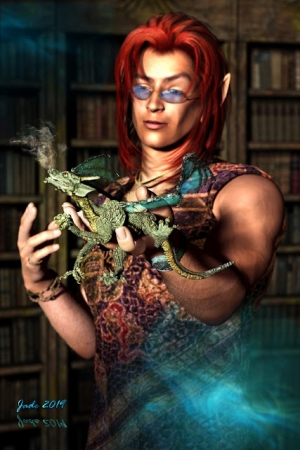
Well ... I made it work once, but when I tried the same stuff on Take Two (the one where Leon is studying a cloak brooch in the palm of his hand, second from the top today), no joy. So I don't have a full grasp of the system yet.
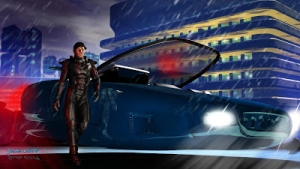
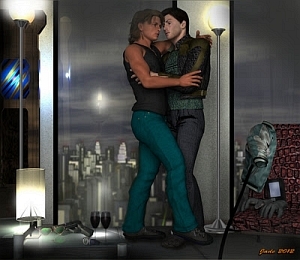
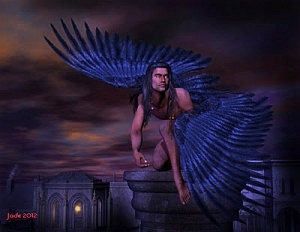
I got a bunch of other toys at the same time. One was a lighting set, which I'll use sparingly -- Light Dome Pro. Yes, sure, it does make the job of setting about 30 lights at a time as easy as a click or two, but using these lights in experimental stages the effect I wanted on the Skydeck set just wasn't happening for me. So ... what the hey? I lit this whole thing with spotlights and point lights -- and then painted the hell out of it in Photoshop. Here, get closer to it:
And (gulp) even as I type this, I have this scene rendering in Lux. I've set it to render using the same lighting set as I used in the DAZ render -- all spots and point lights. It's distant lights Lux hates. So in a few hours I'll know if I have a Lux scene here. (Meme: get ram, get ram, get ram get ram...)
You can't tell in the small images Blogger pastes to the page, but it's a dirty night on that Skydeck -- it's raining; you can see the rain in the haloes cast by the lights. This was done with Photoshop brushes, of course...
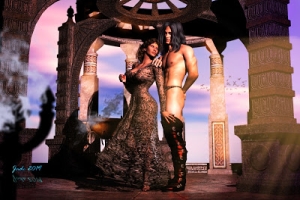
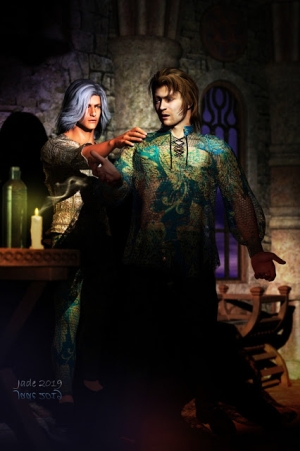
In this one, which I call Absent Friends, the fist thing I did was paint the textures for the fabric and leather, before slapping them on the models, and then rendering it all up. Then, the skin tones are overpainted to get a couple of effects, and a lot of the shadows are hand-painted. Good thing I enjoy painting in Photoshop!
A little while ago someone was asking what brushes I use. The truth is, I have scores of brush sets, and some of them can have scores of individual brushes zipped into the .abr file. In the renders you see here, today, I've used mostly Photoshop's own brushes (default and caligraphy) to paint the shadows and a lot of the lighting effects; then I used the FS Wild Weather brushes for the rain, and Ron's Bokeh Lights for the lens flare effects, and something called Channing Body Hair for the edge work on the Francisco character, and the Gypsy Brows brushes for his eyebrows:
...the effects are very subtle. Believe me, you'd tell in a heartbeat if they weren't there. The skinmap I used on this character is one of those (and there are loads of them) where the eyebrows are so insubstantial, you wish you had an alternative. So I indulged myself in the Brows Brushes by a designed called Gypsy, and experimented to see what results I could get. It's not point-and-click, but you can do some very nice things with these brushes --
One thing I'm about to do is ... I wanna paint my own skinmaps, so I'll get exactly what I need. Having brushes for body hair, brows, and also skin texture details, like pores, really helps with this.
So, if you're trying to follow in these tracks, you'll need Michael 4 (duh), and some kind of skinmap that gets you into the ballpark; the eyes are one of the photographic eyeball sets, The Eyes Have It. The hair is the Jepes M4 Body Hair "prop" ... you'll work it out. The brows are done with the brushes I was just mentioning, like the hair along the edges of the limbs and so forth. The toupee is an old favorite, Mon Chevalier by Neftis, set to a lovely dark golden brown, and with the morphs tweaked ad infinitum. That's my own face and body morph though ... you're on your own there, guys. In the Absent Friends image, that's also a character of my own (Leon), wearing the Midnight Prince hair and Michael 4's own High Rez skinmap, but with another bump map applied to it to enhance the details. The location is comprised of two of DM's sets -- The Gate and Gadomar. Gadmoar is the building in the background. The sky is a photograph of my own, just a backdrop, nothing too clever. The sword and knife are from the High Fantasy prop set; the bottle and cup are from DM's Anardhouse, but I changed all the textures. The costume is actually the Euros set (top, kirtle, pants, boots), though you could be forgiven for not recognizing it: bits turned on and off, all textures changed. The harness straps in particular are neat: that's a liquid chocolate diffuse map (!) and a huge bump map made from a swatch of rhinoceros hide! All the props, sets and brushes, you can get from DAZ and Renderosity. The character morphs are my own, and I did some work with my own texture and bump maps here and there...
Now, I wonder how that render is going in Lux? Time to gird the loins, and go find out!
Jade, April 23


