Saturday, August 31, 2019

Stargate, anyone --?!


Stargate, anyone?! As I said in m last post (this morning!) I've just started to unpack a load of goodies I bought in 2013 or so, and couldn't install because I didn't have the hard drive space. Truth is, I'd forgotten what I have! There's oodles of stuff packed away there, forgotten! Costumes, hair, skinmaps, characters ... old stuff, which means low-polygon count ... which means I can render it in a flash! This is DM's "Pyrego," which has a real "alien pyramids" look about it --

Rendered in Studio 3 in no time flat, and painted up in Photoshop just as fast...


And the result is so striking, you're wondering what movie you missed! Tomorrow I'll see if I can coax these props into Iray, and see how they look in the unbiased renderer. Speaking of Iray --

On a whim, I went back to the black-winged character you saw this morning, and deleted the wings, which take about six hours to render. The rest of the character, leathers and all, rendered in two hours. Now ... if this was Stargate, the story wouldn't be complete without a Goa'ould, right? Someone to be the nemesis for Jack, Daniel, Sam and Teal'c. Okay, try this for size:


He has that supercilious arrogance and the physical perfection the Goa'ould always seemed to have. I could buy this character as a subtle villain. Not your over the top bad guy, but dangerous:


That's also a heck of a nice render. I've been using IBL lighting lately: it's a hell of a lot simpler than trying to get Iray to play nice with lights -- also, the more you try to light a scene, the longer it takes to render. IBL lighting works a treat. What you have here is Genesis 8 with a face designed by me, body morph designed by me, wearing Shavonne hair and one of the pale skinmaps supplied in the Michael 8 Pro bundle. What's it called? The one starting with a Z. Uh huh -- ooooh, my memory is loads of fun, isn't it?! He's wearing the Huntsman leathers ... and that is pretty good, if I do say so myself.

Can't wait to see if I can get Pyrego into Iray -- tomorrow's project. I also unpacked another set from 2013's shopping spree: Palladio, an ancient Greek garden and kind of temple. Now, I have some lovely stone and marble shaders for Iray which might just work with those old OBJ props. This is going to be interesting!

Friday, August 30, 2019

Wide black wings and shiny new leathers ... serendipity!


Serendipity struck last night. I was physically crawling around under the desk, playing tag with the dust bunnies while I jiggled cables, trying to get my internet connection back -- which I did. To test it, I started up my browser (I use Opera) and loaded something ... and saw that DAZ was having one of their rolling sales, with massive discounts. So --


The Morningstar Wings for G8 ... the Huntsman leathers, also for G8. I also got another costume, Crimson Seas, which is a buccaneer outfit with really neat "mix and match" sections, and a set of tattoos, which obviously you can't see when Genesis 8 is wearing the costume, so we'll play with those next. The savings were immense, being able to pounce on the sale right then and there...

The only downside to the Morningstar Wings is that they take a lot of rendering; predictably, my system won't finish them properly, so it's the same story as the satin shaders: you paint a lot in Photoshop after the fact, even though the render cooked for six hours overnight. But the costume rendered brilliantly, and quickly, so we'll be using that, and parts of it, often...

Playing in Iray, I went back to the low-poly set and high-poly figure concept for a second take:


This was a fairly manageable render, to three hours -- with the DOF turned on and the virtual camera aperture set to a quite small size to get a hint of that "bokeh lens" type effect. I'm not a fan of this hairdo, which was a freebie with Studio's starter pack --


-- I think it's a Genesis 2 hairdo, but at least it renders up well, if you jiggle the surface settings somewhat. Right out of the box, it looks ... plastic. Kill some of the gloss, crank up the bump strength and change the base color to a dark brown instead of flat black, and it looks credible. (It just also looks like something you'd see on the Three Stooges!) It's called Duke's Hair, and I guess it's supposed to look like Duke William of Normandy's coiffure ... the old "pudding basin cut" which was so common right up to the time of Richard III. (So-called because, so it is said, the barber put a pudding basin on your head and cut around it. Huh.) 

Anyway -- Matias for G8 with Duke's hair, all high-poly stuff ... sitting in DM's The Gate, a low-poly set. And it finishes rendering properly, so this obviously works. The Morningstar Wings are a very high-poly prop, added to a high-poly figure, and I don't think they'd finish rendering on my computer, supposing I left it rendering till the day Mephistopheles skated to work!

Photoshop to the rescue, right? Will be playing with the other new goodies later today ... might even be able to post a second time before lights out. As I said -- Serendipity, late last night!

Thursday, August 29, 2019

Old sets and new models -- neat results!


A new skinmap for Genesis 8: 'Matias' was on sale the other day, and since I didn't have an Asian map or morph for Genesis yet ... a small shopping spree This one renders up very nicely indeed ... and, interestingly, this guy is wearing a Genesis 2 pair of jeans, which fit well, and Genesis 2 shoes, which didn't fit at all. I think I've mentioned before that Genesis "whatever" costumes are a bit of a crap shoot on Genesis 8 ... but you can get lucky with them. So --


The next thing is, once you have a nice, high-poly figure to feed into your eons-old PC which doesn't have enough brains to give itself a headache ... whatchya going to do with the figure to end up with an interesting scene, rather than just another character study, where the figure is standing in front of a big, blurry background! I've done a lot of those, because that's what my hardware will handle; and since I've been having such a hard time with the old, low-poly content which does render easier (I haven't been able to save it to a project file in Studio 4.11), I haven't worked as much as I should have with the old sets. BUT --

Recent experiments are showing very promising results:


That's Michael 4, wearing the Adventuring leathers from Xurge 3D and the midnight prince hair, the Chase face and body morph and the Alexander skinmap ... rendered in Iray. And I know, it's not supposed to be possible to do this, much less to get good result, like...


So ... how? It's complicated, but not difficult, and it gives me a way to get around the desperate need to access my low-poly models from eons ago, while Studio 4.11 won't play nice, so that I can still get quicker renders. For comparison --

The Matias G8 figure, sitting in a low-poly set, was still a five hour render -- I left it cooking when I went to bed. But this fantasy piece with M4 in the same set took one hour.

Also, you have the additional bonus that using this work-around you can also get 3D assets which can't be installed into Studio 4, into Studio 4, so they can be still rendered in Iray. The trick of it is that you do need to have Studio 3 on and running! Assemble and pose everything in Studio 3, then export it to an OBJ, and have Studio 3's exporter "collect textures." Import the OBJ into Studio 4 ... it arrives as a piece of shiny white plastic. Now, you'll need to spend half an hour putting all the textures back onto it ... even then, every surface must be configured with three or four tweaks on every "UV zone" on the prop, or costume or whatever. Without these tweaks, the object comes up shining like a mirror. The tools are all there in the Surfaces pane. It took me a long time time to stumble over them, but you see for yourself, they're there!

Having rendered M4 and the set -- DM's The Gate -- in Iray, and liking the results, I thought, "Hmm, I wonder if I can get Genesis 8 to render properly if he's sitting in a low-poly set??? The last time I tried to have a Genesis 8 figure actually doing something rather than standing there like a catalog model ... well, after about about ten hours of rendering I wound up with picture full of grain. I realized there's a strict, and rather meager limit to what I can render on this older PC. But -- a low-poly set, now? Okay, let's give it a shot.

Result ... rather nice. And it rendered!!! Yay. So this opens up various vistas of opportunity, enough to keep my busy for the next sixteen months before I can afford to shell out about $2500 for a system that'll give me the freedom to play with Genesis and sets and shaders.

(Incidentally, if anyone wants detailed instructions about how to get old stuff, or third party stuff, into Studio 4.11 and configured for Iray, drop me a line. I don't want to bore the general visitor with that stuff, but if you need it, I'd be glad to do a special post.)

Wednesday, August 28, 2019

Xurge 3D costume in Iray ... wow! But -- how?!


Doing a small dance around the desk, because -- I found where DAZ have hidden the diffuse map controls. You'd never guess it in a zillion years, but I stumbled over it while looking for something else entirely, LOL And it's not without its problems, because when you plunk a diffuse map onto an OBJ, it's glossy as a mirror -- every surface has to be configured ten ways to get it to render properly. It takes quite a long time to get a good result out of it, but if you can just sweat through the process, you get this result, above ...

Now, that's the Xurge 3D Adventuring Leathers on Michael 4 ... but Xurge 3D costumes will not, no way, no how, install into Studio 4.x, and of course, if you want to render them in Iray, they have to be shipped into Studio 4 somehow. Why are we so dead keen to render this in Iray? Well, now:


Take a squizz at that, at full size, and your question will be answered! I have enormous problems rendering the high-poly figures. Genesis 8 + hair +costume, and my video card is so far maxed out, put a fancy shader on a costume and it chokes ... I paint for half an hour in Photoshop to finish the picture. Meanwhile, the lower-poly figures render up very nicely, and FAST ... Michael 4 renders in Iray in one hour. Yes, one hour ... not five.

The thing is, to get a lot of the existing M4 content in Iray, the only way is to export M4 with the hair and costume out of Studio 3 as an OBJ, then import it into Studio 4, apply all the materials and textures ... takes a looong time to get to the point of being ready to render. So --

You could use shaders to re-skin the costume on the OBJ --?? I looked into this, and the result is not quite what you were hoping for:


Sure, you're done in one tenth of the time, but, but, but ... there just isn't any substitute for the original diffuse maps, is there?! So, OBJ export/import is the way to go.

Not that the system doesn't come complete with its own suite of problems. Basically, you can't export any of your own characters (the exporter ignores the Morphs++ adaptions), so you're stuck with stock, off the peg characters ... also off the peg expressions and poses! Yep, the OBJ exporter also ignores all your posing! So you can't just do anything with M4 and his fantastic cossies, and send them to Iray. You're limited in what you can do. But even so --

Mix and match head/body morphs and skinmaps helps to create some very nice characters. This one, here, was done by mixing the morphs from the Chase character with the skinmap from the Alexander character... and (sorry guys) that skinmap is no longer in the DAZ store.

This is Chase, with its original skinmap:

catalog image from DAZ. Search on: Chase for M4
I never had much use for this face morph, because it didn't render up so nicely in the simple old 3Delight render engine, which was all I had at the time. But when I added the Alexander skinmap to it, it came to life. And I can't show you a catalog image, or give you a link for Alexander, because it's gone. Too bad, that, because it was a fantastic skinmap. Ah, well.

Anyway -- this is the basic plan: custom design an M4 figure (alas using all off the peg poses, morphs and what have you). Export to OBJ, import to Studio 4 ... apply the original maps (for reasons which became apparent above!) and plunk it into Iray for just one hour. Low poly figures and sets, see? Zoom! Render complete, with vast improvements over the raytrace. This will keep me happy till I get my new computer (Christmas 2020), and can send my old favorites to Reality again!

One last thing for today --

Happy New Camera. Uh, phone. 
Uh, well, whatever it is --


Yep ... new phone with a 16MB  camera, plus a bokeh lens. It's the UmiDigi A5 Pro. You wouldn't believe these were taken with a phone, but they are. Am pleasantly astonished ... and will be using the phone as a camera when Dave and I head back to the Grampians in a month's time!

Speaking of Dave: Happy Birthday to my One and Only today!! 💕😀

Sunday, August 25, 2019

New leathers for Michael 4 -- nice!


I got back to Xurge 3D, as intended, and got those extra costumes for Michael 4. This is the Adventuring Leathers -- it renders up beautifully. All I had to do was add a bump map; a displacement map is supplied with the costume, but it's in the TGA format, which DAZ  refuses to read. It's too late tonight, and I'm too tired, to track it down and convert it (to the JPG that DAZ is looking for), so I just slapped a generic leather bump map on all the leather, and so forth. This is a very good costume indeed!

Also, I left this one rendering overnight, last night:


Well, I guess there are some things I just can't render ... the satin shader is one of them. After five hours of render time, it was still nowhere near "cooked," so I painted it in Photoshop to get rid of 247,993 unresolved pixels. Ack. Don't expect to see this shader too often before the end of 2020, when I get a computer that's 5x more powerful than this one is ... too much work, painting.

And really, seriously, there's stuff you just can not render with the older computers --


This is the Starcarrier set, which I used for the hangar bay in the NARC images. It looks pretty decent at this size, but it you look at it full size, you'll see that it really isn't anywhere close to "cooked," and this little image was a four hour render! Can't wait for Christmas 2020, and a new computer!

Anyway, we can certainly have a lot of fun along the way ... I actually like the raytraces. They have the feel of artwork. They also take a matter of a few minutes to render, LOL. Anyway -- next thing is, I want to put the Adventuring Leathers into Iray, via a OBJ export/import to get the costume out of Studio 3, and see how it looks with a set of Iray shaders, in Studio 4. I just wish I could find a way to make Studio 4 add a simple diffuse map! Or install 3D assets from third parties -- but it won't; and I tore the directory structures apart till I found out why.

If you've ever tried installing third party content to DAZ Studio 4.x, you'll know it's a terrific crapshoot. Why do some things work, and some don't??? Because some 3D assets have "data" files, .dsf files, which make Studio 4.x recognize what they are ... and some don't. Without those .dsf files, saved to the \data folder, you're sunk. Nothing is going to work. Uh huh. So ... OBJ export and import is the way to share files across the great divide ... and then whack shaders onto everything, because ... if there is a way to make Studio 4.11 add a simple diffuse map, I can't find it! How weird is that?

Saturday, August 24, 2019

Nights in red satin ... and a vampire hunter!


Actually, the images didn't connect themselves in my mind till I'd finished rendering them! Nights in red satin ... okay. Genesis 8 looking sultry and gorgeous. Now, add this one:


Yes, our old friend Leon, standing in a new set I just acquired today (DM's Absolute Sanctum, I think it's called). Now, what's he doing in a place like this, at this time of night? Tracking down a vampire? Right -- hence, the Van Helsing coat, no doubt! Now, just imaging that the guy in the red satin is the vampire ... and let your imagination spin away on that topic!

The set itself is very nice and was on sale at Renderosity:


Lots more experiments today. Couple of days ago, I discovered that the M4 Head Morphs++ do not carry over into an exported OBJ, in the event that you want to send your version of Michael 4 to DAZ Studio 4 as an OBJ -- wearing a costume that can't be installed into Studio 4, for instance. Then I wondered if the commercially created head morphs will carry through the conversion to OBJ, and it turns out --


-- they do. This is the Chase for M4 character, skinmap, face and body morph. On the left is the character as built from scratch in Studio 4, from the M4 model, Chase skin maps and morps, and Mario's Hair by Neftis, wearing the AS Narquilir costume. On the right is an OBJ created in Studio 3 from the Chase head and body morphs, and imported into Studio 4. You can't actually tell the difference between them. To make a fair comparison, I re-did every texture with Iray shaders --

And here's the neat thing. The M4 figure is low-poly count. Means it renders fast. I told Iray this image could cook for two hours, if it wanted to, and it was done in about twenty minutes. Aha. And if you're careful with the old figures, with lighting and so on, you can still get credible results:


That's actually not too bad. The coat was done with a leather shader, but the M4 maps (and the Midnight Prince hair) are just the original maps from many years ago. Low poly figure, high poly set ... two hours in Iray -- as opposed to four hours for the satin shirt guy ... and after that amount of time the satin still hadn't rendered fully, so I put the picture into Photoshop and painted it to get rid of the acres of unresolved pixels! No more time to leave it rendering...

I'll set up another one and let it render while I nick off to bed (yawn: it's half after midnight), and we'll see what five hours will do for it. This satin shader is sumptuous, fabulous, but it takes a whale of a lot of processor power. Ouch!

One last thing for today -- wallpaper, 1900 x 1080. Enjoy!


Thursday, August 22, 2019

Import, export, textures, painting ... check this out!


Still having fun wit the new costume ... playing with the textures -- diffuse and bump maps, plus gloss and reflection values. Yes, it's a painted raytrace Also, check out that floor! Love this character, too (one of my own):


Very, very pleased with the results on this -- all done in DAZ Studio 3, of course, with some painting in post, in Photoshop Elements 9 (the 2009 version, when you could buy it outright, own it ... ah, those were the days!). In fact, I was enjoying this so much, I did a second project:


Same character and skinmap, but I switched out the hair. The first wig is the My Rock Star Hair from Neftis (DAZ Marketplace), and this one here is the Aether Hair, from Renderosity...


The other thing I do love about working with raytraces is that you get to PAINT a lot with them. And you can paint on raytraces, whereas if you paint on Iray renders, it looks totally fake. There's so much more art goes into raytraces. Sure, I know Iray gives you more photographic renders, but there's times when I actually want, and prefer art, But...

I've been dying to get the new Xurge costume into Iray, to see how it would render up. Sigh. I beat my brains out, trying everything and anything that anyone could think of, to get it to install into Studio 4.11. What a joke. People on the DAZ forums have been saying for eons, DAZ have "done something" to Studio 4 to make sure it can only use products you buy from the DAZ Marketplace ... and I'm sad to say, I think I agree with that. I cannot get anything I didn't purchase from them to install. So...

I thought, how about we export the product as a OBJ, then import the OBJ into Studio 4.11, and render it? Sounded like a good idea. It's also dead simple ... and to one degree and another it actually works:


BUT... when Studio 4.11 imports the OBJ, it refuses to import it with surface maps "on." Up to Studio 4.10, when you imported an OBJ, it was "ready to go." Well, not now. When it leads, you get a plain white plastic objeft (above, left). There is also no way to add simple diffuse maps to the OBJ. You have to re-do everything with shaders ... fortunately, I figured out how to do it fast, and of course when it renders up, it's pretty stunning in Iray...


...except for one key thing. His face. You notice his face? Compare the face on this model here, to the face you saw in the top renders. That is the same guy, as exported to an OBJ file, right? But the face morphs dropped out. By the time you've got the mapping onto the OBJ, you realize --

That, there, is Michael 4, right out of the box (wearing the Jagger skinmap). The face I designed, for my character, did not carry over through the OBJ conversion. Soooo ... yes, we can get costumes like this into Iray, via OBJ export, but every time, you're going to see the Michael 4 base figure. You can't have the costume and the character you designed. Well, rats.

Still, it's a hell of a nice picture, and I learned a lot, and had a lot of fun. More experiments to try tomorrow, but I know by now, M4 Head Morphs++ do not get copied into the OBJ. I also know that two out of three skinmaps won't apply cleanly to the OBJ. So it's a bit of a crap shoot.

If anyone, anywhere, knows how to get third party content into Studio 4 ... don't keep it to yourself! I'll keep on trying. More soon!

Wednesday, August 21, 2019

Gladiator ... seriously. Nice!


Playing today with the costume I bought yesterday ... changing the textures and surfaces on it, to rather good effect, actually. Also --


On a whim, I took a crack at hand-painting the hair, and am quite pleased with the result. It's actually somewhat more realistic than the usual ... though I do admit, I need a lot more practice! My real problem with this kind of very, very fine work is (yep, you guessed) shaky hands. Truth is, my hands just aren't rock-steady enough to handle painting reliably at the two pixel mark! At least, not with a Wacom Bamboo tablet. Maybe if I was painting directly onto the screen! Sooo...


Let's go again! Switch out some of the textures and play with the surfaces on the set. Result: nice! I also switched out the skinmap on the first character above (the one with the hand-painted hair), which is why he has a slightly different look. The skinmap there is Jagger, which you usually see on Amadeus -- and Kevin Jarrat (thanks, Mel Keegan, nudge, wink). Such a handy skinmap. The skinmap on the second version of the character is HZ Victor, which did come from Renderosity a long, long time ago.


Still need to get back to Xurge.com and buy another couple of those costumes. Didn't get the chance to do it today, but it's on the agenda for tomorrow. Michael 4 renders up beautifully, even now, and I'll tell you something: I'm really enjoying the return to Studio 3! It's so fast and it's such fun. RAytraces, with a bit of over-painting in Photoshop ... have to admit, I really do like the texture and flavor of this kind of work.

The set, incidentally is The Mirador, by DM, which I think came from the DAZ marketplace a long, long time ago. I actually bothered to track it down, LOL. Try this, if you're interested. Anyway ... the oars are back in the water, and we're having fun with this again. There are loads of images in my mind's eye right now, dying to get out. So -- more tomorrow!

Monday, August 19, 2019

New Costume, Michael 4, Misadventures in Iray, and -- wallpaper


Yes, I know ... you thought I'd gone again, wouldn't be back for another two years! Not quite. I did get sick, and I have been going through "hell and high water" with DAZ Studio 4.11, which I still absolutely detest, because it will ... not ... work ... properly. I've had an open ticket with tech support for three months now, and they're apparently no closer to being able to get it sorted out than they were when I began. And yes, I've chucked around $900 at hardware and software to reach this point --

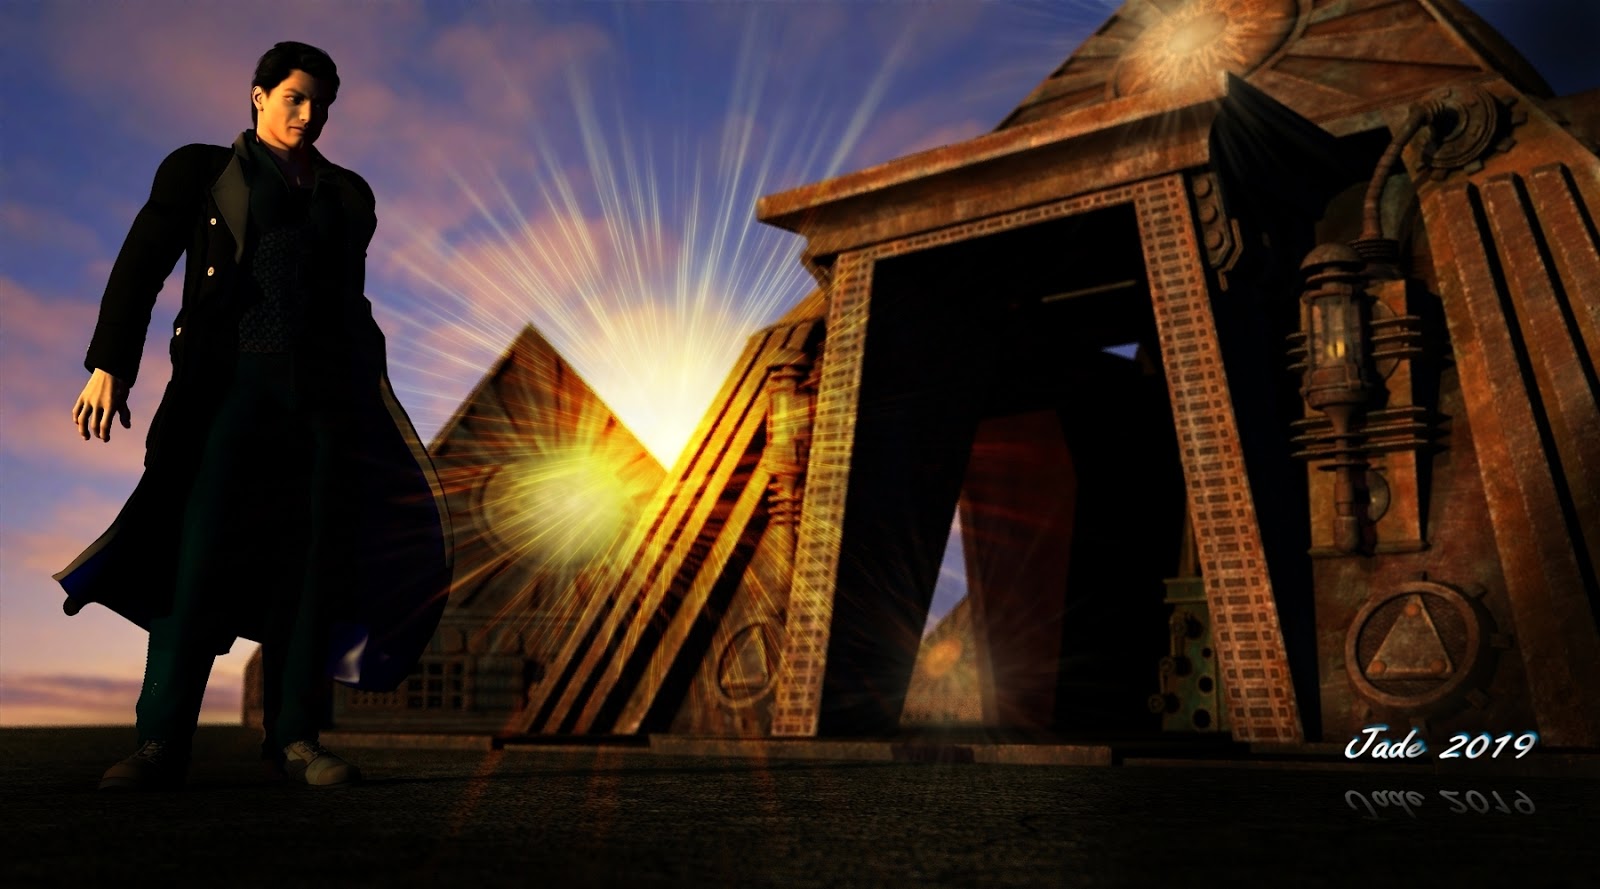
Does this look awfully familiar:


That, ladies and ... ladies, is a DAZ Studio 3 raytrace, with a tiny bit of over-painting in Photoshop Elements 2009. Yes, ten year old software. It WORKS. First time, every time. And yes, I'm so far up to my eyeballs with Studio 4, I've gone back to Studio 3 to get some art done...


Mind you, the costume is new. Studio 3 is so reliable, I went from browsing the catalog at Xurge 3D, making the selection, buying it, downloading, installing, and painting the raytrace, in twenty minutes flat. This is an old character of mine, "the conjuror," whom you've seen several times before, usually performing a double act with a giant lizard -- 
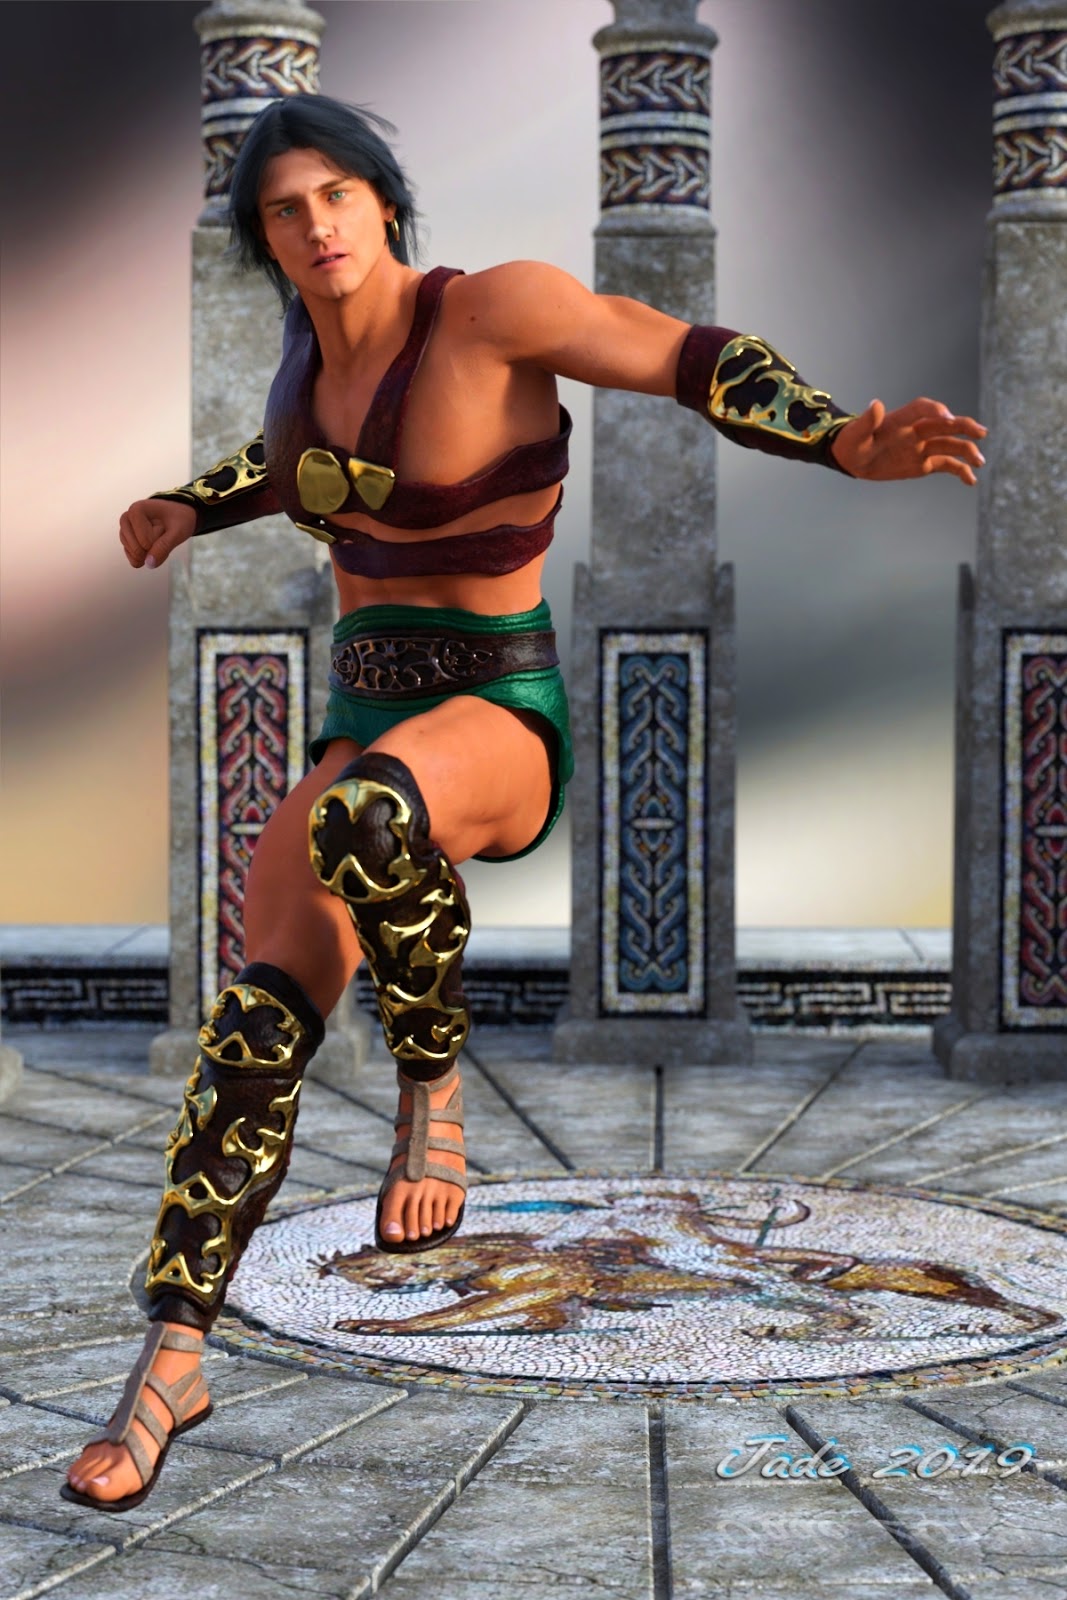
Snake Charmer, and so on. This time, he's recast as a kind of fantasy gladiator, on account of this cossie:

Catalo image. See this...
Nice stuff at Xurge, and they're having a 50% off sale till the end of the month. I've got some more stuff short listed there. I'll be shopping again in the morning, and will help myself to at least two other costumes from my short list, so -- expect to see some or all of these:


Again, those are catalog images, and if you're interested, and would like to see the whole range for Michael 4 at Xurge 3D, the addy you want is this: https://www.xurge3d.com/daz_3d_michael_4 ...

Uh huh, I've become so sick and tired of the high-jinx associated with Studio 4.11, I've even gone right back to Michael 4! As in, nuts to Genesis and Iray whatever for the moment. I'll get back to it in due course. The biggest problem I have is that Studio 4.11 can't save any of the old content. That is, all the Michael and Victoria 4 figures, costumes, hair, plus all the props and sets from that era. Studio 4.11 loads it all. It renders it all. Noooo problem, till you come to click on SAVE FILE, and when you do, it makes a project file (on the .duf file extension) which is so buggered up, when you reopen it, you get this -- all 3D models lost, stacks of boxes where they ought to be:


Wouldn't that just burn your noodles to a crisp? Yep. Tech Support are at a loss after three months, and I'm so sick and tired of wrestling with it, I've gone back to Studio 3. You see, the problem is, I need the old content in Studio 4, for two reasons. One, I paid over $3,000 for it, can't afford to buy all new stuff at this time ... and even if I could, the costumes and hair are not even available for Genesis 8 yet. And two, my computer is too slow to render the "high-poly-count" sets and figures, which are all you can buy, brand-new, for the Genesis generation...

Huh? Well, it's all about how many polygons go to make up the figure, embedded in the mesh. The higher the "poly count," the longer it takes to render something to get the grain out of the image, right? Right. That's fine. I don't mind long renders. But the new 3D assets are so high in the poly count, my video card "chokes" before the picture is anywhere near rendered. Like this:


Ten HOURS in Iray, and it's still nasty. You could leave it cooking till doomsday, it won't get any better. The problem, with this many polygons in the project: I can render the figure OR the set, but not both. Sooo...


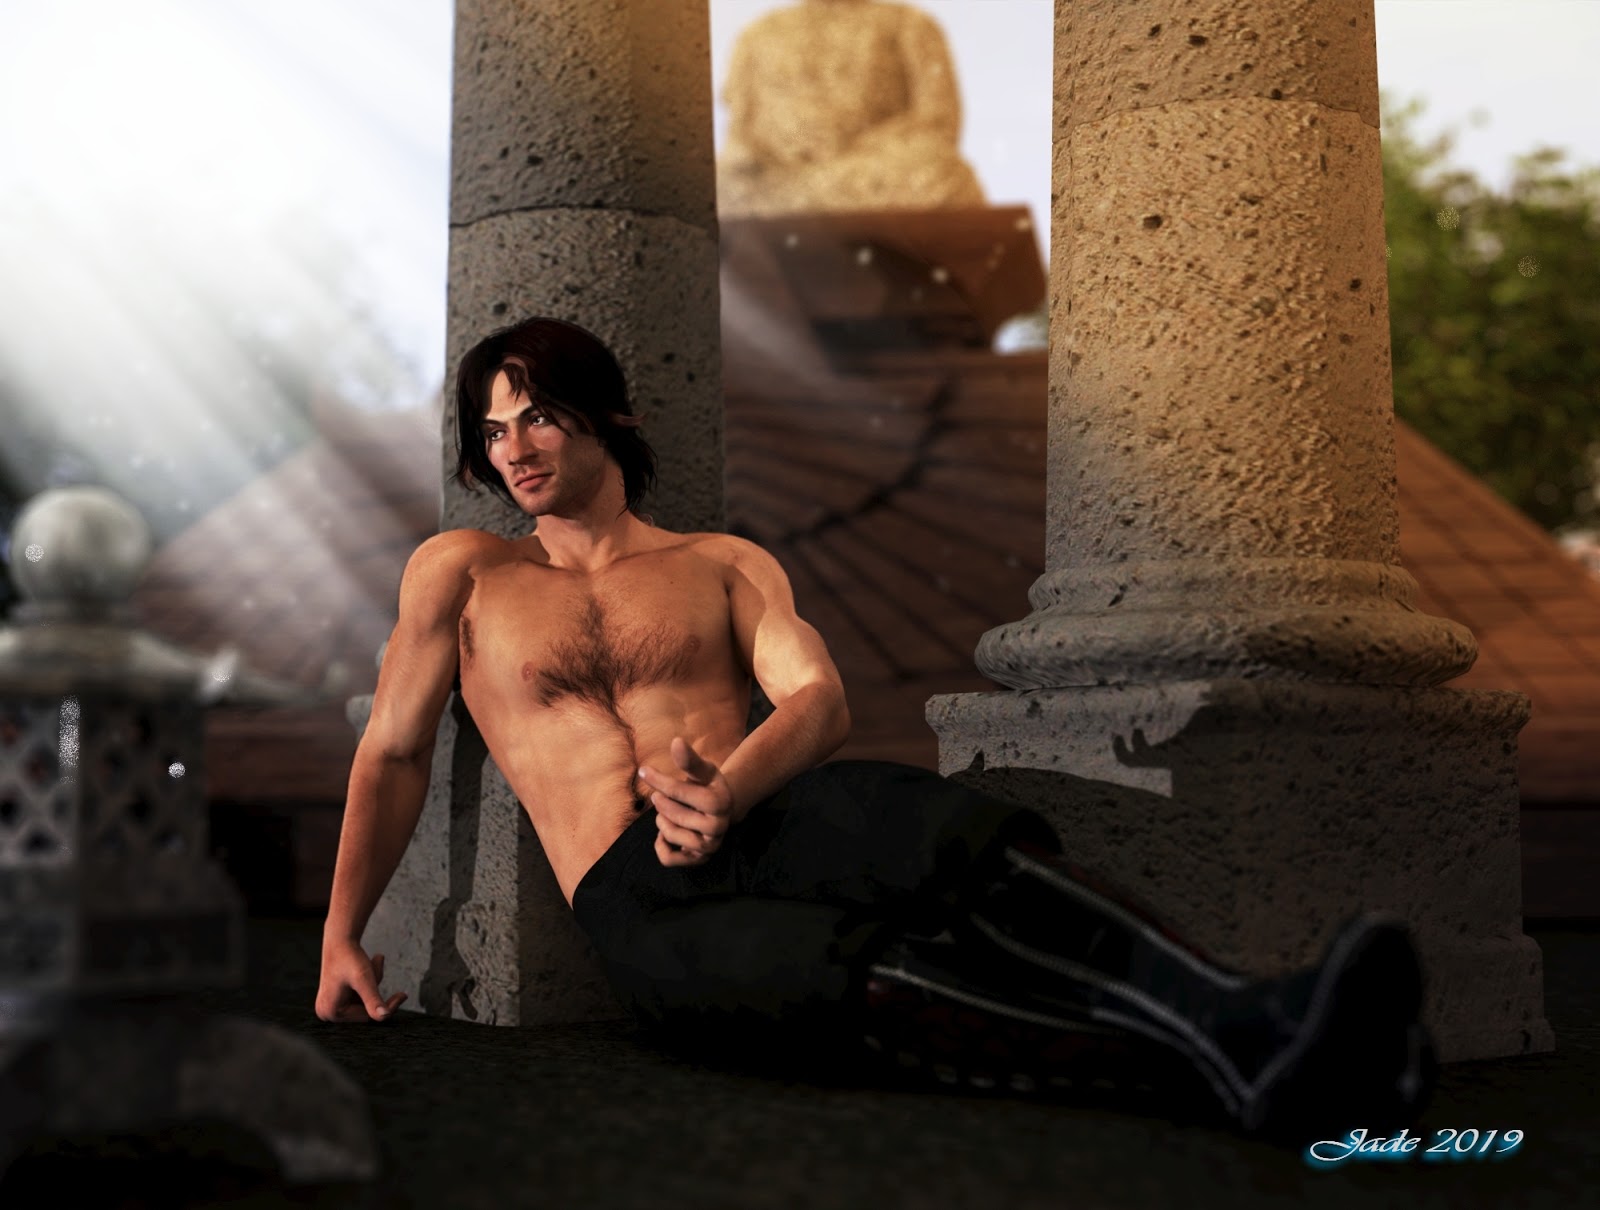
Genesis 8 is all very nice, and Iray is dandy ... and they render the old content well. Check this out, if nothing else:


There you go, that's Michael 4. Midnight Prince hair, costume, set, yukimi, columns, statue, the works. Renders a treat. BUT as soon as you save it, you wind up with a stack of boxes where all the figures and props should be ... so you can't safeguard your work against a computer crash, a power outage ... or come back and finish it tomorrow. Everything is one-shot, on the fly -- !! [Insert sound byte of Freddie and the boys singing "Thunderbolt and lighting, very, very frightening!!]

So ... I'm tired enough of the rigmarole to say "stuff it," and run right back to Michael 4 and Studio 3. Yes, I'll come back to Studio 4 ... yes, there are experiments to run, and workarounds to be tried. But it's a bloody great nuisance, and you shouldn't have to, and I'm tired. So --

Shopping happily at Xurge 3D, rendering to my heart's content in the old program! More art very soon ... and a lot less wheel-spinning and mucking-about. Right? Right.

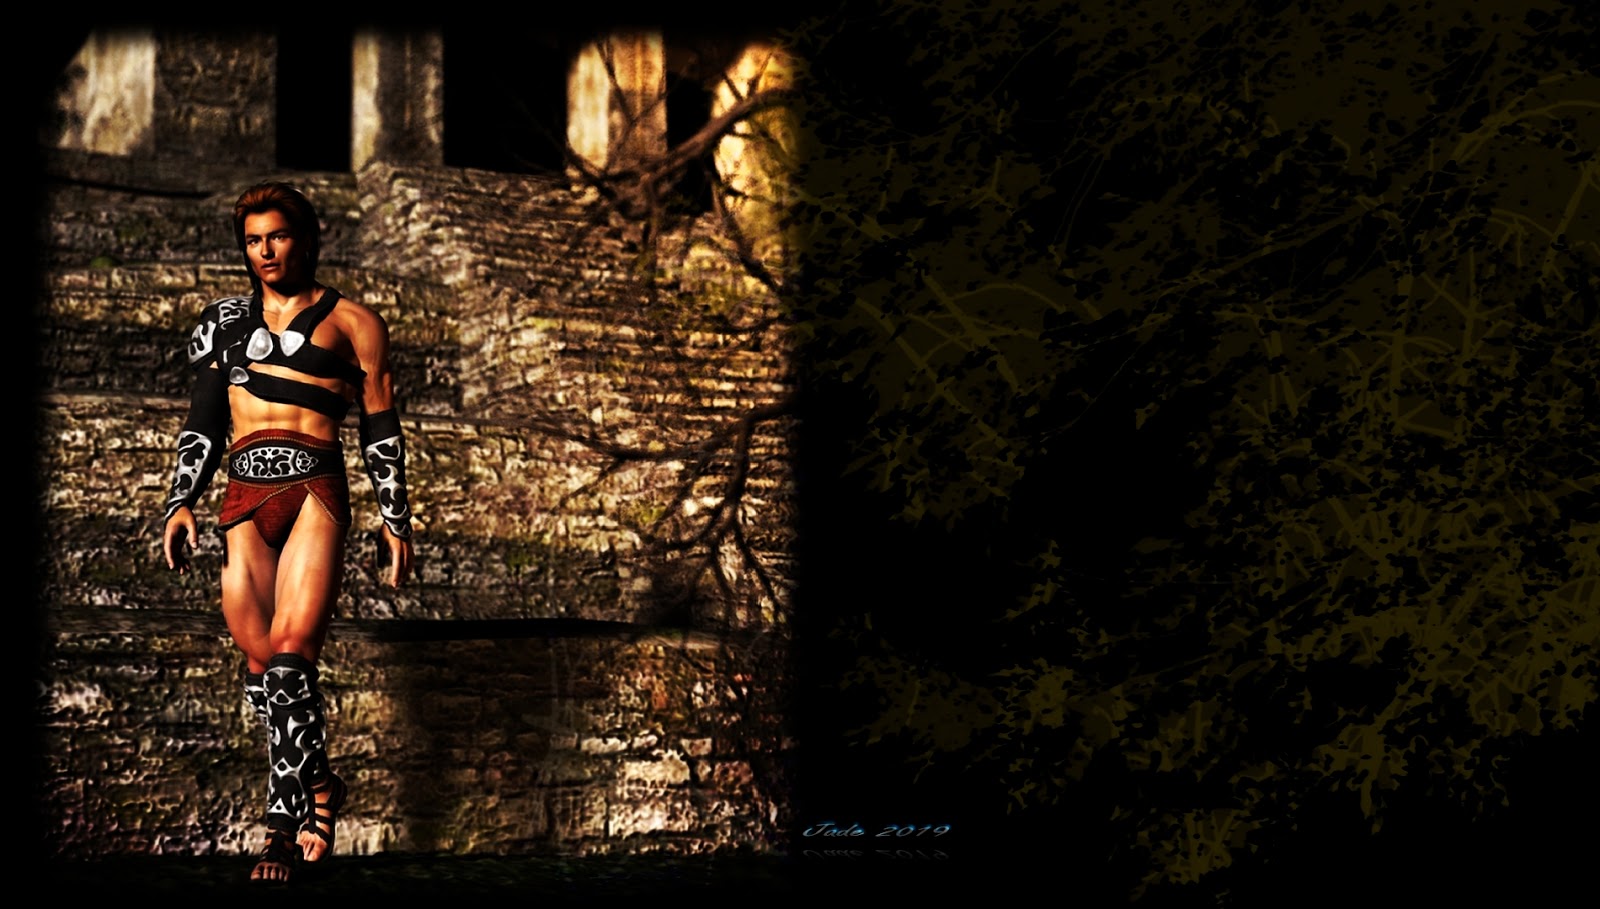
So here, have a wallpaper featuring today's hunk:


That's 1900x1080, and it should look terrific on most monitors. Looks a treat on mine!

Back soon....