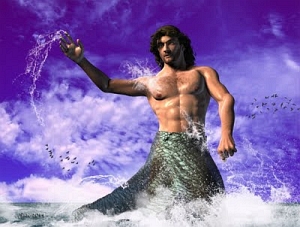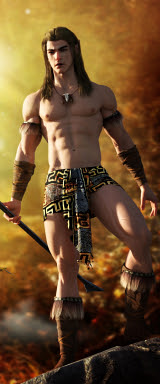

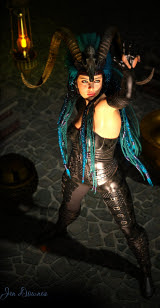


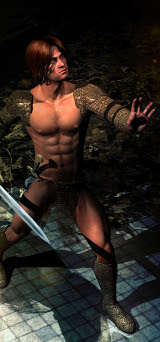


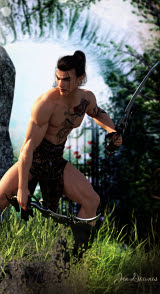


 Underwater effects are fairly easy to do -- same as atmospheric effects -- in DAZ 3D. You just have to know how. You can pay for plugins to do this sort of stuff for you, but they're a bit expensive ($30 or so), and they're also very, very heavy on system resources. I did get the particle animation plugin, and some shaders ... the reason you haven't seen them on the blog here is that even a fast system (quad core with 4GB of RAM and a 1G video card) falls over its own feet when you ask it to do that work.
And the fact is, you can save time and money and do it the simple way...
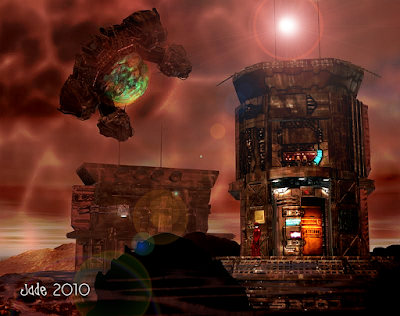
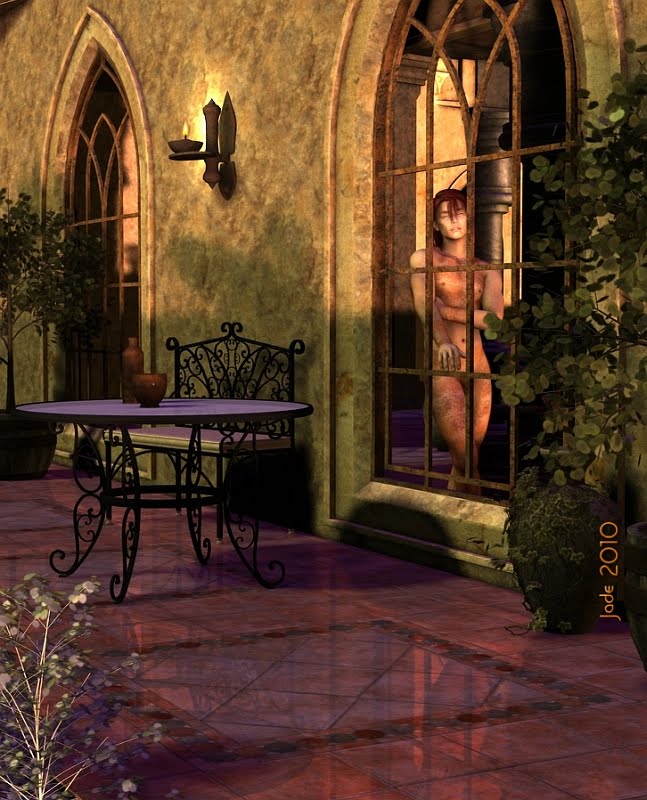
 All the effects in these shots were done the exact same way as the atmospherics on the industrial planet in yesterday's shots. So ... what's the trick?
It isn't even a trick, just a basic knowledge of how primitives and maps work.
A primitive is a basic shape created by the software. It sits there like a big piece of gray plastic, waiting for you to do something with it. And to make something of a primitive, you apply maps to it. Primitives in DAZ come in several kinds. Cube, Sphere, Torus, Cone, Plane, that sort of thing. Remember your high school geometry?!
To make the effects you see in these shots today, all you need is the Plane and the Sphere. I also used a Torus (donut) for one of the effects yesterday -- I'll get to that later.
First, find the controls to make primitives. In DAZ, you've seen the bar menu across the top that gives you View, Render, Create, Tools ...? Look under Create. You get the option of creating lights and Deformers and (!) Primitives.
Play with making planes and spheres. Get familiar with sizing and moving them. Then, to do atmospheric effects with them, you need to know two things: 1) if you put an x-coordinate of -90 on a plane, it stands on end like a big, blank backdrop. And, 2) you can slap any kind of map your heart desires on a plane.
Penny starting to drop. Uh huh. Check this out:

There are no models in this shot. None at all. The ocean and the piling are primitives with maps applied. A JPEG photo of a length of wood was put onto a cylinder ... and for the water I used a DIFFUSE map, and an OPACITY map, and a DISPLACEMENT map -- and the same map served for both opacity and displacement. The sky is an old Bryce render I did months ago.
Now, a diffuse map is basically a picture which you want to appear on the object:
 This is part of a photo I took a couple of years ago, from the end of a jetty in the late morning or early afternoon. Calm, green sub-tropical seas ... nice place we live in, I know! If you were doing an ocean-surface shot, you could make a plane and put this on it as the diffuse map. Then, you'd want to give it a bit of transparency (so you can see through it to objects below the surface), and you'd also want to suck the surface up, so it looks like there's a light chop.
You can use the same map for the transparency and the rucking:
 That's pretty much what you need to know about mapping, in a nutshell! The maps are added in the Surfaces tab, and you play with the percentages till it looks right. (Also, surface water should have its reflectivity set, so it reflects objects above the surface.)
Now, when you go underwater you're also going to use maps ... same kind of map as the opacity/transparency map you see right here ... but for different reasons. Underwater, you don't see reflections, and but do get effect of dimness, and currents, and light striking through the water.
Make three planes and stand them on end with a -90 x-coordinate. Stand one in the background and make it dark blue-green, because this one is pretending to be ten cubic miles of water. Stand the second plane a bit in front of the dark one. Make it light sea-green and slap an opacity map on it ... the map makes swathes of this plane go transparent; the lighter parts show up against the darkness of the background, like currents and shafts of light angling through water.
You're halfway there now. Set the last plane to a lighter sea-green ... put the same, or similar, opacity map on it and stand it (!) right in front of the camera. Saaaaame effect, but now the currents and light-shafts effect show up between the camera and whatever models you pose.
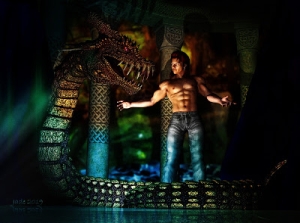
I've used the Mirador temple, and a scatter of columns from the Eroc column construction kit. For the seabed I used another plane and put a grassy surface on it. Then I used a grass-carpet prop by Rhodi Design to create the effect of sea grasses in the foreground. The background is my trusty old terrain prop which was made in Bryce ages ago. I import it every time I need a hillside or a bit of ground for a character to stand on. This time, I scaled it up till it's huge, and used four instances of it, rotated around and positioned.
Last thing: lights. I used only two. One distant light -- white -- pretending to be the sun ... offset at about a two o'clock angle; one spotlight, orange, to put a little warm highlight on the top arch of the temple ruin. Both lights were cranked very bright and then deep shadow maps turned on.
 The only other thing in these shots are some bubbles ... and they're just spheres, scaled and positioned, with the same opacity map on them, all colors (diffuse, specular and ambient and reflection) set to white, then the reflection turned up to 100% and the lighting model set to metallic. The down-side to the bubbles is, they take a long, long, long long time to render, so I didn't do them in every shot. I don't have time for 30-minute renders, halfway through which you realize something isn't right, so you cancel it and start over!
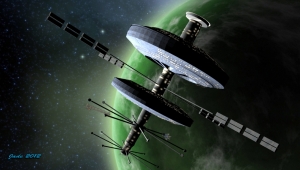
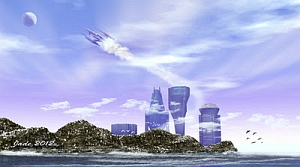
And that's it. Honestly! In yesterday's pictures I used the exact same technique to create atmospheric smog layers. The only thing I added was a torus, made huge and stretched, in the foreground. With an opacity map set, it became the mist layer close to the camera. And the repulsion fields under the ship were done with two nested spheres, both with opacity maps set, and diffuse maps used to get the colors, and the reflectivity turned up to 100% -- then I just shone a spotlight on them, and wham! Instant Arago field.
Now you know what you're looking at...

Same thing exactly -- just different colors. With the blues and greens and a character swimming in freefall, they eye sees water. With a sky and so on, the eye sees smog and dust. But the effect is worked the exact same way, right there in DAZ -- the free version -- without any plugins. Nothing to buy ... and as for the opacity maps, you can paint your own in five minutes -- those, you don't need to be buying.
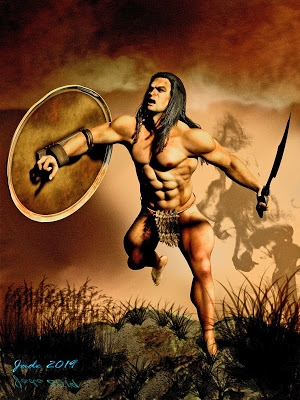
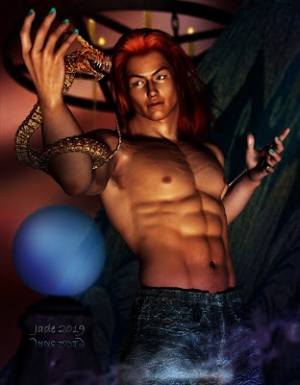
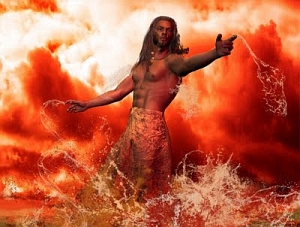
The character swimming here is Michael 4, and he's wearing the Spartacos hair, which is great for this work because you can float it ... and it's the only hair model I have at this time which is floatable. Perfect for freefall.
Hope you enjoy playing around with all this. It's a lot of fun.
Jade, 24 October
***Posted by MK: my connection is intermittent, too slow for this. Seriously, guys, I've got dialup speeds. How are you expected to do anything these days, at 1990 dialup speeds?!!!