Showing posts with label Yaoi. Show all posts

Friday, October 25, 2019

Dark Prince meets Elf, in Iray -- technically impossible, but...


You know that saying, the one that says you learn a whole lot more when things go wrong than when they go right? Well, safe to say I've learned a hulluva lot in the last few days! Because nothing worked out the way it should. But I managed to find enough work-arounds and fixes to say that I know a lot now that I didn't a week ago.

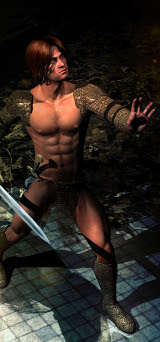
Dark Prince Dae meets Ferendir the woodland elf ... both rendered in Iray. That's a Genesis 8 figure and a Michael 4 character in the same shot. Anyone who's ever tried this will probably tell you (rightly) that you can't render the two together, because the Iray lights that suit one are disaster for the other. To get the light right for G8 --


-- means setting Photometric lighs, which are way too bright for M4, by a factor of 4x or 5x. If you tone down the light so Michael 4 looks right, the G8 figure looks like he's standing in the dark. Soooo, what's the plan, if we want to have the two standing in the same scene?

First, make it simple and use a backdrop to cut down on render time, because you need to render the scene twice. Pose both characters as if you were about to render them together. Set up the lights, too. Then go into the Tone Mapping and play with the shutter speed on the virtual camera (!) to change the light levels -- figure out two levels, one for each character. Jot this down! Now -- whichever character is standing behind gets rendered first, with the shutter speed set for him: but while you make this image, "hide" the other character, plus hair and costume. Store this "bottom layer" render. Now, re-set the shutter speed for the character who's in front, and "hide" the other character ... render again.

You now have two renders, one of each character, both shots perfectly exposed. Paste them into two Photoshop layers and just ... erase the area of the background in the top layer, the part of the background dude is standing in the other shot. Yep, as you erase a swatch of the background in the top layer, it's as if you're painting in the other character, he just ... appears, perfect.

Well, mostly perfect. The truth is, the lighting is off a tiny little bit: Genesis 8 should throw a mild shadow over Michael 4 ... but you would need a very keen eye to spot this. I could have hand painted it, if it was critical, but it isn't so important ... and it's a rather nice picture. Yaoi image, anyone? I get definite Yaoi vibes off this!

So we'll call this done, and file the trick for future reference.

Less success with the experiments with the JM Falcon skinmap, though. I'd had high hopes for this, since it raytraces so well. Based on great results with the Ferendir and Atlas skinmaps in Iray, I'd rather hoped for another stunning result with Falcon, but --


Nope. It looks halfway decent when you see it at postage stamp size, as above -- but see it at full size, or even at 50%, and you'll see the truth. It dithers! This means it refracts, or breaks up, into a mottle of red and green in the Iray lights; and on top of that, it's so matte, I had to do all sorts of things with it to give it anything like the "glow" of healthy skin. Well, dang. So Falcon is purely for raytracing. Harrumph. Then again, I wasn't overwhelmed with the way the High Rez M4 skinmap rendered in Iray either. In a raytrace it looks pretty good, and in Lux, or Reality, it looks fine. But Iray didn't seem to get hold of properly it at all. It was basically ... pale and matte and fairly ho-hum. Is the term naff?

Anyway, there are plenty more maps to try out, and lots of things to play with. I shopped a couple of sales at Renderosity ten days ago, picked up some lovely toys and a couple of new shaders. Here's a quick look at two of the many items a acquired -- catalog images; see Sveva's Store for the lot:


It's just a question of finding the time to play with all this stuff. Have been so busy lately -- but I'm getting there. Back soon with more -- loads of experiments just begging to be done!

Tuesday, October 15, 2019

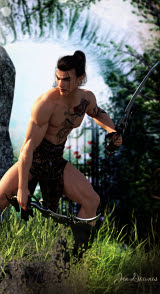
Woodland elf ... enchanted forest, Yaoi daydreams...


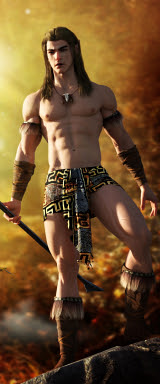
A woodland elf ... and I'm getting distinctly Yaoi vibes off this! The character would bear some more exploration, yes??! (nudge, wink)

Just daydreaming today ... still playing with the Ferendir skinmap, exploring ways to get the most out of it in DAZ Studio without -- yet -- seeing if Iray loves or hates it. You can't know till you try it and see what happens. This is "just" a raytrace, with the render settings cranked way up; and I also played with the tattoos packaged with Ferendir. The face and body morphs are my own design, though, using Morphs++. I'd forgotten how much I used to enjoy making new characters -- and this one is a beaut:


Sooo, because it take a fraction of the time to get a raytrace (rather than waiting all day for Iray), let's go again -- same character, new scenario, telling a story, or at least hinting at one:


Treasure -- a hunt for the stuff, by the looks of this! A ruin, a lantern, something sparkling with jewels. And take a look at that skinmap. This is marvelously responsive, and with a slight adjustment in the lighting it can look either very pale or deeper colored, almost Hispanic. Me like. I also really like this new face morph:


So, what you have here is Michael 4, custom face and body done in Morphs++, Ferendir skinmap, plus the facial tattoos, M4 Displacement to achieve the vascular mapping, Neftis's Danyel hair set to black, one of DM's columns used as a plinth, and the lantern from DM's Pyrago. In the top render, I used the Euros skirt with lots of surface mapping, plus two of Merlin's trees sized to be bushes, and the menhir from DM's Elven Rock. The backdrops are just that: backdrops. If I'd done this as sets (which I could have), they'd have been rendering for three times as long. Backdrops save a ton of time.

That's it for me, for today. Must sleep! Also, thunder is rumbling and it's probably wise to turn the computers off. Lots more to play with -- the only new toys I got around to today were the tattoos, the lamp and the backdrops! The toy box is overflowing with goodies! (Boom goes the thunder ... it really is time to log out and turn off...)

Tuesday, August 21, 2012

Midnight rites


click to see a large size

I was in a Boris mood ... at least as far as wanting to do something as color-saturated, exotic and passionate as Boris, though of course I wanted to depict a beautiful young man rather than a female type ... not that I have any single thing against female types,  but the www is filled to overflowing with images of fantastic fantasy women. Have you tried to find images of fantastic fantasy men? Dang, it's hard to find any. So here I am, trying to fill the niche with pieces like this!

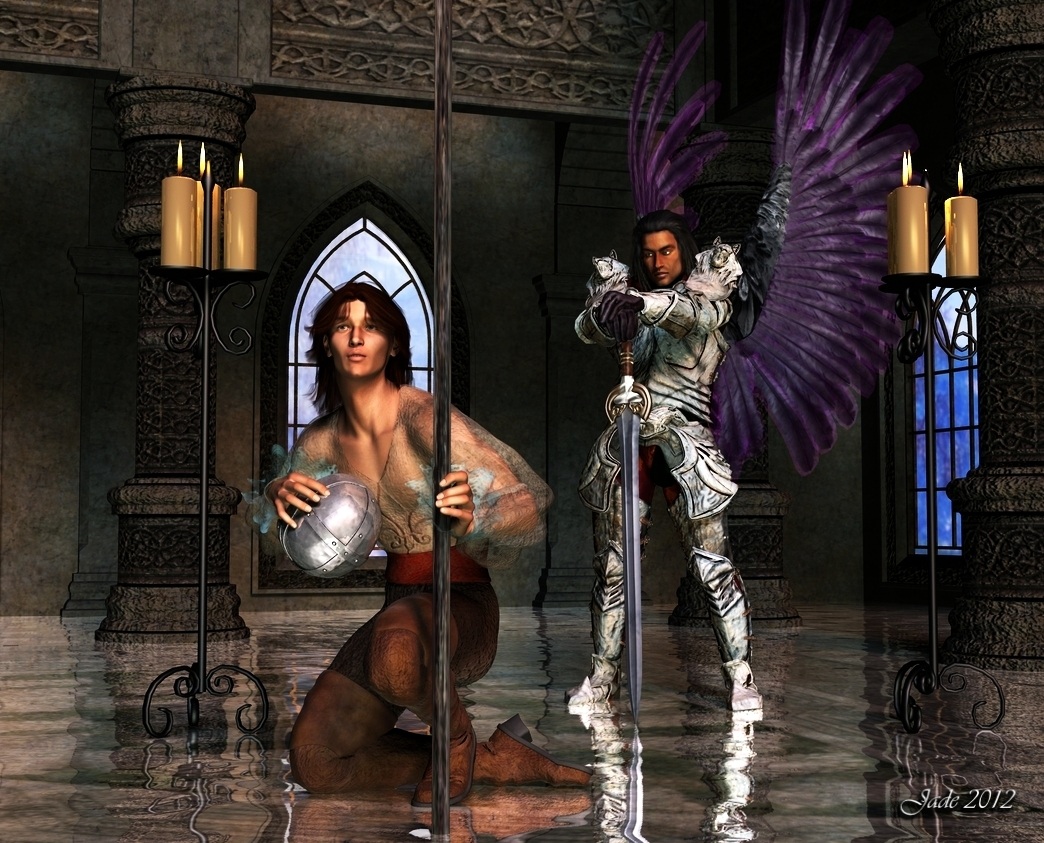
These are the same characters you saw in the "knighthood" piece. Remember this:


In fact, there's a kind of story weaving itself around these images -- especially when you remember back to this one, too:


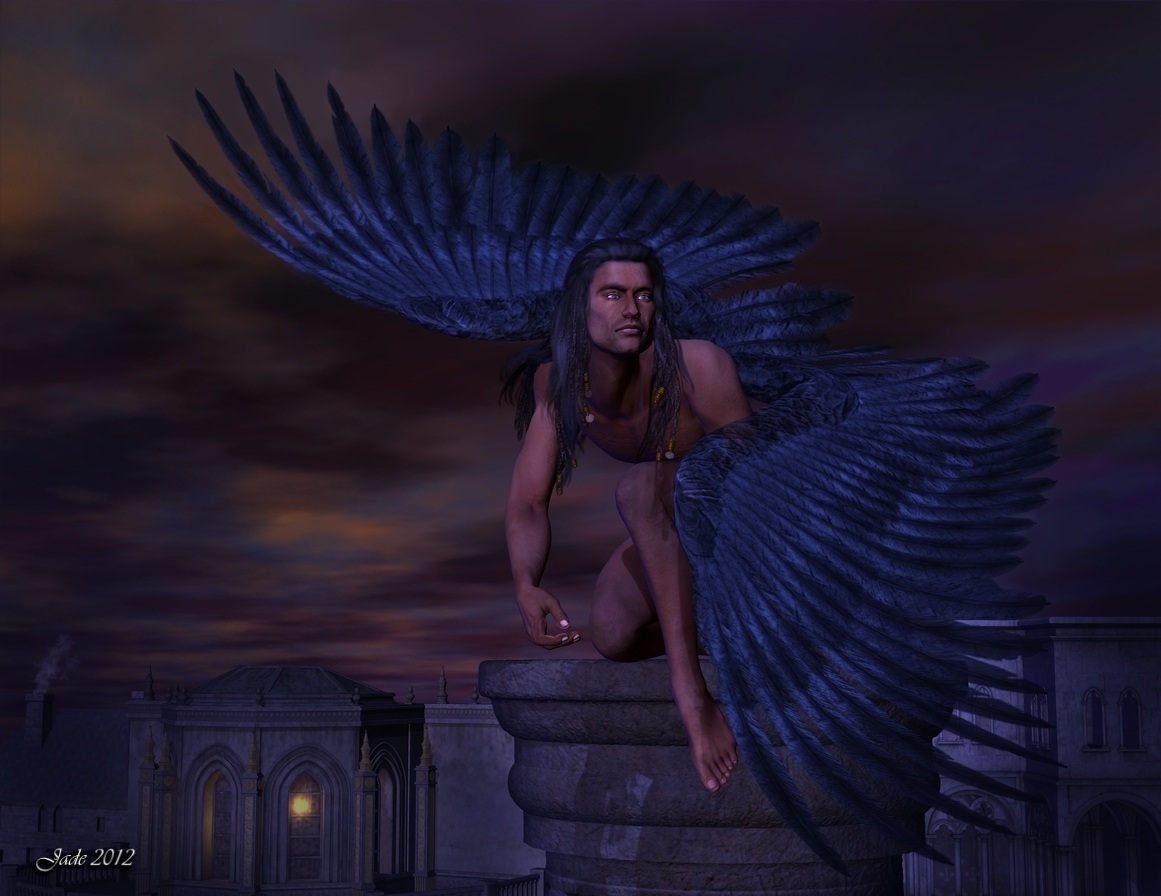
Raven: a guardian of the city's nights ... so far so good. You find in in the hours between midnight and dawn with his wings spread in the starlight, the wind in his hair, and the sword stashed not far away. Now the imagination begins to weave stories ...

It's an old city with a thousand year heritage, and the winged ones were its guardians in times so long ago, only legends survive now. Raven's people are rare these days -- there are too few of them for them to be risked in times of danger, save as a dire last resort. However, they still hold the commissions of guardians; the regiment protecting the city is under their command, although in these latter days it's manned by ordinary mortals who feel the call to the vocation. Like Corrin. Let's give him a name; I like Corrin.

So Corrin has come to the regiment, just as his father did; and the same immortal is there to witness his graduation from student to Knight of the Citadel. It begins with a ceremony in the great hall, where generations of royalty and heroes of old bear witness to the vows in the  light of scores of blazing candles. But later, when midnight has unfurled across the summer hills, the immortal and the new knight climb to the temple under the open sky for the deeper rite, where the young man's vows are made not to the kings of men but before gods so ancient, even the immortals have forgotten their names. What passes in the temple is known only to those who take part in the secret rite; they never tell...

But this time it's is different, because Corrin has fallen under the spell of this particular immortal. Against every word of advice to the contrary, he's lost his heart -- and might as well have lost his wits, because Raven has to be five centuries old, and he's not likely to even notice when a mortal lad not yet 25 years old is smitten. Corrin is just grateful to be in the Citadel, part of the regiment, close enough to him to dream and hope, in the old, old story of unrequited love, until -- well, in these kind of stories all hell invariably busts loose, and in about 125 pages' time you'll reach the Happy Ending just before the list of new books in the back!

It's a lovely fantasy, isn't it? Call it Yaoi, if you like.

And all this, because I was in a Boris mood! Cool.

Jade, August 21

Friday, April 20, 2012

Yaoi and other fantasies ... moonlight, lamplight -- and Lux


click to see all images at large size...

Ooof. I need more RAM. That's the next big thing on my artistic agenda. But here's a couple of pieces I'm really happy with, and the top one, which I call "Ronin to the Rescue," is a re-render and recomposite of a project you might recall from a loooong time ago, back in the days when I was rendering in a keyhole and couldn't raytrace much if I wanted the computer to keep itself up on its feet. You have got to see that one at full size, folks --!  It was a 90 miunte raytrace, and then a 30-layer Photoshop painting over the top of the best render I could get...

The second picture was about the same length of time in rendering, and then the painting was done in something like 15 layers. Result: pretty fantastic, actually. The original idea was that the courtyard where he's standing was supposed to be moonlit with a single lantern in the background, and it came out like this:


Then, on a whim, I actually decided to see how it would render up in Lux. Well ... I'm learning. I still haven't got a true grip on Lux, and the biggest bug-bear for me is the lighting. I'm just feeling my way, but this is worth a look -- it's very different from the raytrace:


It's actually lit with one light, and there's an enormous amount of Photoshop post work on it in the backgrounding, even though, when you see it at full size (please do) it's almost photographic. I'm really pleased with how the lamp came out, because (!) in the original, raw Lux render, the lamp is not lit at all. In fact, here's the raw render, just as Lux handed it to me after TWENTY HOURS of render time: 


That's actually a nice picture, and very true to the lighting that was set. Just one light, as I said ... why? Because I have next to no idea, yet, about how to properly light a scene for Lux, and it takes anything up to five HOURS for me to find out the lighting and/or textures I'd set were no good. So ...

I need more RAM. That's the only thing that's going to speed this up to the point where I can learn it inside of this year. However -- I'm guardedly congratulating myself for having figured out how to get the most out of the render engine which is native to DAZ Studio, so am having huge fun revisiting old projects, while trying to "nut out" the lighting for Lux. Right now, it's a question of ... how do I get realistic shadows to fall where I want them to, so that I can predict how a picture will turn out -- in other words, I can achieve the result I had in mind when I started, instead of getting something very different in a crapshoot of cosmic proportions!

Bear with me, guys, while I get this figured out, because the potential in Lux is phenomenal. The magic is in the fine detail...


...like his lips and teeth and eyelashes, and so on. The raytrace of the same subject is more striking at this stage in the artist's development...


...but only because it's properly lit! The detail ain't there. Teeth, eyelashes, lips, what have you. My goal? To get a fusion of the two: the detail of which Lux is capable, and the proper lighting I know how to do, to get nice results in raytracing. I'm figuring it out by a process of elimination: you make 24 mistakes and hit the jackpot on the 25th try, perhaps even by accident. Actually, this is how I learn. I'd love to say that I can learn from a book, or take a class, but the truth is, the info doesn't "stick" unless I'm hands-on and muddling. 

So: RAM is on the agenda! And till I get that organized, I'm going to revel in reworking some of the ideas I had a year ago, and two years. On that note, I leave you with this Yaoi fantasy:


...when you see it at full size you'd be forgiven for wondering, how much of it is 3D render, and how much is painting? There's a lot of painting in it.  A lot. Enjoy! Back soon with more...

Jade, April 20

Wednesday, April 4, 2012

A Yaoi Elf ... and his mate. Whooo!


click to see all images at large size... 

A Yaoi elf ... and his human lover. And this is begging for a storyline -- anyone...? He's standing guard duty -- walking patrol on the night shift, and the dawn comes up over the Temple of the Winds ... and guard duty is going to be, um, interrupted, by the looks of this!

These are new faces, new characters -- I just couldn't resist! I would love to write the stories that go along with these images. I just wonder if anyone would buy them? Anyway --

Please please click to see these at full size, because I've been doing hundreds of experiments with skin tones and so forth, to see if I can get more out of them. Just in case my pleas are falling on deaf ears, try this for size:


There, see? Well worth clicking to see these at full size! This is pretty luscious stuff. I might just come back to this and render some elven nudes (or nude elves if you prefer), and basically finish this idea out properly before my admittedly grasshopper mind springs on to something else! 
(For those who are doing 3D work, and wondering what I did: I'm playing with the reflection and refraction values in DAZ Studio. Not Poser -- not yet. I know you can do phenomenal things in Poser, but I still have to get it set up on by boot drive, so that I can install the real base models into it and get rid of Poser's own horrible figures. Just haven't had the chance yet, but I will, soon. For now ... guys, if you're trying to get a lustre on the skin of your models: not all skinmaps will let you do it, though I don't know why not. But try working with JM Falcon and JM Chase, to name just two (I think they're from DAZ). Also, play with the bump and displacement mapping -- and set up loads of dim lights in a rainbow of colors. Seriously. Set shadows on about 75% of them, then set the system to raytrace and don't be surprised if it takes two hours to get a render, even on a fast computer. It's worth the time. Go watch a movie or have dinner while it renders. The top one in this series was about three hours, and it rendered overnight while I went to bed.)

Last images for today: a bundle of "road trip pictures," before I sign out and get back to work. These are all uploaded at large size -- they are lovely images, so -- enjoy. Incidentally, I want to thank the people who've written to compliment the photos. Most grateful!

big surf at Carpenter Rocks, South Australia...

Black Fellows Caves, west of Carpenter Rocks...

Cave Garden, in downtown Mount Gambier, SA

Great Ocean Road, Victoria...

Great Ocean Road, Victoria, again...

Tantanoola Caves, Limestone Coast, SA

The bay at Piccaninnie Ponds, SA

big skies over the rural south-east of SA...

sunset on the Great Ocean Road...

flighteseeing helicopters at the 12 Apostles.

More art tomorrow ... and I might just start telling a story. The creative juices are flowing. Let me see how things work out!

Jade, April 5

Tuesday, March 20, 2012

Romance in hyperspace. Like one needs a reason...!


click to see all images at large size... 

As promised, I'm back with more art to share, and ... yes!! I found the original files for the character of Tonio Teniko. Here's the original Tonio:

And here's what DAZ Studio saved as the .dsb file (the character preset, which you merge onto the basic Michael 4 doll):

Well ... looks are actually a bit deceiving, because changing the hairstyle a little bit in today's renders, and changing the expression, certainly makes Tonio look a lot closer to the character you saw yesterday, so ... maybe the .dsb file was right after all. Maybe what I was remembering is a trick of the hairstyle and expression and lighting? Could be. One thing's for sure: Johnny Depp knows all these tricks, and this is sixty percent of his craft. The magic of the actor. Compare Jack Sparrow with Barnabas Collins with -- ye gods, have you seen the first look at Tonto? Remind yourself, it's all the same face under that make-up, the wigs, and the bird he's wearing on his head in The Lone Ranger.

Soooo ... when I found Tonio Teniko, I couldn't resist setting up a couple of renders with Tonio and the object of his utter fixation, Richard Vaurien. Then, I couldn't resist playing with Richard's hair. The original toupee was the Mon Chevalier wig, which doesn't actually let you "pull" it into long styles so well, and -- if you know your Hellgate, you'll know Richard has a mane of  red hair.  So I switched the hairstyle for the Aether Hair, which actually looks pretty magnificent on Richard.

The only downside to this was, I realized both Richard and Tonio were now wearing the same basic hairstyle. So next, it was a question of reorganizing the hair on Tonio -- hence, the difference between the former appearance of the character, and today's renders. It's the wig. Ask Johnny Depp!

I love the Richard Vaurien face. This one was such a challenge, so rewarding. Richard is not a young kid, and bringing the extra years, the maturity, to the face was very rewarding. Note to self: do more with this character.

Well ... having posed Tonio and Richard, how could I resist bringing in the new version of Neil Travers to pose with Richard? Fair's fair -- Neil was the one Richard spent all those years waiting for, only to lose out at the last minute, when Neil met the love of his life aboard the Intrepid, Curtis Marin. (You know Hellgate, right? You know what all this is about, yes? Cool. If not, check this out!) The difference in Neil Travers is the skinmap. I tried a new skinmap on him in February, because I've never been really happy with previous skinmaps I've tried on Neil. This one is "Bart" by H3D, and it does seem to work nicely on him:


The only thing I might see if I can change is the eyebrows. They look a little bit "pencilled on," and I might get in there and see if I can paint something that looks a tad bit more natural. This skinmap was designed to fit on a Brad Pitt clone (see this post), and these brows were probably designed to dovetail with the character from Interview with the Vampire. That's the only reservation I have about this skinmap on Neil Travers. That experiment comes next. Soon as I have the time, right? Right.

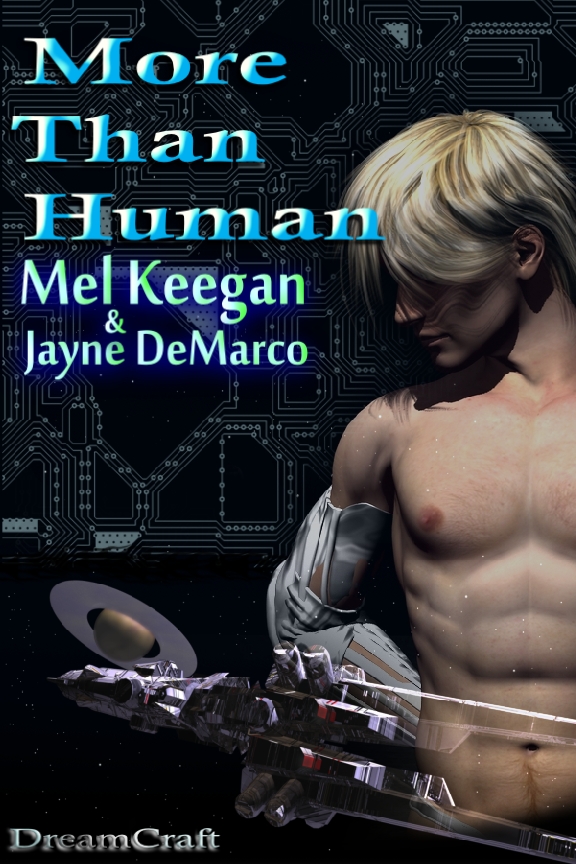
As promised, here's the bookcover I've been wanting to share for a couple of weeks:


And here is is without the text objects overlaid...

The book is a fantastic read, and due out in April. I'll tell you a bit more about it closer to the launch date, but ... yes, the character you see here is the big beauty you saw a few weeks ago -- and that link will also take you to the post were I débuted the spacecraft and ringed planet art, which were done in Bryce.

More soon -- there's a good deal more to share before Dave and I vamoose on that road trip I mentioned yesterday.

Jade, March 20

Saturday, February 25, 2012

Romance and fantasy ... render blues and experiments galore


click to see all images at large size,1000+ pixels

First, a huge "thank you" to the folks who have supported the relaunch of the NARC series this month. I guess the piece above will strike a chord ... I call it Rhapsody in Green, and if you know your Deaths Head, you'll know where this one came from! I've wanted to do something like this for ages, but it's a bit more complex than I had the time for, because the emerald green Jarrat with the wings wasn't done with lights, or with Photoshop twiddling. I got in there and created a whole new skinmap for the fantasy image that came right out of Stone's vivid imagination. (Interested? I've pasted in the links in the right-side column ... just scroll down, you'll find them. Five liveried book jackets.)


...and in the past few days I've been working up the characters for a new project ... basically, it's a cover I have to paint, and the truth is, I had no idea, none whatsoever, of what was going to be on it. When in doubt, I doodle in 3D, and as a rule something nice comes out of it. This time, something very nice indeed happened along. What you have here is young Jason Erickson, and Dirk Vanderhoven, of the starship Gilgamesh, which is arriving back at the domed space city in orbit in the Saturn system, and blundering into so much trouble, you'll have to read the book to find out what happens next! I'll keep you posted, let you know when the book comes out ... More Than Human, and due next month.

Last thing for today, a neat Bryce landscape:


I actually called this "Hillside at sunset," but looking at it as its pasted to the page here, it ought to be called Hillside at Dawn ... those are not sunset colors, but they do look like dawn. I guess we're looking east right here.

There's loads and loads more to upload ... I've been so busy on the laptop in the last few days, I've just kept hitting the button to keep the desktop pushing renders along. The laptop, you ask? Why the laptop? Because that's the one with the internet connection. The desktop, known locally as Thor, doesn't have a modem, and ain't going to be getting one. There's a mile and a half of complete security in knowing that the machine is utterly immune to updates and viruses.

Speaking of updates: I ran the Collada experiment, to see if I could get a DAZ character or scene into Poser, and the answer is, "You can, and you can't." You can export a figure as a Collada file, but when Poser imports it, it leaves behind every single preset. Meaning, I export Leon or Jarrat or Stone, and Poser imports the Michael 4 doll boy, standing in the zero pose, the T-pose. And he's not reposable, because a Collada object isn't rigged with morph points, or targets. So I tried exporting a character as an OBJ ... sure, you can do this, and Poser imports it just fine -- face and body morphs, costumes (no rigging, obviously) ... and not one single texture on it anywhere. Plain white plastic. Now, you'd have to go in and put about 200 maps back into place just to get to the point of being able to call one figure done. It would take hours. Not going to happen.

So, next, I looked at the realities of getting the Michael 4 base figure to load in Poser --

It won't, if Poser is running on anything except the boot drive. My Poser Pro 2010 is running on my internal 2TB harddrive, not the boot drive, because I don't have 20GB to spare there for Poser and a tonne of content. Big, big programs are on the boot drive, and it's about 66% full. Time to start conserving swap disk space. (You can run the M4 installer, but it bongs at you with error messages every time it doesn't read a filepath starting in a C.)

So I'm out of luck there too. Next? Will have to install the program itself on my boot drive .. not, repeat NOT the content. Just the base figures, so they'll load up. Then, when I want to do a render in Poser I'll load up the costumes and props I want to use ... render them up, and then remove all the transient content to keep my boot drive viable! This is the next step, and we'll see how this works.

By the by, I spent some time doing about 20 test renders using every possible setting and combo of settings in the Render Settings section of DAZ. Result? With the exception of two of the pixel filters (Gaussian and Box, which give blurred renders, as you'd expect), every other render is utterly identical. So, at this point I don't think there's much more I can squeeze out of the 3DLight render engine...

In fact, I was interested/frustrated/piqued enough to spend a half hour on one of the DAZ forums, over tea, and it turns out that I'm far from the only person struggling to get exceptional results from 3DLight. Some folks are rendering their scenes in Vue, using the DAZ models. At this, my radar turned on, because we also have Vue Esprit. Now, would Vue import a DAZ Collada properly, where Poser won't?!

One guy on the forum had a technique I never tried before: say you have five lights on a scene. Render them separately, come up with five images and composite them later. Now, there's an idea. This is a trick I must give a try. Most users on the forum were chewing over the fact that high-quality renders take soooo long; and the render engines from DAZ are some of the slowest. (For instance, days, plural, to render volumetrics in DAZ. That's news to me ... I didn't even know DAZ had the capacity to handle volumetrics! Or are they talking about Bryce? If so -- nuff said. As soon as I turn on volumetrics, the universe implodes.)

Bottom line: everything is about compromise, and nothing's ever going to be perfect.

The experiments continue! For istance ... here, below, is the traditional DAZ render of today's leader art, Rhapsody in Green. There's four lights on this, and it's pretty much what you expect from DAZ. Compare this with the top one ... there are 16 lights on the top one: red, blue, yellow, green, purple, white and (!) black, all in various degrees of brightness, and all with shadows. Compare the luminosity in the skin tones. Sixteen dim colored lights bring you close to what you see in Poser renders. Black light. Hmmm.


Jade, February 26