Showing posts with label wallpaper. Show all posts
Saturday, August 24, 2019
Nights in red satin ... and a vampire hunter!
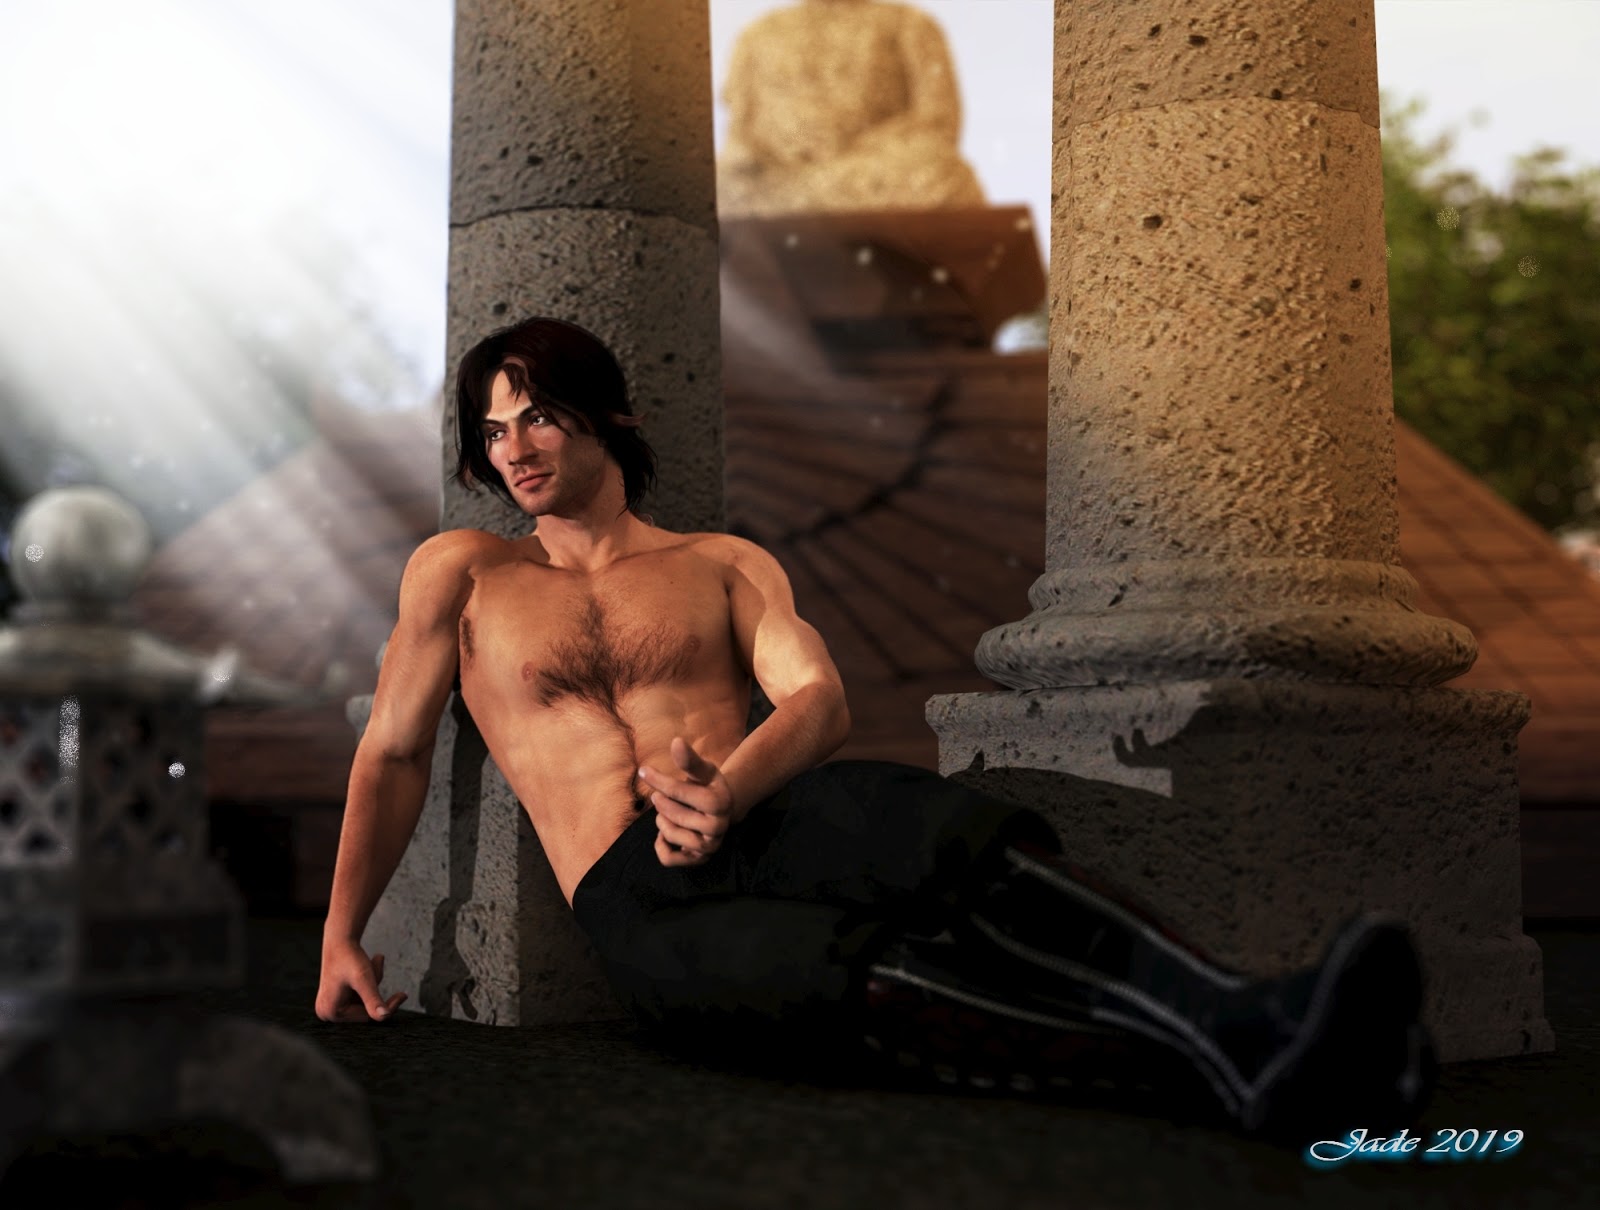
Actually, the images didn't connect themselves in my mind till I'd finished rendering them! Nights in red satin ... okay. Genesis 8 looking sultry and gorgeous. Now, add this one:
Yes, our old friend Leon, standing in a new set I just acquired today (DM's Absolute Sanctum, I think it's called). Now, what's he doing in a place like this, at this time of night? Tracking down a vampire? Right -- hence, the Van Helsing coat, no doubt! Now, just imaging that the guy in the red satin is the vampire ... and let your imagination spin away on that topic!
The set itself is very nice and was on sale at Renderosity:
Lots more experiments today. Couple of days ago, I discovered that the M4 Head Morphs++ do not carry over into an exported OBJ, in the event that you want to send your version of Michael 4 to DAZ Studio 4 as an OBJ -- wearing a costume that can't be installed into Studio 4, for instance. Then I wondered if the commercially created head morphs will carry through the conversion to OBJ, and it turns out --
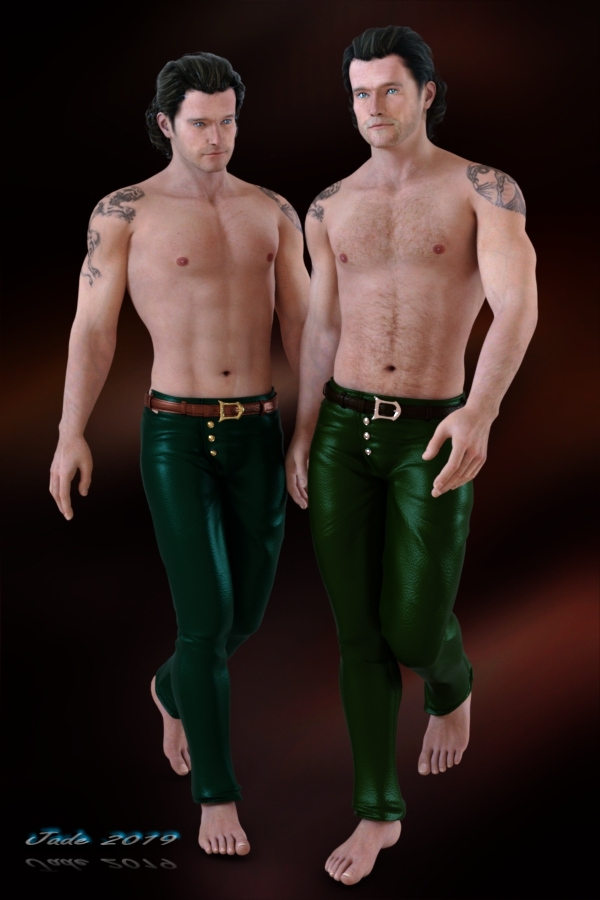
-- they do. This is the Chase for M4 character, skinmap, face and body morph. On the left is the character as built from scratch in Studio 4, from the M4 model, Chase skin maps and morps, and Mario's Hair by Neftis, wearing the AS Narquilir costume. On the right is an OBJ created in Studio 3 from the Chase head and body morphs, and imported into Studio 4. You can't actually tell the difference between them. To make a fair comparison, I re-did every texture with Iray shaders --
And here's the neat thing. The M4 figure is low-poly count. Means it renders fast. I told Iray this image could cook for two hours, if it wanted to, and it was done in about twenty minutes. Aha. And if you're careful with the old figures, with lighting and so on, you can still get credible results:
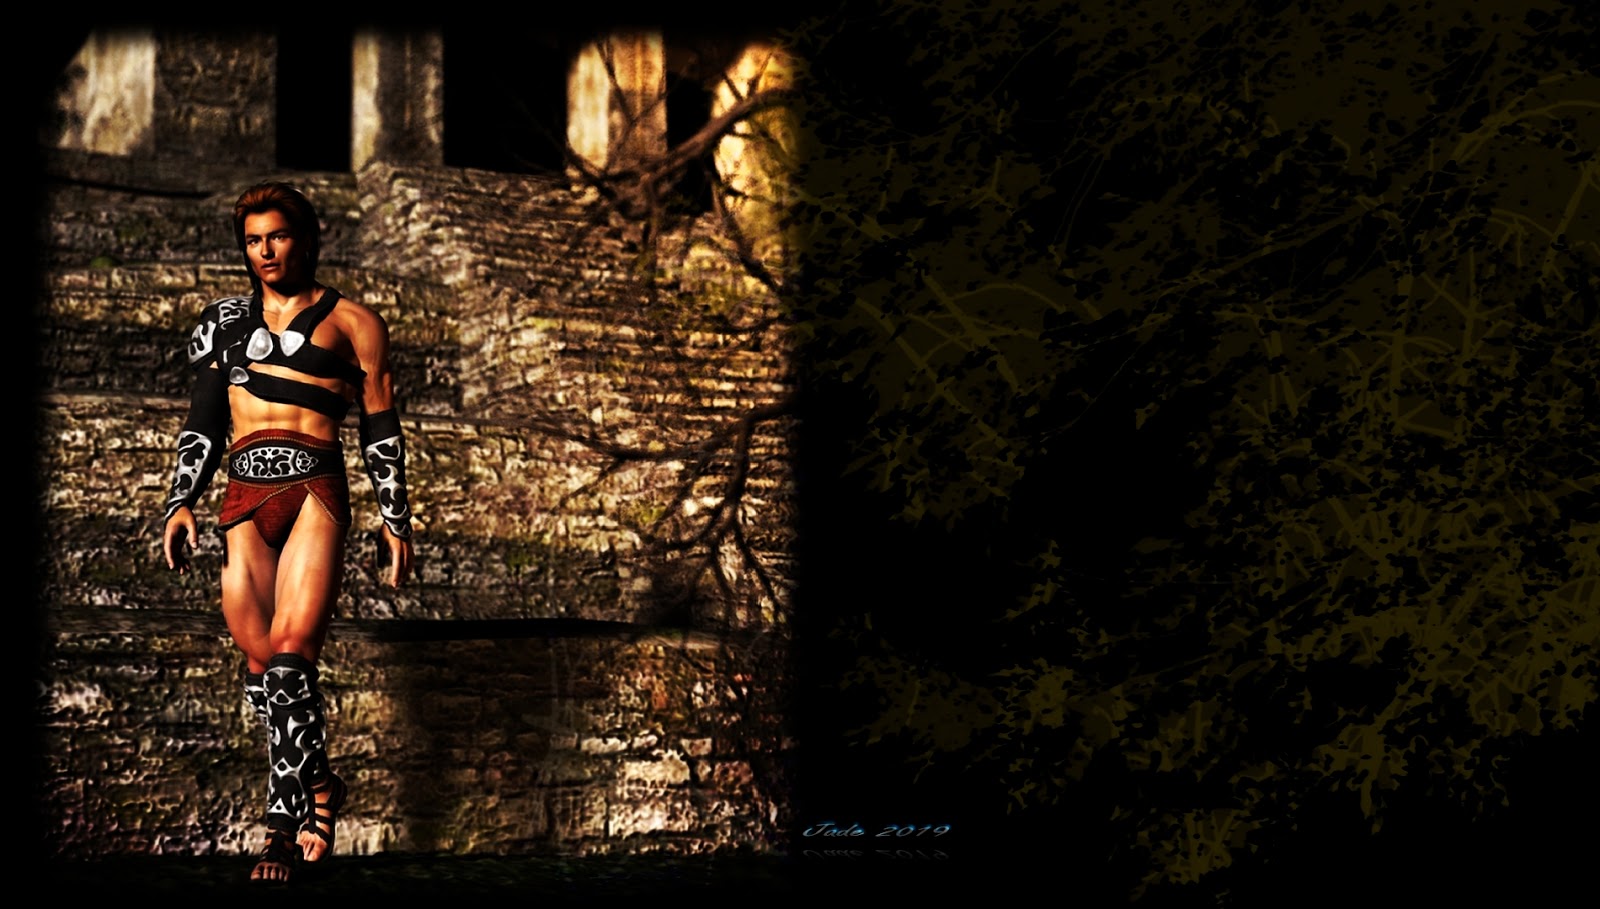
That's actually not too bad. The coat was done with a leather shader, but the M4 maps (and the Midnight Prince hair) are just the original maps from many years ago. Low poly figure, high poly set ... two hours in Iray -- as opposed to four hours for the satin shirt guy ... and after that amount of time the satin still hadn't rendered fully, so I put the picture into Photoshop and painted it to get rid of the acres of unresolved pixels! No more time to leave it rendering...
I'll set up another one and let it render while I nick off to bed (yawn: it's half after midnight), and we'll see what five hours will do for it. This satin shader is sumptuous, fabulous, but it takes a whale of a lot of processor power. Ouch!
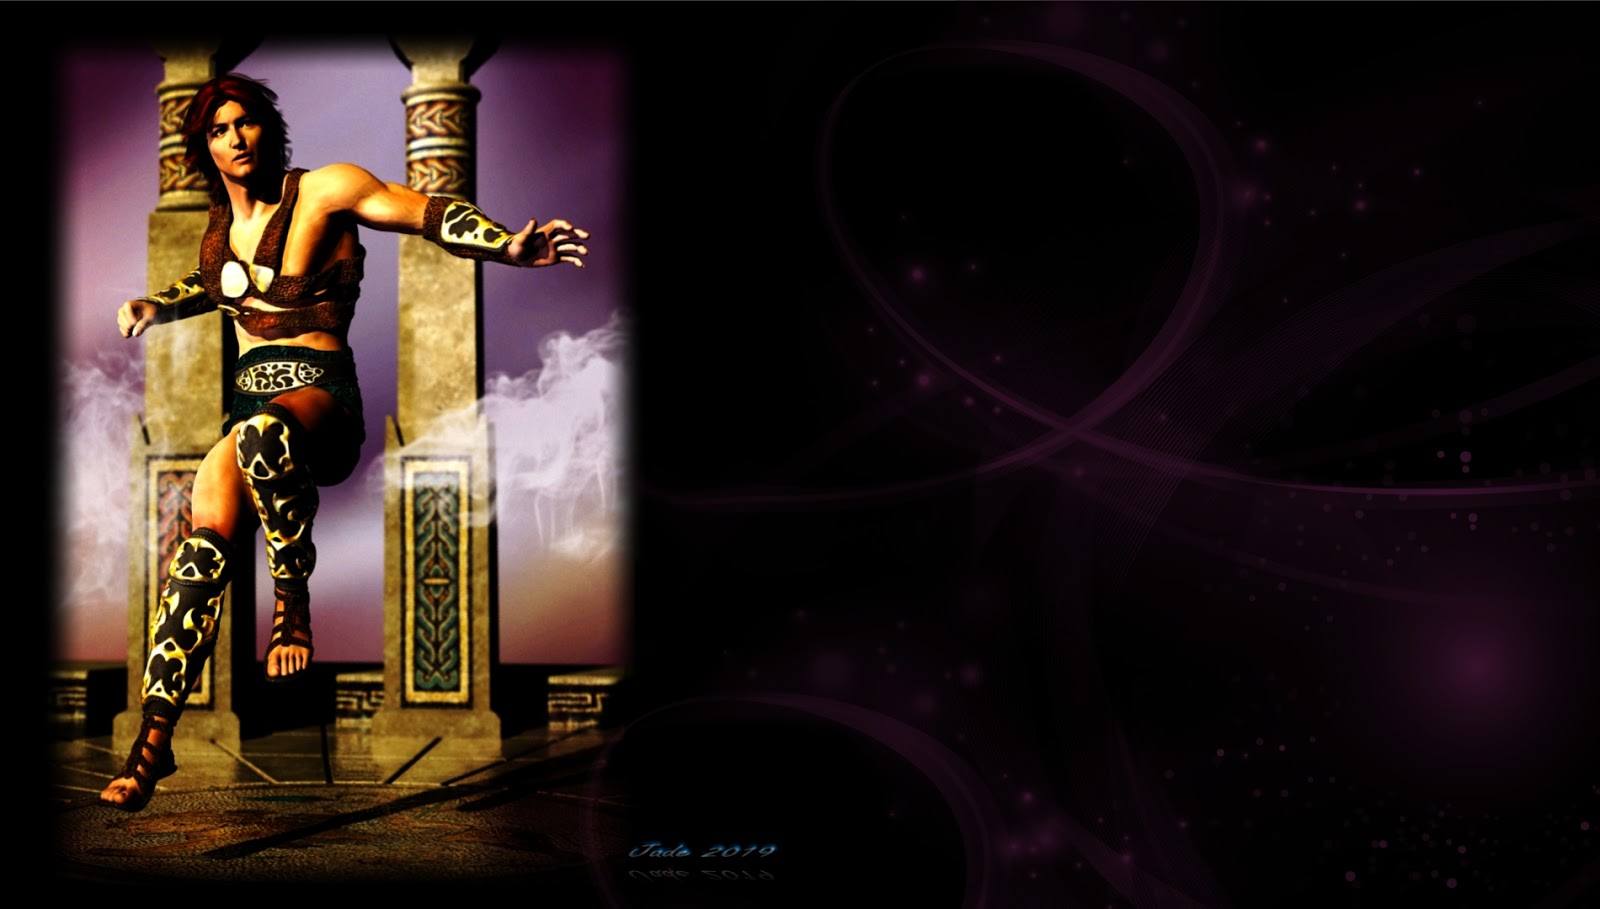
One last thing for today -- wallpaper, 1900 x 1080. Enjoy!
Monday, August 19, 2019
New Costume, Michael 4, Misadventures in Iray, and -- wallpaper
Yes, I know ... you thought I'd gone again, wouldn't be back for another two years! Not quite. I did get sick, and I have been going through "hell and high water" with DAZ Studio 4.11, which I still absolutely detest, because it will ... not ... work ... properly. I've had an open ticket with tech support for three months now, and they're apparently no closer to being able to get it sorted out than they were when I began. And yes, I've chucked around $900 at hardware and software to reach this point --
Does this look awfully familiar:
That, ladies and ... ladies, is a DAZ Studio 3 raytrace, with a tiny bit of over-painting in Photoshop Elements 2009. Yes, ten year old software. It WORKS. First time, every time. And yes, I'm so far up to my eyeballs with Studio 4, I've gone back to Studio 3 to get some art done...
Mind you, the costume is new. Studio 3 is so reliable, I went from browsing the catalog at Xurge 3D, making the selection, buying it, downloading, installing, and painting the raytrace, in twenty minutes flat. This is an old character of mine, "the conjuror," whom you've seen several times before, usually performing a double act with a giant lizard -- Snake Charmer, and so on. This time, he's recast as a kind of fantasy gladiator, on account of this cossie:
![]() |
Catalo image. See this... |
Again, those are catalog images, and if you're interested, and would like to see the whole range for Michael 4 at Xurge 3D, the addy you want is this: https://www.xurge3d.com/daz_3d_michael_4 ...
Uh huh, I've become so sick and tired of the high-jinx associated with Studio 4.11, I've even gone right back to Michael 4! As in, nuts to Genesis and Iray whatever for the moment. I'll get back to it in due course. The biggest problem I have is that Studio 4.11 can't save any of the old content. That is, all the Michael and Victoria 4 figures, costumes, hair, plus all the props and sets from that era. Studio 4.11 loads it all. It renders it all. Noooo problem, till you come to click on SAVE FILE, and when you do, it makes a project file (on the .duf file extension) which is so buggered up, when you reopen it, you get this -- all 3D models lost, stacks of boxes where they ought to be:
Wouldn't that just burn your noodles to a crisp? Yep. Tech Support are at a loss after three months, and I'm so sick and tired of wrestling with it, I've gone back to Studio 3. You see, the problem is, I need the old content in Studio 4, for two reasons. One, I paid over $3,000 for it, can't afford to buy all new stuff at this time ... and even if I could, the costumes and hair are not even available for Genesis 8 yet. And two, my computer is too slow to render the "high-poly-count" sets and figures, which are all you can buy, brand-new, for the Genesis generation...
Huh? Well, it's all about how many polygons go to make up the figure, embedded in the mesh. The higher the "poly count," the longer it takes to render something to get the grain out of the image, right? Right. That's fine. I don't mind long renders. But the new 3D assets are so high in the poly count, my video card "chokes" before the picture is anywhere near rendered. Like this:
Ten HOURS in Iray, and it's still nasty. You could leave it cooking till doomsday, it won't get any better. The problem, with this many polygons in the project: I can render the figure OR the set, but not both. Sooo...
Genesis 8 is all very nice, and Iray is dandy ... and they render the old content well. Check this out, if nothing else:
There you go, that's Michael 4. Midnight Prince hair, costume, set, yukimi, columns, statue, the works. Renders a treat. BUT as soon as you save it, you wind up with a stack of boxes where all the figures and props should be ... so you can't safeguard your work against a computer crash, a power outage ... or come back and finish it tomorrow. Everything is one-shot, on the fly -- !! [Insert sound byte of Freddie and the boys singing "Thunderbolt and lighting, very, very frightening!!]
So ... I'm tired enough of the rigmarole to say "stuff it," and run right back to Michael 4 and Studio 3. Yes, I'll come back to Studio 4 ... yes, there are experiments to run, and workarounds to be tried. But it's a bloody great nuisance, and you shouldn't have to, and I'm tired. So --
Shopping happily at Xurge 3D, rendering to my heart's content in the old program! More art very soon ... and a lot less wheel-spinning and mucking-about. Right? Right.
So here, have a wallpaper featuring today's hunk:
That's 1900x1080, and it should look terrific on most monitors. Looks a treat on mine!
Back soon....
Thursday, July 4, 2019
Step into my parlor ... and the best images from our Cape Jervis 'getaway'
Hmm. Not bad ... I left this rendering for a couple of hours after I went to bed last night, and it's fairly creditable. That's most of the Dae character face (you can dial it up and down), and the Dae skinmap with one of the warpaint options; a different hair prop ... a shader on the pants, a pose. Add a couple of low-poly props, IBL lighting and a single spotlight to give it at least some shadow ... chuck in a backdrop. Render for two hours, then ship it into Photoshop and overpaint it to make it more interesting, because it's a very simple render which was basically designed to run a bunch of tests...
First, I wanted to figure out how to stop the G8 eyes shining like a pair of flashlights! The sclera -- that is, the white of the eye -- is inclined to be incredibly white and bright. Now, the tip is always, "go into the surfaces pane and add a little color, like a chromatic gray, to the base, or diffuse color." Uh huh. Well, that didn't work. I wound up setting the diffuse color to black ... and every other color associated with the eyes; and setting gloss and reflection to zero ... and still the sclera looked like it was illuminated from within. Goa'uld. I wondered if it was something to do with the specific eye maps on this model, so I bought a set of Genesis 8 eyes and tried those, to see if any difference would appear in the renders when a new range of settings was applied along with the new maps. Nope. I tried everything under the sun, and still ended up putting this into Photoshop and blatting some color onto the eyeballs:
That's just Genesis 8 Male, just it comes, with one light plus IBL lighting, and the sclera is shocking. It's a bit better for being painted, but it's still not right. So I set this aside and went back to playing with every element in the scene. And from what I've seen so far, it comes down to this: do not point a light directly at his face. If you do, the sclera glares, no matter how dim you make that light. This can't be right, but this is the result I'm getting to date, even with eye shaders purchased separately. Hmm. Well, not pointing a light right at him did get us natural-looking eyes in the top shot, which I call "Step into my Parlor." The experiment continues!
I also re-rendered an older image, to see how Iray would handle it:
That was something like a 100 minute render ... very nice indeed. This was also the first image I've tried rendering at 1200x1800 size in Iray. Have been working at 600x900 for the sake of speed ... I don't have a crash-hot video card, remember. This, however, is terrific. I'll see how the other one renders ... The Horse and his Boy, where the hunky hero is standing with the black horse. With any luck, it also will be very lovely, but rendering Michael 4 in IRay can be something of a crap shoot. Cross fingers.
Last art for today: a wallpaper at 1980 x 1020, which should suit a lot of monitors, and is easy to convert:
This looks good, with all the system icons stacked on the left to leave the eye candy free. You're welcome! More wallpapers to come.
Lastly, a half a dozen of the most astonishing shots from the short 'getaway' Dave and I took at Cape Jervis and Deep Creek, last Monday-Tuesday. I took about a thousand shots, but these are just perfect! Back in a day or two with more art ... as soon as this splitting headache goes away...
Labels:
fantasy,
Genesis,
horses,
IBL lighting,
IRay,
lights,
photography,
Photoshop,
shaders,
wallpaper
Wednesday, June 12, 2019
A poster boy, trees in Terragen, amazing skies, and -- wallpaper!
If he looks familiar, he should! You've seen him in a raytrace, but I was curious to see what IRay could do with Michael 4 and this skinmap. It's actually reasonably good -- tickling the line where you're getting almost photographic results --
Not quite photographic, but not too far from it, and this one pulls every trick that anybody knows on the community forums knows: simple skin shader, photometric lights, loooong render time, high sample rate, whatever. You name it, the technique was invested in this. The face and body were designed by me; the skinmap is SAV Atlas, I've honestly forgotten what the hair is (!) and the only unresolved question here is ... why IRay is utterly ignoring my added bump map. The venous map is on and cranked to ludicrous levels, and it just doesn't show. I must look into this next. Hmm.
If you're interested (and certainly artists among you will be), here, have a look for yourself at the difference between the IRay render and a brand new raytrace out of Studio 4.10:
(Sorry about the download time on the above: the picture is very large, to let you see the differences properly. Much more detail in the skin, from IRay; gorgeous venous map in rayrace. Take your pick!
Anyway -- I bit the bullet and shopped a sale at Renderosity. Yay! After an absence of about five YEARS, the server knew me, logged me right in, and -- Flink's Tree was on sale, so I nabbed it quick, while I could save some bucks too. (Sorry, Flink ... I'll send you my dentist's phone number, you can call up and shout at him...)
The pack contains four trees, and here is #1, rendererd by IRay against a backdrop created in Terragen, with a bit of foreground created in Bryce 7 Pro and Studio 3:
Not bad. That's already the most realistic tree I've ever been able to render, LOL -- so I bit another bullet and decided to "go fifteen" with Terragen, and learn how you do this:
Terragen renders: they took about 20 minutes each, and boy, did I learn a lot here. How to import an OBJ into Terragen. How to position it, rotate it, light it, drive the camera around it. Cool! Terragen also gave me the option of importing this tree as a "population," meaning, it's standing by to paint whole hillsides with them and create a forest. That's the next experiment. 😉
Quite happy with those renders. Sure, I know the tree's still not 100%. The leaves are actually about the size of hubcaps, but seriously, what do you want for ten bucks (AUD) for four tree props? You can go to XFrog and pay A$62 for one tree prop. And one day I will. But "this is not that day," nudge, wink.
On the way in from a day in the national park yesterday, the weather changed the sky was amazing. Managed to grab these shots from the front street while Dave unpacked the car ... life imitates art!
Yes, that is the moon in the first shot ... and yes, the weather was changing. A couple of hours later we had thunder and, today, rain!
I'll leave you with a little something for your desktop. 1080 x 1920 wallpaper -- and it looks gorgeous, I promise you! You're welcome...
![]() |
1080 x 1920 wallpaper |
Labels:
DAZ,
fantasy,
IRay,
landscapes,
Michael 4,
OBJ,
photography,
Raytracing,
rendering,
Renderosity,
skins,
terragen,
trees,
venous mapping,
wallpaper
Subscribe to:
Posts (Atom)