 |
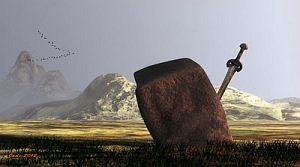
| Bryce 7 Pro ... and at last I managed to achieve real, convincing sunlight! "Summer Afternoon on the River." |
 |
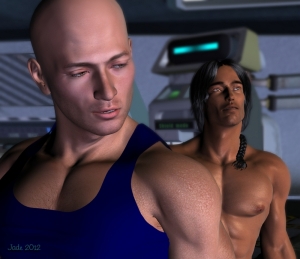
| So let's go diametrically opposite now, and come back to a DAZ Studio cartoon render. These take a few minutes and can be a lot of fun. |
One day, not long ago, I was flipping through a calendar of art by Boris and Julie, and lamenting to myself that, no matter how good you get with 3D renders, you're never going to get into that exalted place where fine art lives. Yet, 3D work is a second cousin to digital painting ... the fact is, when a render is finished you always (always!) have to get it into Photoshop and "do stuff" to it, to finish it. And there are artists out there by the regiment who are producing digital paintings which are, in all honesty, the equal of the work produced by Boris and Frazetta and the like.
So, do the areas of technique overlap in the middle? Do they meet anywhere on common ground? I thought, "Hmm, this is interesting." The thinking cap went on, and I couldn't resist having a go.
Now, a lot of fine artists start with a drawing, but the bald truth is, I can't draw and never could. Give me a pencil and paper, and you might get a doodle. Might. The whole reason I was drawn to digital art is because I can't bloody draw, LOL! If I could, I'd be painting, not mucking about with computers. It was the sheer inability to draw that killed off any aspirations to an artistic career by the time I was about 14. Sob. So, imagine my surprise, when I was about 25, to get hold of an art book and discover (ack!) that Boris, the leader in the field of fantasy art at the time, used to have people model for Polaroid photos, which were then transferred to a canvas panel by means of an old fashioned "camera luminar," which is the next best thing to tracing over an opal-glass --
I mean, retch, hurk, vomit, I could have done that myself!! I was always terrific at colorizing and detailing, I just couldn't draw ... and I chucked an artistic career on account of this failure.
Fast forward about 25 more years (yee-ouch!) and I found myself peering over Mel Keegan's shoulder as he tried to make heads or tails of DAZ 3D shoftware. Suffice to say, Mel was very soon shoved sideways with suggestions that he get back to writing stories, which was and is his forte, and leave the artwork to me. This blog is the chronicle of a somewhat epic voyage of discovery as I worked out how to load a model ... cast shadows ... achieve realistic lighting ... use a proper render engine ... get true sunlight and proper depth of field --
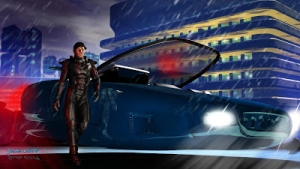
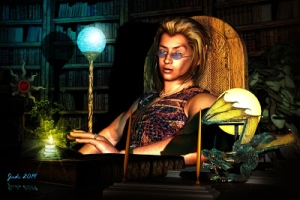
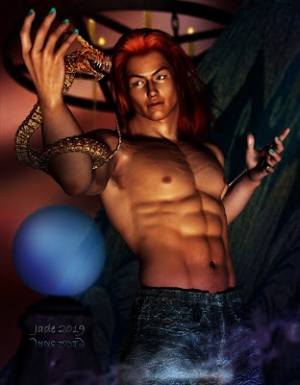
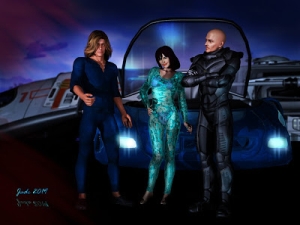
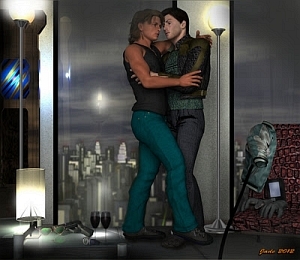
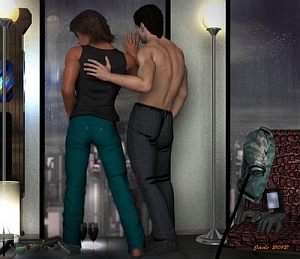
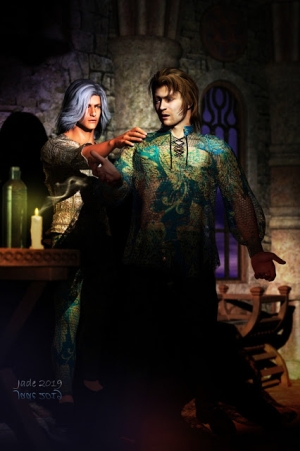
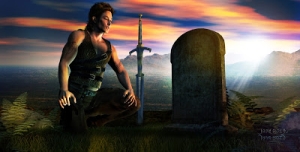
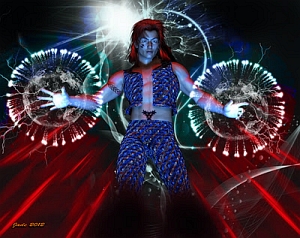
And it's all sooo nice, to wit the above images, the Rock Star and the Summer Afternoon on the River. Yet always, at the back of your mind, is a desire to paint pictures like Boris and Frazetta. Which brings me back to, "Do the areas of technique overlap in the middle? Do they meet anywhere on common ground?" And it turns out ... they do.
All right, so, if you're like me, you can't draw to save your life. But you can sure as heck pose a Michael 4 or Victoria model, get a 3D render ... and convert it to a sketch. In the final analysis, what's the difference between an artist having people come in and model for Polaroids which are traced off onto a board and painted, and posing a 3D "digitoid" (a term I love -- Mel Keegan coined it; it means "a digital actor participating in a virtual reality scenario") to get the virtual equivalent of the Polaroid, which is then processed into a sketch to be painted inside the computer with virtual brushes? Nada. I see no difference at all. So --
The question was how to turn the render into an appropriate sketch. And here's how it was done:
 |
| If you're interested in how to turn a 3D render into a brush-art digital painting, here's the preparation stage. See this at full size -- 2000 pixels wide -- to get the full story. |
There must be at least a dozen ways to tackle the job of turning a render into a REAL brush panting ... and I don’t mean just slapping it into Photoshop and applying a filter! A real brush painting is painted. With brushes. And it’s an enormous amount of work. I did three of these projects, and frankly, I have to say it would be an incredibly special commission job that wooed me to do it again, because it takes so long, all of it desk work, right-hand work, staring glazedly at a monitor. Not good for my hand, my back or my eyes! (Am I getting old?!)
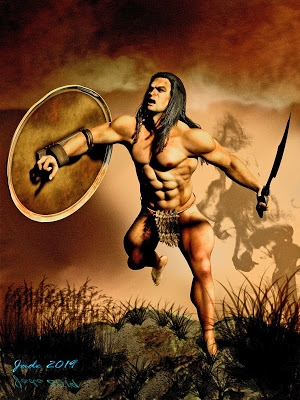
Having said all this, my technique was to take an old, old render that looked appropriate and put it through a process of simplification: drop the number of colors to 16; then use the ‘edge detect’ and ‘convert to negative’ filters, plus ‘convert to grayscale,’ to get a sketch of sorts. In Photoshop, combine the raw grayscale image with the 16-color image plus a white bucket fill top layer on the hard mix blend at 100% to get a really good sketch that can be used as the base.
From there, you use the original render as your color reference and you ... start painting. About 12 hours later you’re done and ready to strip a canvas texture into the image (am using the photo texture under this typing). The result: gorgeous! But ...
At the 10-hour part you’re asking yourself why you’d bother. The only answer I can think of is that somebody wanted cover art that was the next best thing to Boris and Julie, and faaar from the usual quick/cheap 3D render ... And that this somebody was willing to pay for about 12 hours of damn’ hard work! Those jobs don’t come along often, but when they do...!
***
So now you have the sketch and you're about to paint, right? Right. This is where either the fun begins or else hits the fan ... and probably a combination of both. Here's at least one method, and there's going to be a dozen others...
You want to have the original render open in one Photoshop project, because you're going to be color-picking off this to get the hues to blast into the appropriate areas on your painting. Have the sketch in the bottom layer of another project. Pick a color from Project A, and blast virtual paint into the right places into a new layer on Project B. Keep on blasting till you can no longer see the original sketch. Then duplicate the sketch and pull the copy up to the top layer so you can see it again ... and start gently, carefully, smudging the blasted-in colors till you get nice, even tones and gradations. Blast in more highlights and shadows and blend these in too. You'll need to be painting at a good size -- say 2000 x 3000 pixels, to get any control over fine detail; and even so you'll be working with small-bore brushes.
When the colors look just about right, and they're all pushed and shoved into their correct places, create a new blank layer right on top of the b&w sketch. Now, pick a deep, dark shade of the base color and redraw the sketch, tracing over it into the blank layer. This is the hardest, nastiest part of the job, but unless your technique with a Wacom Bamboo etc. is utterly hopeless, you'll get there in the end -- and the more you use the pen, the better you're going to get. Prektis, prektis, prektis. Small round brushes with soft edges and about 75% opacity will give you a lot to work with, and you can blend, smudge, erase, as you go.
Got a good enough tracing? Okay. Now, delete the copy of the original sketch -- you don't need it now, and it's only a copy of the bottom layer anyway, so you can get it back if you decide to start over (ugh, what a horrible thought). Now, DUPLICATE both the tracing AND the blended color layer --
I can't stress this enough: never, never, never work on the original layer, over which you just sweat blood!! Fiddle with disposable duplicates!! Okay.
Turn OFF the original layers, but keep them as backups ... and merge the sketch and the color layers into ONE layer. Aha. Now, "all" you have to do is start blending, blending, blending, till they really do look like one layer. If all goes hideously wrong, delete the whole thing, create fresh copies, merge them into one, and start again.
Painting the hair is almost another project entirely -- so complex, I'm not even going to talk about it right here; because the truth is, you could just as easily be painting a tree or a car, so talking at length about hair, here, is unnecessary. The same is true for eyes, and eyelashes, and so on.
Apply the same techniques to the background, but you can afford to be a lot quicker there. Check out the backgrounding on paintings by Boris and Frazetta. Uh huh. Last step: you might or might not want to strip a canvas texture into the picture to give it the look of a painting done on a board.
The real problem is, it takes many, many hours to do a piece of work like this, and if you're anything like me, you wind up hurting with real pain in the neck and hands, and a headache. So ... as much as I love this kind of art, I'll indulge myself seldom, since I don't enjoy pain!
And, in all honesty, getting Bryce 7 Pro to deliver proper photographic results has its own charms, which are equally seductive. Check out this crop from the above render. Nice!
Been saying it for years now, but I really can't wait to get Vue!
Jade, February 19, 2015


