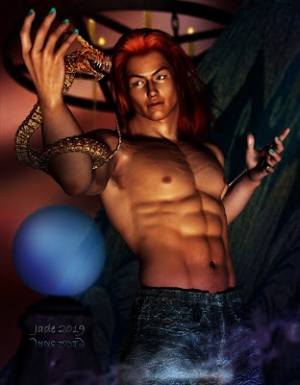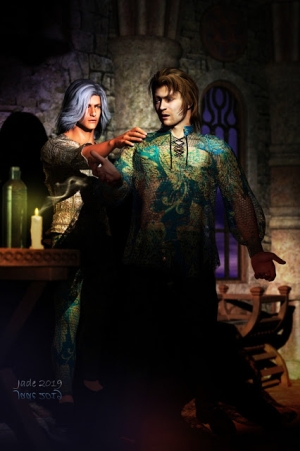







 The Challenge: turn a colonial Army brat into an uptown party animal! As promised, the M4 Bodysuit tutorial. Or, how to make the costume Jesse is almost wearing in the Rhapsody in Blue series of renders. All the images in this post have been uploaded at full size, because you're going to need to see the fine detail to tell what's going on, half thew time. Click on them to see them at 1:1, and -- here goes:
  The M4 Bodysuit loads with a default gloss black finish. Looks quite SF, and a bit like the Batman cossie, with the exception that the anatomical correctness of the suit ends at the hipbones. It can be very difficult indeed, using deformers and morphs, to make the model look like he hasn’t been involved in a very nasty accident. There’s actually a morph add-on on you can get (not from DAZ, which has its headquarters in Utah ... uh, yeah, right, okay, whatever), which will make M4 look more like a whole male. But this is by the by for now. Let’s just worry about getting the Bodysuit to do as it’s told!
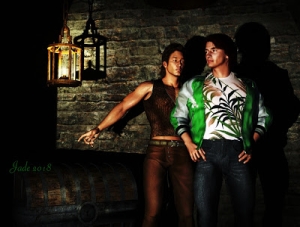
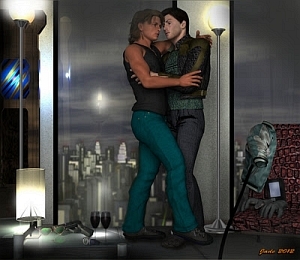
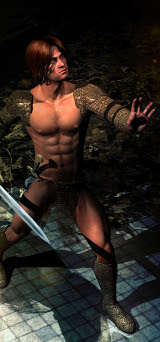
 The suit ships with several very basic textures which you can apply using the Poses tab, but they’re not terribly exciting. You can actually do better yourself by just changing the colors, gloss, reflectivity, and applying a displacement map. On the right, Jarrat is wearing the brown leather. Jesse is wearing a gold fantasy that was achieved by just jiggling the settings in the Surfaces tab. Try changing the lighting model to metallic, and the gloss to about 50%, and see what happens! Vistas of possibilities open up before you...
The suit is dynamic, and morphs along with the character's physique, so now is the time to make this guy built – or not, depending on what you want/need. He can be Bluto, if you want that, or he can be Little Orphan Willie, at whim. Also, play around with changing the textures on the suit right now. Apply just about any seamless texture and see what happens!
 With all textures deleted and all colors set to WHITE, you get a much clearer look at the suit ... And you also start to notice the seams. These are important, because you can use them to set zones of color, and even to make the suit, uh, disappear in chunks! There’s a morph to turn the seams to OFF, which is handy, because they do show. A lot. And if you don’t want them to, they’re a major nuisance. The suit has about 20 zones, which you can grab hold of to change color, texture and opacity, displacement maps, reflectivity, gloss, the works.
 And while you’re playing with the morphs, finding out how to turn off the seams and make parts of the suit go utterly transparent (!), you’ll also stumble over the "zipper" and collar controls. You can unzip the top and spread it wide, turn the collar up and down, and so on. The sleeves have four or five lengths, from the full (Jesse) to the half (Jarrat), as seen here. Looking pretty good already. This just needs color and texture. So...
 You can see that this is just a basic seamless texture ... practically the same kind of thing as you’d use as the background on a webpage! I’m using this instead of just going into the Surfaces tab and telling the suit to be sea green, because I wanted an underlying pattern of swooshes and swirls in the color. Notice, the gold suit is absolutely "flat" in color ... lots of texture, but no variation in the color. This is just because it was done purely with colors in the Surfaces tab – no diffuse map was applied. So, next we want to add some texture to the sea green fabric...
 Aha! Now it starts to look good. So this is the bodysuit with the colors set to WHITE, all the native textures and maps turned OFF, a simple seamless texture applied, the sleeves configured, the zips opened and collars tweaked, and then – the big change here is that I’ve applied a displacement map. It’s a dead-simple displacement map, but the intensity is turned up sky-high on it, which makes it look like some exotic kind of fabric. But see how the swooshes and swirls of the diffuse map still come through the texture? That’s what we want right now. So, what’s next?
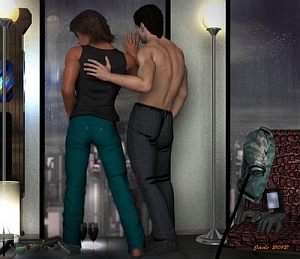
 You want exotic? Let’s get exotic. How’s about we make the suit about half transparent, for a start? To do this, I reapplied the same map as I used as the displacement map – but the second time, I set it as the opacity map. Basically, anything that was black on the displacement map, uh, vanished. It vamooosed out of there, leaving a skinsuit which will display as much as it hides. Hence, the model is turned around the other way now, because I can get away with showing the rear view on the open blog, where someone’s Auntie Maud would have a seizure if she saw the other side. (Or would she? Now, has anybody bothered to ask her? I mean, lately?!)
But when the skinsuit starts to get into exotic terms, the dark see green color looks just that – dark. And flat. Okay, you can see through half of it, but it still doesn’t look what you’d call exciting. It has a diffuse map, and an opacity map, so what else can we do with it? This is where the fun begins!
 Add a gloss to the fabric with the gloss and reflection parameters in the Surfaces tab. Then turn a white light on it. Notice, the sleeves came back when you started to work with these maps. Turn 'em back OFF. Turn off the abs section while you're there...
Jade, October 18
***Posted by MK: my connection is intermittent, too slow for this. Seriously, guys, I've got dialup speeds. How are you expected to do anything these days, at 1990 dialup speeds?!!!