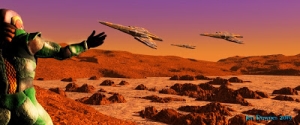
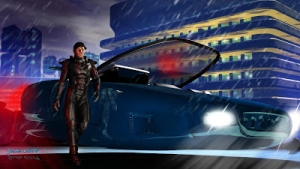
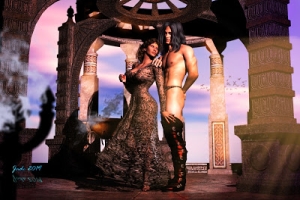
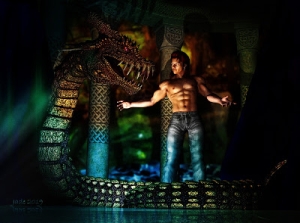
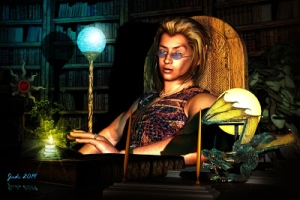
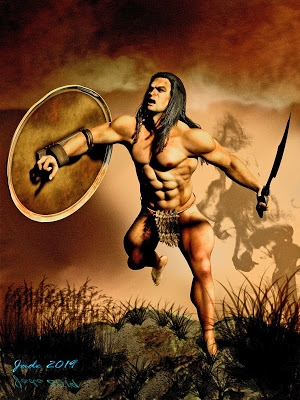
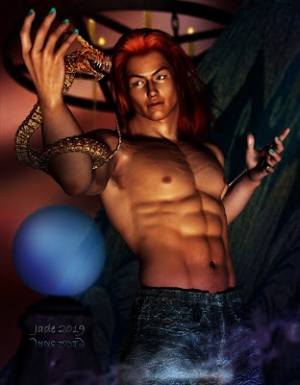
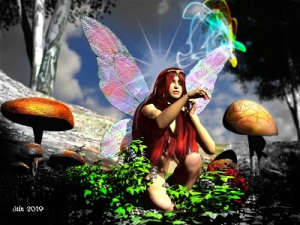
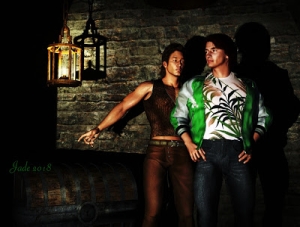
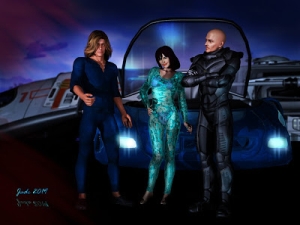
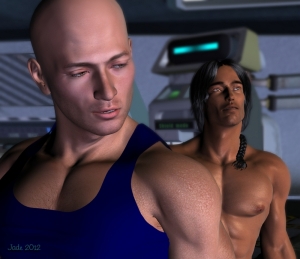
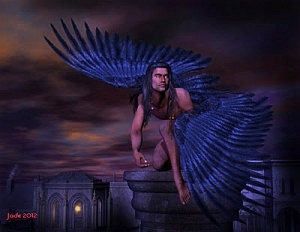
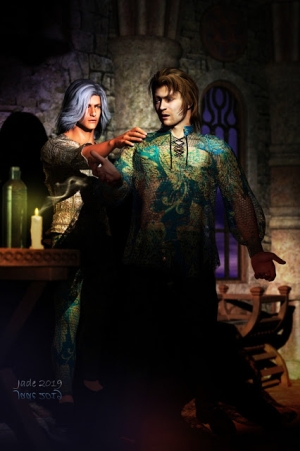
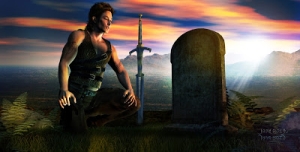
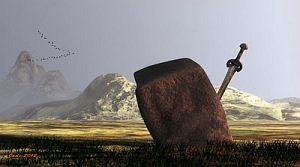
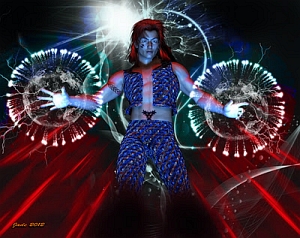
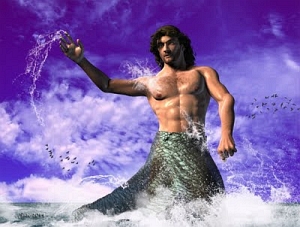
 As promised, I'm back today to talk about how to turn your models into gorgeous alien colors -- and maybe more importantly, how to get the "glued on tinfoil bikini" effect ... so I thought I'd put up the end product first and then cycle back to the beginning, and start over!
ALL THE IMAGES WITH TEXT HAVE BEEN UPLOADED AT FULL SIZE -- click to see them at 1:1 and read the captioning.
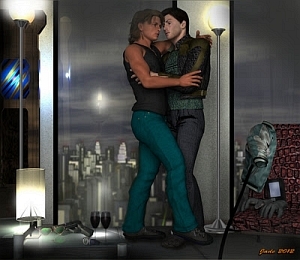
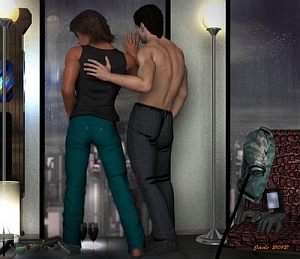
Changing the color of a character is something I've done once or twice before. You might remember this:
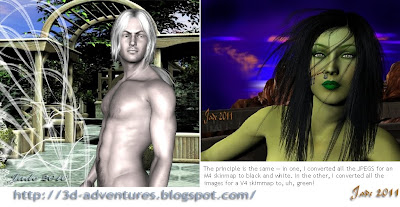 A few months ago I played with a combination of monochrome and color ... in one of the experiments instead of having a color model wandering in a monochrome scene, I turned it around and had a monochrome model wandering about in a full-color scene. The principle is the same here as it is in making the model come up green, blue, or whatever shade you want...
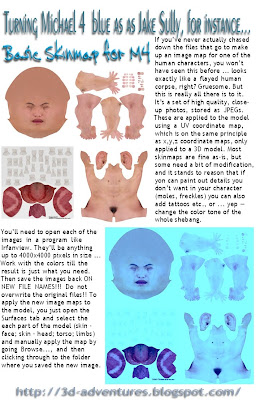 Now, since everyone reading this will be using different software, it's pretty pointless me walking you through the process in any one interface! But I can easily tell you the process to turn DAZ Michael 4 or Victoria 4.2 as blue as Jake Sully.
For myself, for this kind of thing I use Irfanview, which is FREE from Irfanview.com -- it's just the easiest and the most powerful as well as the price being right!
You need to track down where the images of the skinmap are kept on your harddrive. They'll be in the Textures folder inside your DAZ Runtime folders, which are probable installed in your Documents folder. You have to hunt them down and, when you've found them, copy them out into a folder on your desktop. Be sure to work with copies!! If you overwrite the original files, you'll wind up reinstalling the texture set to get back to where you were before!!
Now, if you've never done this, the actual images can be a bit gruesome ... yup, they look like a flayed human. Like a Mayan sacrifice. Sorry, dudes, that's how it works. Basically, when an artist or designer is assembling a new skin map for sale at DAZ or Renderosity etc., a human volunteer is imaged in very, very find detail under never-changing lights. The photos are then mosaiced together and the background dropped out. These images are then applied to the 3D model using a coordinate set called "UV" coordinates, which are the same thing as the x,y,z coordinates that describe both the real world and the world inside your 3D software, but the u,v system determines where a texture map is applied to a model.
So ... find the set of JPEG images you want to use for your alien -- back them up to the new folder on your desktop. Next challenge: tum them just the right shade of green, blue or whatever.
These are big images ... could be 4000x4000 pixels, at high-rez, so you obviously need to have a decent computer to do this! Open the images one at a time in your imaging program. Open up the dialog where you get to fiddle about with your R,G,B parameters, as well as gamma and contrast, and ... start fiddling!
It's important to know a bit about how one color affects another. RGB means Red, Green, Blue (duh), but what you might not know is that an easier way to make an image go green is to drop out the red! Say you want to make an image go blue ... you can turn up the blue, but if you don't drop out some red, it's going to go a purplish blue. There are all kinds of rules and formulae for working this out, but you don't need them. You just need to play with the software till you discover which colors work on concert with which other colors, to give what effect.
Don't forget to adjust gamma and contrast before you save the final result, otherwise you could end up with a pale, flat, "lifeless" skinmap.
The next thing is to apply these new JPEGs to your model.
Load up Victoria or Michael, or whomever. Then, open the Surfaces tab. See the loooooong list of all the bits of the model you can get hold of? You'll need to choose Skin - Face, Skin- Head, Torso, Limbs, and so on. Then, in the little dialog where the existing map is named, give this a click, then click Browse ... and click your way through to the folder where you put your new images. Choose those. Keep going till the whole model is re-skinned.
(Incidentally, if you wanted your model to come out with the tiger-stripes you saw on the Na'vi, these you will have to hand-paint! In fact, you can hand-paint whole skinmaps, starting with a blank "template," which is sometimes supplied with skinmaps. There's also something ... I think it's called "Living Doll," but don't hold me to that ... which is a skinmap template for artists who're clever with GIMP or whatever. I'm very, very tempted...!)
So that's the skin color for the alien taken care of. Now, what about the glued-on tinfoil bikini?
Okay, now we get back to the interesting part!
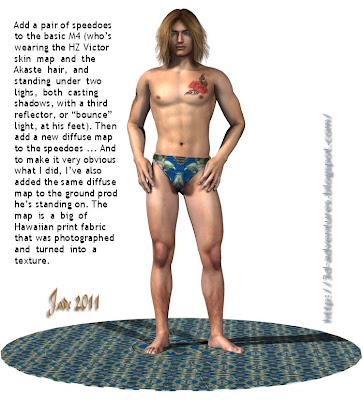 So load up your Michael or Victoria (Victoria was "on" yesterday, so let's have a change and use Michael today). Add a costume. In this picture, above, I used the M4 Basicwear Speedoes. Then you use your Surfaces tab to add, or change, the diffuse map to something interesting. I used a Hawaiian pattern, which was made from a snapshot of a piece of Hawaiian fabric. No need to buy these textures ... too easy to make them yourself, and if you do, you wind up with something unique. (Sometimes, the models in my pictures are wearing the fabrics off our furniture!)
To make it really obvious what I did, I've plunked the same fabric texture on the floor prop here's standing on. It's that easy. Now...
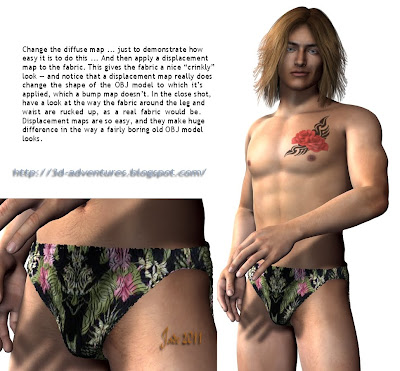 I changed out the diffuse map again, just for fun, and to show how easy it is. Then, I applied a displacement map. This actually does "displace" the surface of the OBJ you slap it onto. The black parts of the pattern are punched in, the white stand up, so you can make it look like an OBJ has been hammered into a pattern...
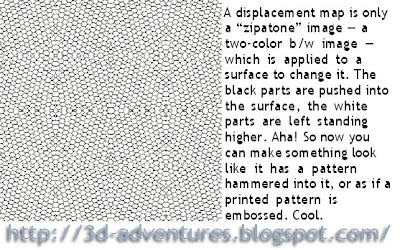 So, a displacement map is a JPEG image in black and white, which we used to call "zip-a-tone" back in the days of offset printing. And it has a huge effect on the OBJ ... you can use this as a bump map too, but remember that bump maps don't make the OBJ change shape at all. They basically just cause the illusion of texture. Which is why I don't use them very often.
So far, so good. But it doesn't much like tinfoil! So...
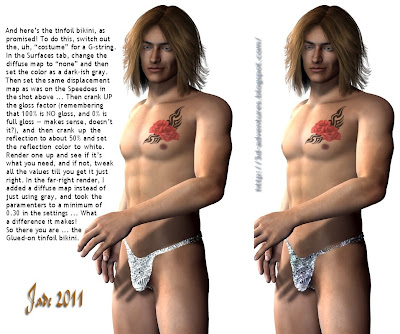 ...change the "costume" for a G-string. Then drop out the diffuse map and set the color to one of the mid-dark grays. Apply the same displacement map ... but now, get clever. Crank the GLOSS parameter up high (remembering that 100% = no gloss, and 0% is full gloss, which makes perfect sense. Not), and set the gloss color to white. Then scroll down to the reflection dialog, crank this way up and set the reflection color to white too.
Render one. A...ha! You ought to be close now, and you can go on tweaking all these things till you get just what you want. For instance, in the above-right image, I actually applied a blue-green-purple diffuse map, and then in the displacement dialog I adjusted the Minimum setting to (minus) -.30 to get this effect, which was pretty much what I'd wanted.
The last thing was to bring in a column and strip in a backdrop. What makes the column interesting is that I made it deep purple and turned it into a mirror with the reflection parameter. I swapped the ground color to green, to look better against the purple, and then the backdrop is a digital painting.
I ought to come back and talk about painting the backdrops! Another time...
Right now I've actually run out of time, but I think I'm finished this essay anyway.
Hope this helped ... and I hope you have loads of fun playing with all this.
Jade, 2 January


