(All pieces are uploaded at full size -- click to see the details)
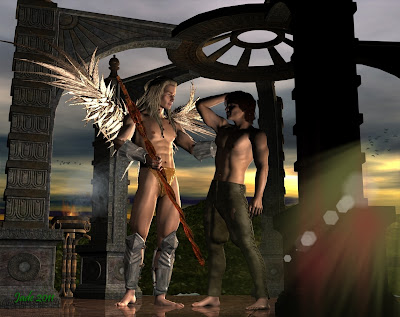
As promised, the archangel meets the archaeologist ... in a full-on CG art piece done in three programs and worked by merging two projects in DAZ Studio. The story so far: this ruin in the wilderness has been buried for 5000 years, and a recent storm just washed it out of the ground. An archaeological team is all over it in an instant, and they don't know what trouble they're getting into, because this ruin was buried for a reason, and was supposed to stay buried forever. Whatever is here is so dangerous, an archangel was assigned to guard it, and he's still here.
Enter the aforementioned archangel, and our somewhat dishy archeology student is bowled over. Understatement.
So, how do you go about putting together a project like this? It's not actually as hard as you might think. Assuming you have scenes that are already in a good state of preparation, you're more than halfway home.
I was using The Winged Avenger, and then the Spirit of Place scene. Check out each one, if you haven't seen them in development in the last week or so. Then the storyline that's been evolving in my imagination called for them to be blended together, and the plan was to hit "merge" in the DAZ Studio file menu...
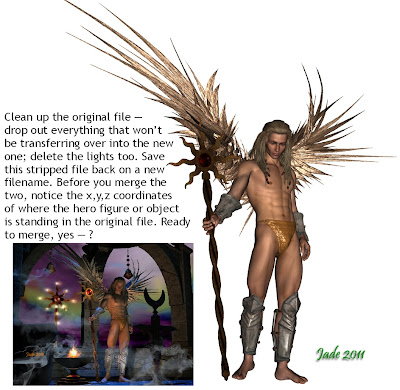
Here's how you'd go about doing this. You have two full scenes. You need to decide which scene is the primary one -- in other words, the other scene is going to be added to it. In the primary scene, keep all the sets and props and so forth, but in the other scene, which is going to be imported, delete everything that you don't want to come in on the import/merge command:

So, strip the scene down to the basics you want to bring in, and save it under a new file name. Open up the primary scene ... notice the x,y,z coordinates of where your "hero" figures are standing. This will give you some orientation, when you click "merge," and you'll have an idea of where everything is.
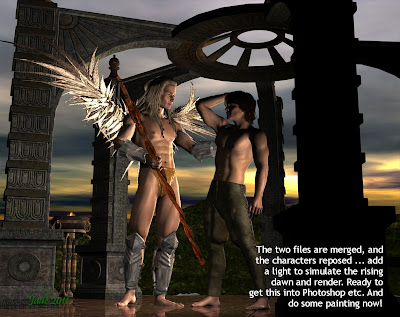
The merge command is hiding under the FILE menu. Choose a file to merge, and click it ... two files become one, and now you'll be grateful that you stripped the incoming scene, because if you leave extraneous stuff in there, the result can be a huge chaos. Resave the compilation -- under a new filename, in case something goes wrong.
Now you can set a new backdrop, and reposition the characters:

This is the halfway-finished render. What's "wrong" is that there's a big "dead" area in the right bottom corner. It's perfect for matting text over, but in a painting it's just ... empty. In this one, the sky is a Bryce render I did a long time ago, which was recolored for this occasion ... and this gave me the inspiration for how to fill in the blank, wasted area.
Time to get this render into Photoshop and do some painting. I wanted light beams and lens flare in the area where the dawn spills over into the shadows of the shrine. Then I wanted fire and smoke from the burner, and also birds in the morning sky.
For all this, I used Mystikel's light beams and then Ron's flames, Ron's Steam and Smoke, and Ron's Birds. Yes, I like Ron's brushes! Why? All Photoshop brushes are not created equal. There are great ones and there are dog-rough ones. A lot of brushes are too-low resolution, and "pixelie," meaning they were made from images scanned from books or magazines, and they're just not so good. Ron's brushes are very, very good indeed. They're not cheap, but they're among the best I've found. Other absolutely top notch brush designers are Mystikel and Designfera -- I have loads of their brushes, and use them all the time. You can buy Ron's brushes at DAZ, and yoou can find Mystikel and Designfera at Renderosity.
So here you have a piece that was done in three programs (Bryce, DAZ Studio, Photoshop Elements 9) and used two separate DAZ projects, merged into one. Neat!
Jade, 2 September


