 |
| IBL and Photometric lights |
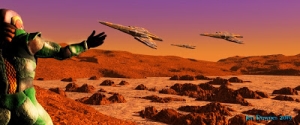
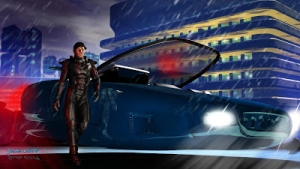
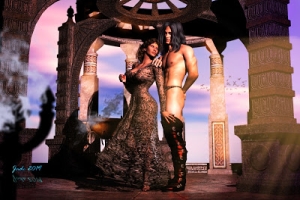
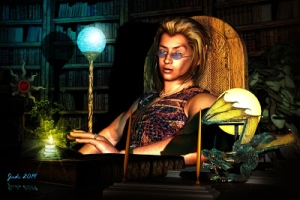
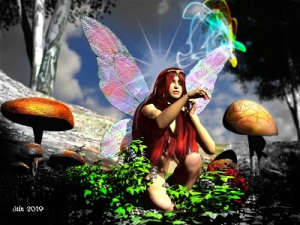
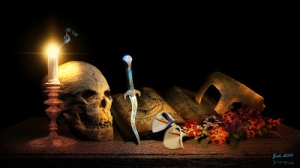
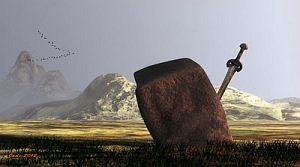
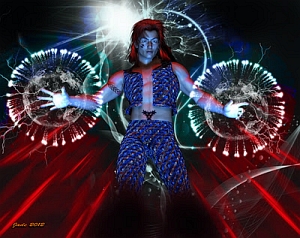
Today's experiment was to work out the best way to light a set. In the olden days (ha!) of raytracing, you were always working around the old tried and true method of "key, fill and back" lighting, which basically meant that if you had three lights on any one thing, the scene would "pop," and if that didn't work well enough, you added a "bounce" light to simulate light reflecting off the floor/ground, or whatever shiny surface. Then came unbiased rendering, environment lighting, and ... okay, how does this work now? So --
 |
| Photometric light only |
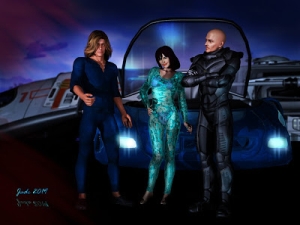
In the top render, that's a combination of an HDR image used to light the scene, using Image Based Lighting (which is controlled from Studio's Environment menu, inside the Render Settlings pane. This thingamajig here:
So I used their image of an artificially lit factory floor, and with only the HDR image set to generate the lighting, I came up with this:
 |
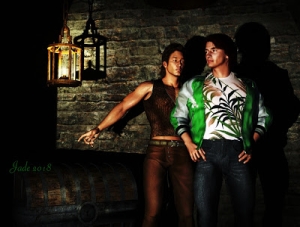
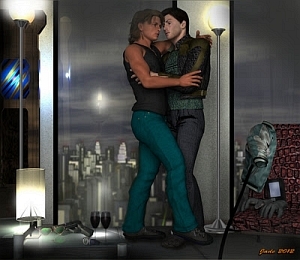
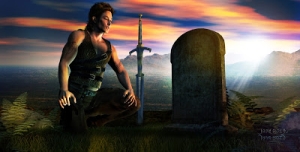
| IBL (Environment) lighting only |
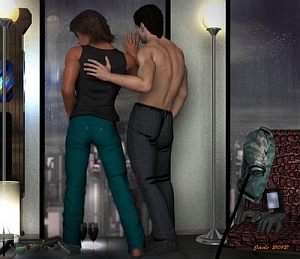
To get that effect, I had to crank the settings to Environment Intensity = 10, Environment Map =10, and Lighting Resolution = 2000 (all parameters to be set inside the aforementioned Environment menu). It's actually great, but a bit flat. I might have wanted more dynamic shadows??? So the idea was to look closely at where the soft shadows are falling in that image, and create a spotlight ... look through the light while positioning it, to make sure its angle matches the fall of shadows in the IBL-only render, and then (!) crank the Luminous Flux to 5,000,000, plus 100% on the blue end of the scale, to simulate daylight --
Okay. This was a success, and I learned a lot. Also, the new computer handled this fairly easily; with maximum render settings pumped into the first of these renders, it was about 25 minutes, and that way way more render time than it actually needed. I scaled back the settings for other renders, and the time was more like 15 minutes from "go" to "cooked." (test renders at 600 pixels wide, an minimal settlings, were about two minutes.) Neat!


