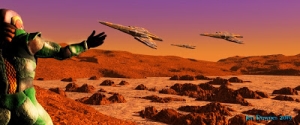
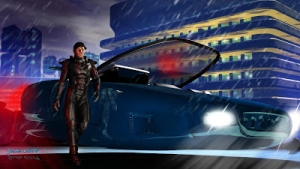
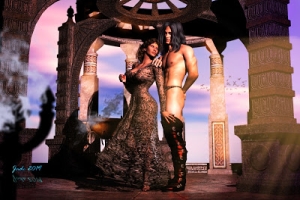
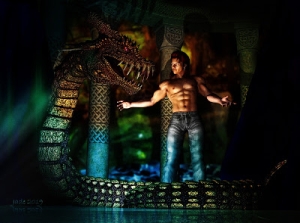
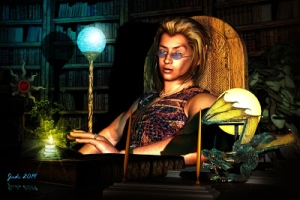
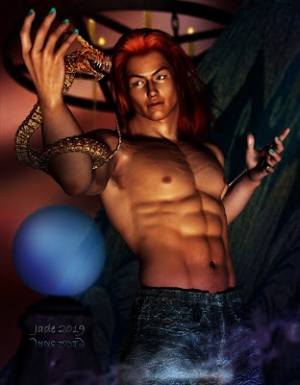
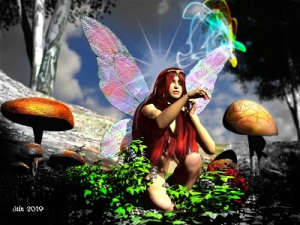
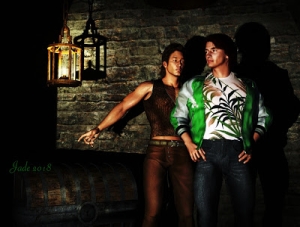
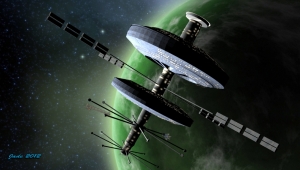
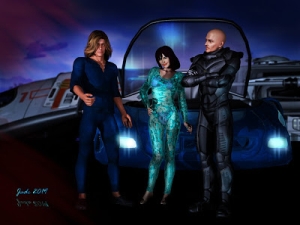
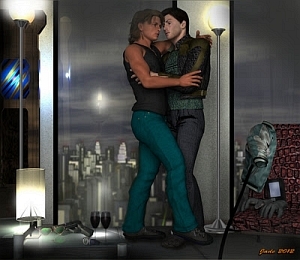
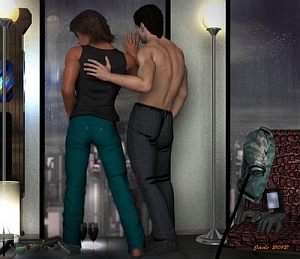
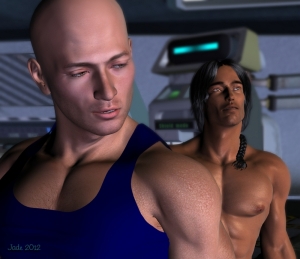
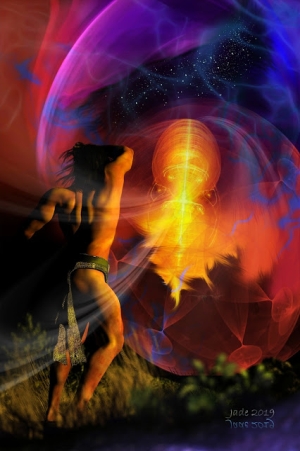
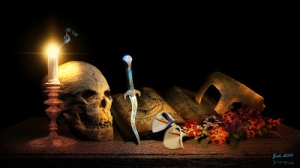
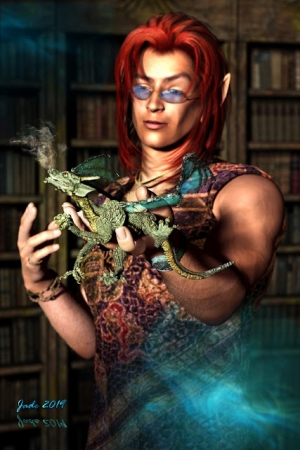
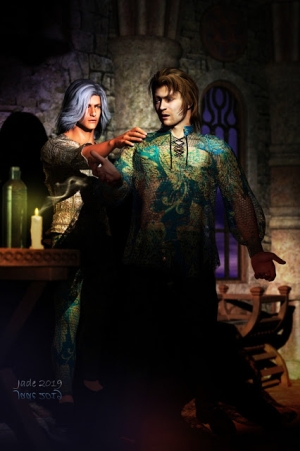
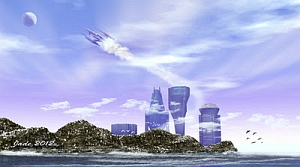
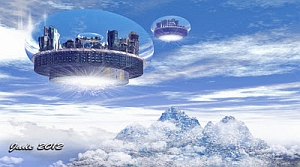
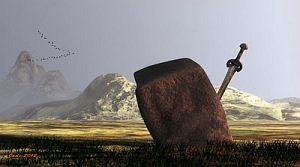
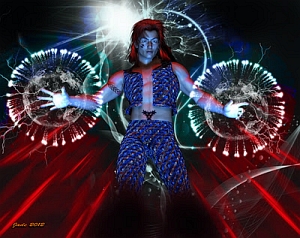
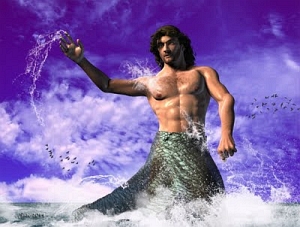
Art is one side of the coin and photographic realism is the other, and 3D art can go either way. In DAZ Studio 3 you have the ability to configure the camera to decide the aperture, depth of field, point of focus and so on, which can give an amazingly "photographic" flavor to your pictures. But the question is, do you want to try to imitate reality, or would you prefer to ... well, paint? The beauty of 3D is, it's your call. You can actually do either.
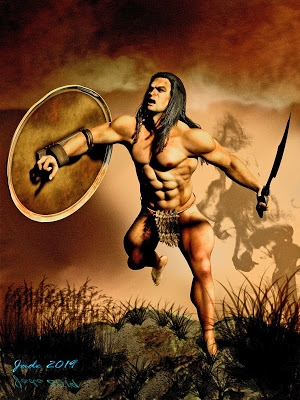
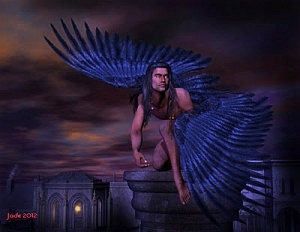
Getting 3D renders to have the appearance of paintings is actually a lot easier than doing battle with the camera configurations! The painted "look" is in the lighting ... how you manage shadows and also the color of the lights. It's a lot of fun figuring out how to do it.
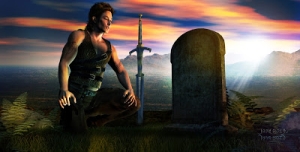
Today's render was done exactly the same way as the horse yesterday: a background digital painting, the model, and foreground environment props, plus some creative lighting. nice!
On the subject of art ... actually, turning photographic images into art ... I've been asked to go through the process step by step, take the mystery out of it! So here goes.
Click on these images to see them full size -- the instructions are on each image:


 Trust me, it works! There's a couple more tricks you can do, but most pictures won't need them. You can "overcook," or "oversaturate" the color, which imitates how an artist's colors are usually a bit less subtle than reality. You can also "decrease the color depth" of the image, from 16 million (JPEG) to 16 (!), like this:
 What this does is to dump even more information out of the image. The results get closer and closer to impressionism. Again, know when enough is enough, and the final image can be (should be!) gorgeous.
Jade, March 6


 Trust me, it works! There's a couple more tricks you can do, but most pictures won't need them. You can "overcook," or "oversaturate" the color, which imitates how an artist's colors are usually a bit less subtle than reality. You can also "decrease the color depth" of the image, from 16 million (JPEG) to 16 (!), like this:
 What this does is to dump even more information out of the image. The results get closer and closer to impressionism. Again, know when enough is enough, and the final image can be (should be!) gorgeous.
Jade, March 6
***Posted by MK. My connection is intermittent, too slow for this


