


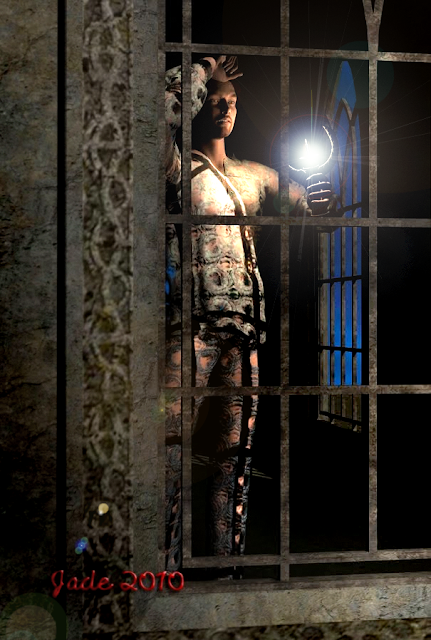
This is Michael 4 set up with my old "Sinbad" character; he's wearing the Mon Chevalier hair, carrying the hand torch fro Fantasy Visions, standing in a set made up of a couple of DM's trees, and whole bunch of assorted props, to which I've overlaid my own textures. That's the Lockwood shirt and the Journeyer Scout pants, but I've changed the textures, displacement maps, opacity maps -- the lot. And then there's about six lights set up, with deep shadow maps set. Like I said, a loooong time to render these! But the mix of colors -- it all starts with the rich Bryce backdrop -- is so nice.
Now, something very different

I was asked the other day how complex composite artwork is done (or can be done), and since I just did this book cover today, I thought it made a good example. Bottom right, in the montage above ... how many layers are you seeing?
The answer is, you're seeing five layers even before the text objects are added for the final cover. How's it done? By the numbers:
1) Start with a clear idea of what you want to end up with.
2) Put together the BOTTOM layer first ... the background. This one was made up of two images -- a shot of Mars from space, and a NASA image of the Horsehead Nebula which has been dropped back into monochrome. The two are painted together n a program like Gimp or Micrographx, or whatever you use. (I used Micrographx, which is a golden oldie -- it works with masks and inks, not layers. It's what I'm used to ... I also am a golden oldie, I guess.)
3) Save the artwork and import it into DAZ as the backdrop. Design the first character ... the one in the background. Position him juuuuuust right in front of the backdrop ... then take the backdrop OUT, make the background pure black, and render the figure.
4) Go back into your paint program and use your inks (or whatever your program calls them) to combine the figure and the backdrop to get the effect you want. Save it.
5) Import this saved version into DAZ as a new composite backdrop, and create your second character. Get him posed just right. Set up your lights and so on -- render this.
6) Import this render into something like Gimp, which allows you to paint with fancy brushes. Paint on the final layer of effects with whatever brushes you need, and save the whole thing one last time.
7) If you're finishing the cover yourself, now you ship the work into your DTP program (I use Serif) and add the text objects where needed...
8) Export this final composite at 300dpi. Done.
That's it for today ... it's really late, and I'm really tired! Didn't have a chance to post anything at all yesterday -- life is about work right now. Such fun.
Jade, 23 August


