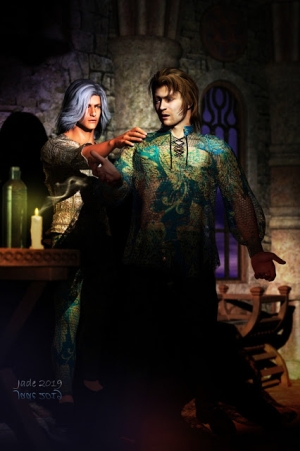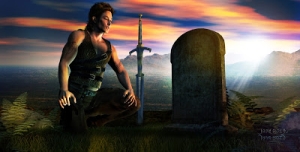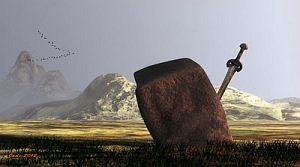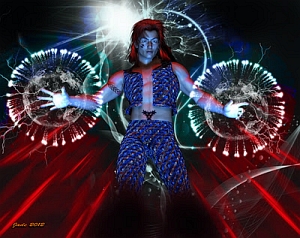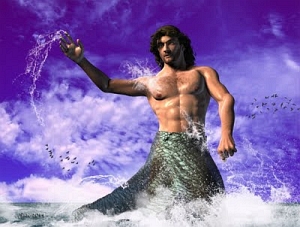

 Textures for 3D models ... creating textures ... hand painting textures for your models ... a whole panorama just opened up in front of me, and it's like Christmas just came in April!
Change of plans from what I'd expected to be doing. I did go to Renderosity and buy a pack of fantastic textures ... these are not them. I assumed the textures would be JPEGs, which most of the rest of the world uses. They're not: they're "process" items, where a handful of base materials are plugged into an engine, and the engine generates the texture for you, from the selection of overlays. Here's the snag: the engine is in Poser, and I used DAZ. In DAZ Studio 3, all you wind up with is the handful of fantastic base materials, none of which, itself, is one of the textures you'd been hoping for --
Which got me to thinking: if an engine can combine them, what's going to stop an artist from doing the same thing? So I did -- and it's easy --
After which I ran about on the Internet a bit and gathered a few seamless textures (FREE ones, people ... no need to steal anything. Try this: http://www.grsites.com/) and then just doodled to see what would happen...

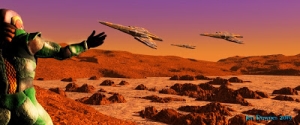
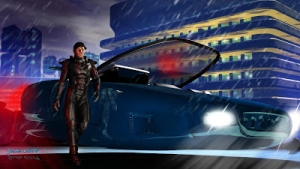
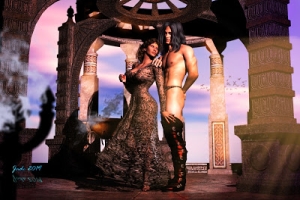
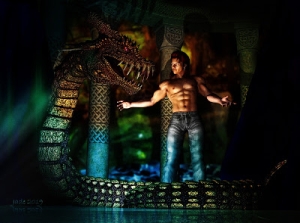
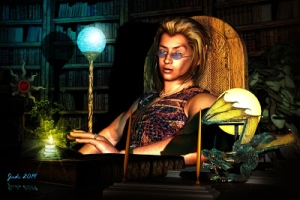
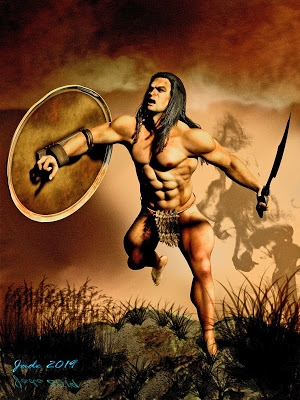
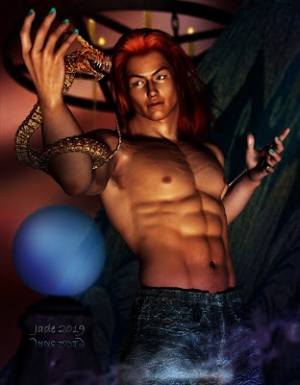
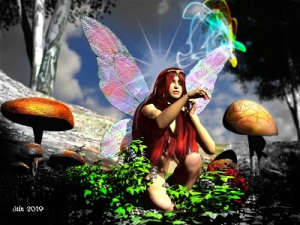
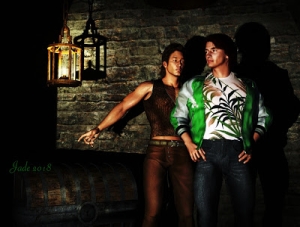
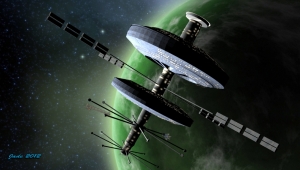
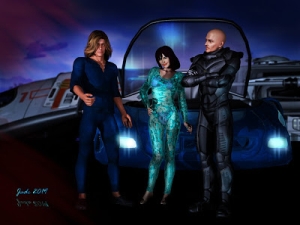
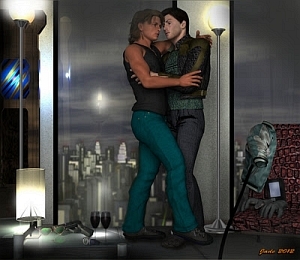
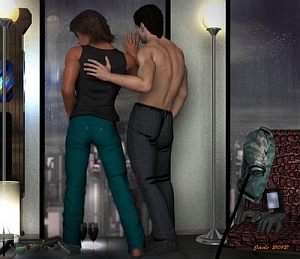
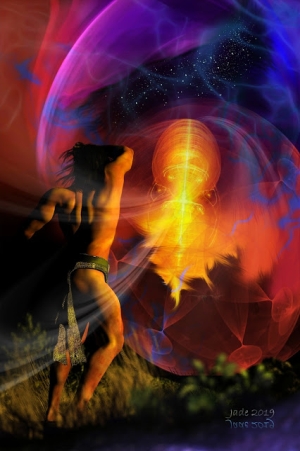
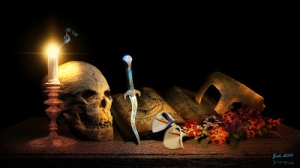
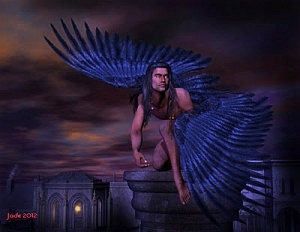
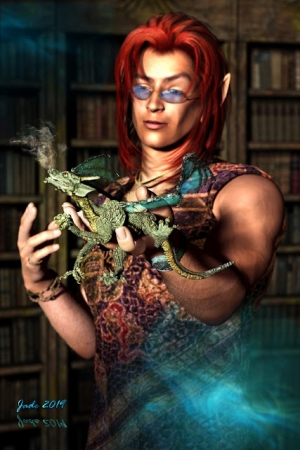
Now, if you've been on this blog for any length of time, you'll know most of the basic props. I don't have an endless props room, so I mix and match everything. But ... will you just look at what happens when you slap two things onto a boring old .OBJ (object ... 3D thing) ...! Go ahead and click on the above -- in fact, on any or all of the pics in this post -- they're all uploaded at large size, so you can see the details.
There's two things contribute to this effect 1) a texture, which is the JPEG you just made in your imaging program(s); and 2) a displacement map. And the displacement map contributes as much to the effect as the JPEG.
Have a look at these, full-size:
 You can probably see that there's a visible texture made up of colors, and a second texture made up of "roughness" or "surface detail." This is the displacement map.
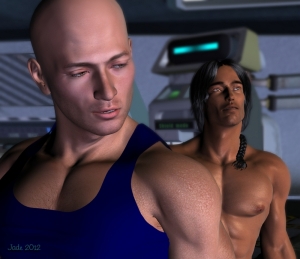
I've reworked a couple of "detail shots" from the leader renders from this post, so you can see the effects a bit more clearly:
 Every texture you're looking at in these shots was made by me from free textures you can pick up off the web, in a few minutes flat ... including the one that looks so fantastic on the coat; and Michael 4's calypso pants, and the sweaters -- all of them. Also the colors and textures on the candles, shield, pillar, mask. The objects themselves (boots, candles, shirt et al) are 3D models which you buy from online stores like DAZ 3D and Renderosity. But all the colors and textures you're seeing on this post here started life about two hours ago in my imagination.
Intrigued?! Come back tomorrow, and I'll tell you how!
Jade, 23 April


