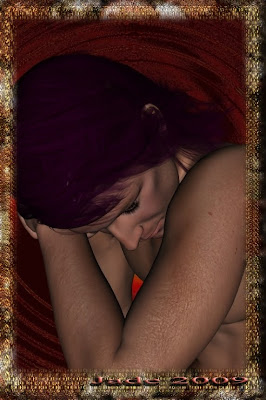
 This is actually an incredibly simple image where the magic happens in the textures, which are about ten layers deep. The image itself is "just" a Michael 4 with long dark hair, curled into an interesting pose; the high-rez skin map was added, his eyes were closed ... and I confess, I gave him long, curly eyelashes! You can do with with the Morphs++, which let you change every single aspect of the face and body. (Yes, those too.)
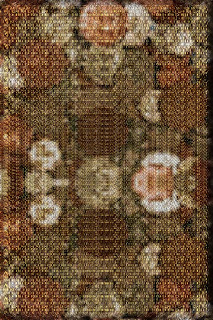
 Then the fun started --! After the lovely render was done in DAZ the next question was, how to make the image complex and rich. So I matted it onto a gold plate that looks like the image you see at left. Go ahead and click to enlarge it -- I uploaded it at a decent size and resolution. (Incidentally, if you want to use it in your own work, go ahead: these images are so easy to make, it'd be paranoid and dumb for me to object. But a backlink would be nice ... thank you kindly!)
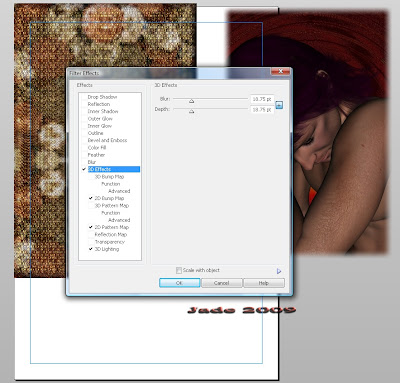
To make the matte you see here -- get into Serif X3. Pull out a rectangle comfortably larger in both axes than the pic you want to mount on it. Set the border at 0. Go into the FX menu and pick the 2D Pattern Map. This will automatically pull up the 2D Bump Map, and 3D lighting.
It might sound complicated but trust me, it's not! The work bench you'll be seeing (including the elements to make up the final picture) will look like this:
 Fiddle around with the settings till you get what you want ... play with the tools, see what they do! (I don't often read instruction manuals, have you noticed?!) Eventually you'll wind up with exactly what you want. Now, select the image of our beautiful daydreamed; go into the FX menu and choose Feather. Set it to to the highest it'll go. Park the image on top of the matte; put a signature on the work. Select all and lock 'em together ... export as an image. You're done!
So the magic in this one isn't the image itself, it's in the textures. Also, have a look at the texture of the background behind the daydreamer. I call it "scarlet maelstrom." It's the exact same background used on the render of the blond with the beautiful butt and the leather jacket ... but I put in a swirl, or a twirl, which turns a picture into a corkscrew, then clicked the gamma way down to make it dark and suitable to be used as a background to a dark picture.
Result: nice!
Jade, 24 November


