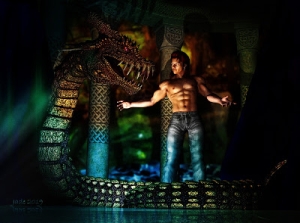
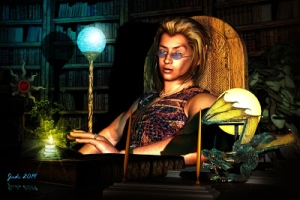
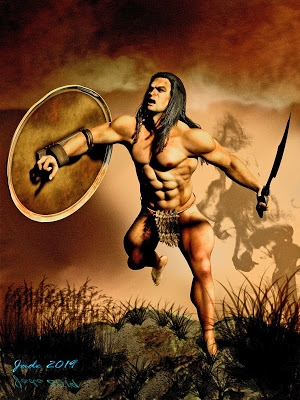
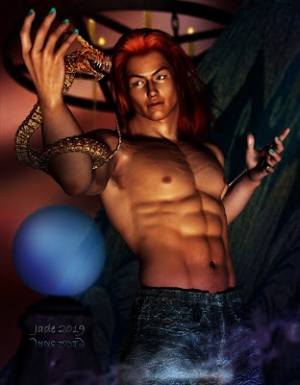
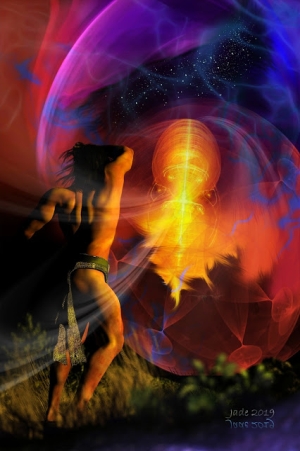
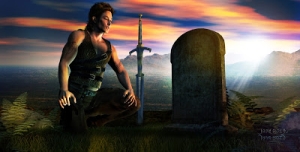
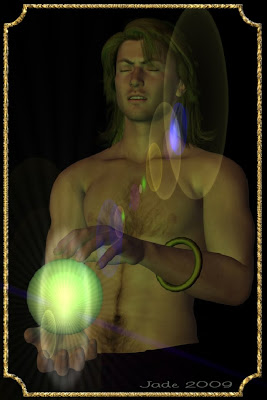
 Go ahead and click on him ... he's 1000 pixels high, and at full size you can see the beauty. I'm really delighted with this shot, which was done in DAZ Studio 3, Micrographx and Serif X3. I call this one "Yaoi mysticism," because there's something deliciously delicate about this guy, and sensual, and then you get to the magic.
The next question is, how the [expletive deleted] was this done? And how long did it take?
It took about 20 minutes (!) and here's the cookbook method.
Start DAZ and load in a basic Michael 4; give him long hair with the Mon Chevalier hair style; set the color to dark by using your surfaces tab (the default is golden blond). Put a pair of jeans on him, and set the color to black (surfaces tab again). Set the background to black. Now it starts to get more interesting.
You're going to need two props to make the whole thing the same as the above, but at least one to get the neat crystal ball effect. If you can get hold of a "donut" as an .obj file, you can import this. Or you can go to DAZ (see the banner below) and buy some really amazing jewelry, among which there is sure to be a bangle. The plain gold bangle I've been using for ages is just a "donut" made in 3D Studio Max and exported to the OBJ file format, which can then be imported into DAZ. (I just got Hexagon for making models, but I still have to figure out how it works!)
The important prop is the crystal ball. In DAZ, click on Create > New Primitive > Sphere. Then use the controls to scale it to fit as a crystal ball. Then use the surfaces tab to make the color light blue or green, and set the opacity close to zero, which makes the object go transparent.
Position it between the character's hands; put a frown of deep concentration on his face ... so far, so good. The real magic happens when you set up the lights.
This shot was done with one distant light set to dim gold and two spotlights set to dim green. One spotlight was jiggled around till it was actually "inside" the crystal ball. The other was set just outside the glass. Both were VERY dim, and set to "point at" the character's head. Render an image right here, and then adjust the brightness and color of the lights till it looks something like this:
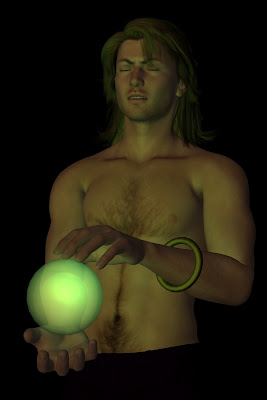 The next thing you want to do is add the razzle-dazzle, and you do this in your photo studio ... if you have Photoshop, bully for you! The rest of us don't have A$1800 to spend on a single prog (and even if I did, I'd use the money to take a holiday in the tropics), so I'm going to tell you how to do this in Micrographx, which costs about forty or fifty bucks (shop around!!), does the same job, does it with a dead-easy interface, works on XP and even Vista. You don't have to have a name like Gates or Murdoch to be able to afford the progs to do this work!
 Open your best-so-far render in Micrographx 10. Open the Lens Flare browser (look under "Effects"), and --seriously -- play with the controls till the penny drops about how to use them. You're going to be jiggling flares and rays; you get to change the aspect ratio of the main one, set the length of the ray trail, change the color and brightness and sharpness of everything, decide where in the image the effect is going to be located (x,y controls), and ... lots more elements to play with. Christmas morning came early!
So play with the lens flare till you get exactly what you want, and then save (duh), and start to think about the border. You might not want a border ... I think it enhances the shot. This one was done in Serif X3. Import your best-so-far image to a new publication, and then draw a rectangle the size you want the border to be; set the "fill" at none; use the nodes on the drawn image to set the corner style. Use the Line & Border controls to set the color ... I used golden yellow. Now, click on the FX icon ... add a bevel & emboss to make it look 3D. Now, get into the 2D Bump Map controls ... set the "scale" to small and the "depth" to high, and then choose a pattern from the browser to control how the bump map looks. Play till you get just what you want. Sign the piece; select all objects; lock them together; export as a 200dpi image.
And you're done! If you don't know the software backwards and sideways, you could play happily all afternoon at this. If you do know the software, you can get this 3D painting from concept to "done" in the time it takes your rice to cook in the microwave. I did this last night, while the rice was cooking for dinner.
Yaoi mysticism. Beautiful.
Jade, 23 November


