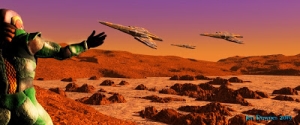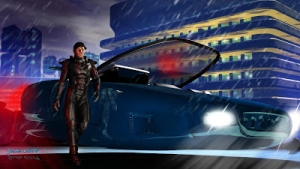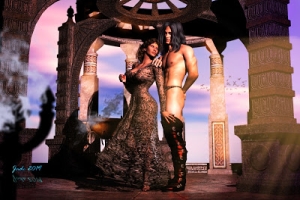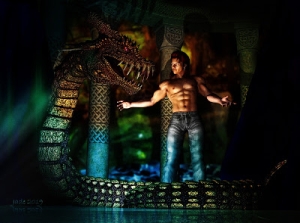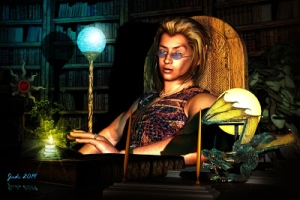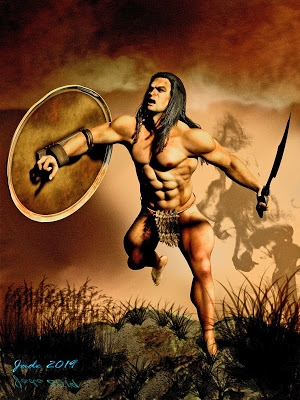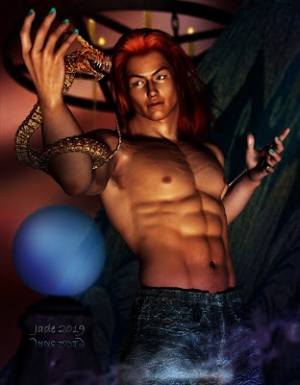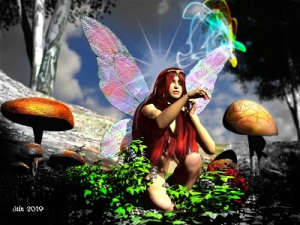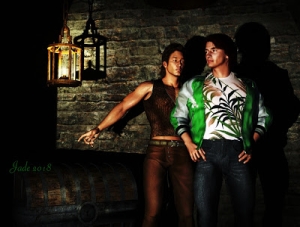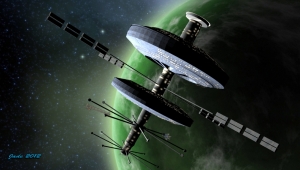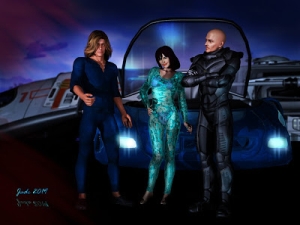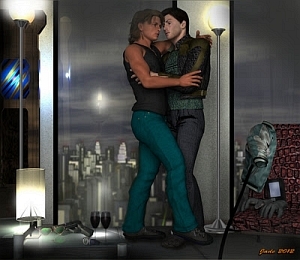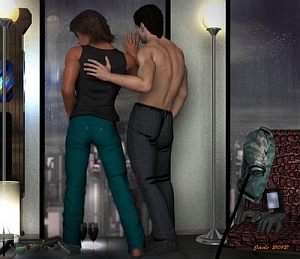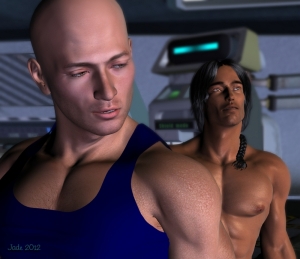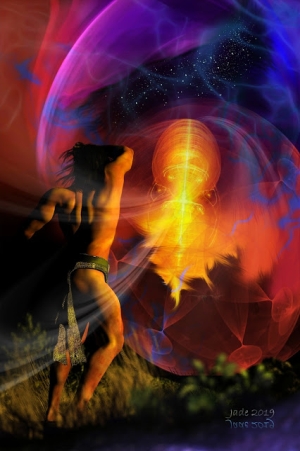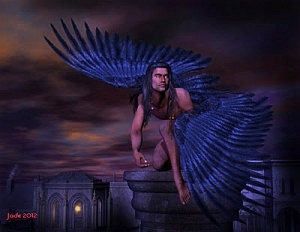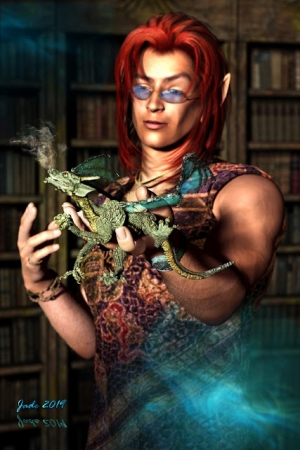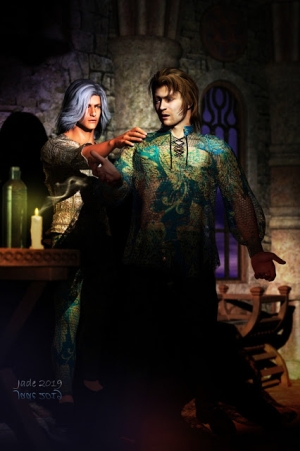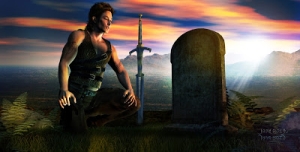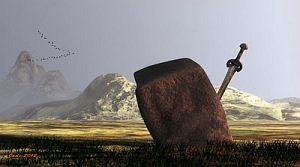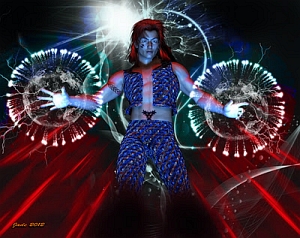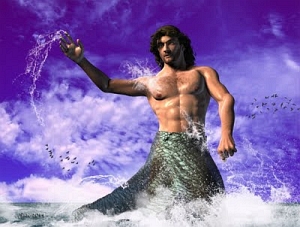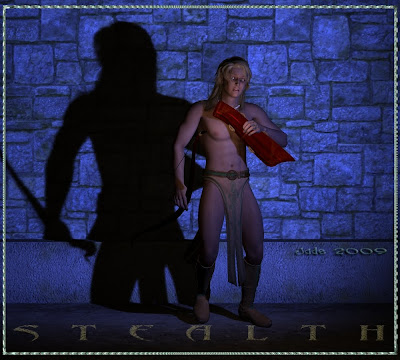
The Yaoi fantasy ... the immortal, timeless elf ... the beauty hits you first and then it's the level of complexity in this image that jumps out at you -- and the closer you get to the subject, the more detail you get. I invite you to click on either of these (or both of 'em) and see them at 1000 pixels wide!
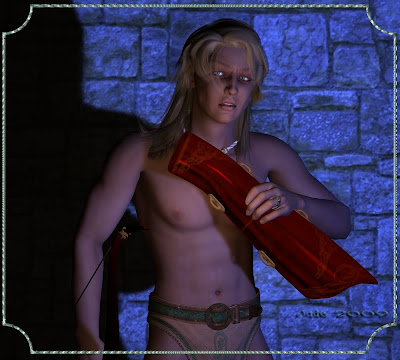
The human eye is wooed ... seriously seduced ... by the realism of the shadows, and that's what I'm going to talk about today. Casting shadows in DAZ Studio 3. Because casting shadows is the other side of the "working with lights" subject, and when you start to get into this level of reality in the pictures, you're talking about some serious visual seduction here.
Casting shadows in 3D isn't that difficult, but it's complicated enough to make some major hurdles that you have to scramble over to get a handle on it. Put it like this: even for an artist with a bit of experience, the secrets of how to do this probably won't jump off the screen in surrender.
A few things you have to know, before you can do anything at all:
... Only spotlights cast directional shadows! If you're waiting for your oth erlights to cast directional shadows, you'll have a loooooong wait. (A directional shadow is the very definite shadow you get when pointing a flashlight (or torch, depending where i thr world you are).
...Objects can only cash shadows on other objects ... so if what's standing in the background isn't an object ... let's say it's just an image you're using as a backdrop ... you still won't get shadows, even if you're using spotlights.
...Shadows don't show up in the desktop, the workspace, the "working" version of the image that you're still manipulating. They don't show up till you render the image. So when you're working on it, you see something like this:
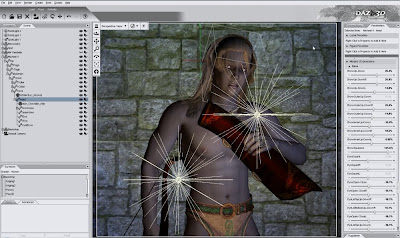
So, knowing these three things you go into the project with half a chance of getting results!
First thing you're going to need, then, is at least two objects so that one can be told to cast a shadow on the other ... and the other thing you'll need is the spotlight itself, which will cast the shadow.
There's a marvellous kit that you can get from DAZ for about $15, which will answer a lot of your prayers! It's called Backdrops Made Easy --


-- and boy, is this going to save you some time and grief. The product virtually speaks for itself ... you get a wide range of textures and the ability to change the color of everything ... and you get this beautiful right angle OBJECT which you paste the textures onto ... and yes, you can cast a shadow of it!
So instantly you're ready to stand a model in front of a background object, and use a spotlight to cast a shadow! (If you're looking at getting this model, guys, do remember that the DAZ Studio banner to your right is an affiliate link. The starving artist earns a couple of bucks when you buy your 3D goodies starting from this page. Thank you, thank you...)
So, let's assume you have a background that can accept a shadow (reminding you, a photo used as a backdrop can't take a shadow, so any model you stand against it is going to look like it's just hovering there), and you've got a model to stand between the background surface and the spotlight...
Right, let's load 'em up! Michael 4 makes an appealing place to start. Load up any props and costumes ... at the very least, a hairdo and a winning smile! Load up the wall behind him ... howzabout a bedroom wall? Then you can work with lamplight and get romantic. The Backdrops Made Easy kit has just what you need ... as well as moldy old castle walls; tumbledown fences; bricks; concrete; Spackle; cinder-block (aka besser brick), gyprock (aka drywall), timber panels, marble features ... and so on, and on. Pick whatever you fancy.
Then, pose the models. You can pose the background object exactly like any other object. Pose Michael 4 in front of it. Use your TOP VIEW and LEFT VIEW (or right...) to make sure Mike 4 is close enough to the wall to actually cast a shadow.
Now, it's time to turn on a spotlight!
Something you need to know before you do this. As soon as you turn on a spotlight, you lose your default ambient light ... the models are going to turn into two dead-black patches! You can, and will, get hopelessly lost! So it's a good thing that it's easy to work around this.
The reason the models go dead black is that when you swap the default light for the spotlight, there isn't any light at all shining on the model. You might expect the spotlight to turn on pointing at the model ... but it doesn't.
All lights (and props too, for that matter) are loaded at the o.o.o point ... meaning x=0, y=o and z=0. This is the "middle of the universe, as far as your 3D world is concerned. X is the left-right coordinate (think of it as being aCROSS the screen or page. X ... cross. Right. Then, Y is the up-down coordinate (Y looks a bit like a down-pointing arrowhead; make the connection visually, and this one is easy to remember). Z is the other one, the funny one ... from behind you, into the screen and into "infinity," it's the 3D coordinate -- depth. Think of it as a snake zigzagging away from you into the distance, getting smaller as it races away toward the horizon line.
So, all lights and props are loaded on the 0,0,0, point. If you loaded Michael 4 on this point too, then it stands to reason that the spotlight is between his feet! (That's an "aha!" moment. There's an intense sense of pleasure when this small detail dawns on you!)
So you need to change ALL the coordinates of the spotlight you just loaded up, to make it shine on Michael instead of away behind him at foot level. And you're in the dark, you have no idea where you are. You get so used to this process that very soon you won't need a security blanket of an extra light here -- soon, you'll type in a bunch of coordinates and the new spotlight will leap into place with a salute. But for the first few times, try this...
Add a distant light first. This sheds omnidirectional "sunlight" on everything, so you can see where you are while you jiggle the spotlight. Then, when you've got the spotlight right where you want it, delete the distant light!
Use your TOP VIEW to line up the three items ... light -- Mike 4 -- the wall.
Then hit render, and see what happened. Notice, you can set the color of the light ... and the brightness of it, and the "spread" of it. Notice, you have to TURN ON the "cast shadows" control on lights and models!!
This post is going longer than Ben Hur, so I'm going to pick up the threads tomorrow and finish it then -- complete with another beauty shot or two, of course! Got to get back to Christmas, now. It's Boxing Day, which in Australia (and many Commonwealth countries) is a continuation of the festivities. So...
Come back tomorrow to see how this turns out!
Jade, 26 December


