


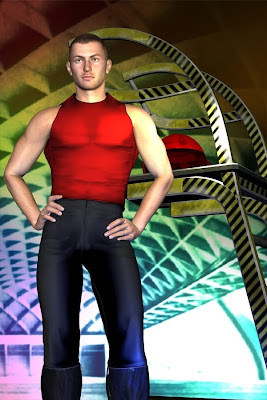
 Bring on the dancing boys ...! This is the same model you saw yesterday with the amazing green eyes ... now you know what's going on in the background, while he stopped for a breathed and gave the come-hither glance you saw in yesterday's render!
Okay ... so how's this done?
You need four models to load up: 1) Michael 4, 2) the pants, 3) the hair, 4) the high-rez skin map.
You load up the Michael 4, then the skin map, then the hair, and then the pants. Make sure you use the "fit to" command, so that the hair and the pants move with the model instead of getting left behind ... it's the funniest thing you ever saw, when you pose the model and he leaves his hair and strides behind! (This model is wearing the Jagger skin map, the Mon Chevalier hair, and the pants from the Hardcore SF props pack. Face designed by me; eyes set to emerald green.)
Now, don't start trawling through the DAZ 3D catalogs looking for these fantastic pants ... because the "surface" and color and so on is all applied BY YOU to really mundane boring pants (or jackets or whatever). It's the same pair of pants you're looking at here:
And check out this jacket:
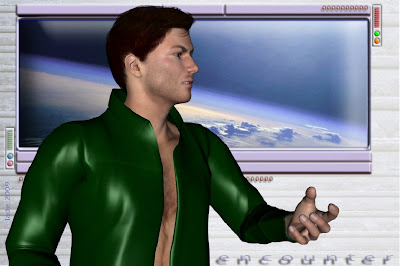
That was done the exact same way. You have to get into the Surfaces tab and learn what in the heck all those controls actually mean, and do. You have to find out how to set the COLOR of the item (like the pants or the jacket), and then you set the texture of it (as in, the roughness ... from smooth-as-glass to rough-as-suede), and then you set the glossiness of it...
Now, setting the COLOR means thinking about your Diffuse color, and your Ambient color, and your Specular color. Soon as you get those three worked out, you're off to the party.
Setting the TEXTURE or roughness of the object is a bit more complicated. A quick way to get into this is to just grasp what "index of refraction" means ... look it up!! Set this to 100% if you want suede and 0% if you want glass, right?
GLOSS is the last thing to consider. How shiny do you want the surface to be? You only have one thing to remember when you set this value. 100% is (get this) zero-gloss, and 0% is so glossy it burns right out to white. Makes sense, doesn't it? Gotta wonder what the designers were smoking when they worked this out ... but ALL of your 3D interfaces are the same, it's not just DAZ. So ... what the hey?
Next ... pose your model, put an expression on his face, and set some lights. Swing the model around to get just the right angle, and render it.
I really like this Yaoi dancing boy character, so you'll probably see a bit more of him in future!
Jade, 12 December


